Hello Bakers,
I have decided to take the blog in a new direction. The blog will focus on expanding my Craftsy class content so that my bakers can build on their new baking skill set with fresh recipes.
Bakers, while this may sound Craftsy centric - you do not have to be enrolled in a Craftsy class to benefit at all. All the techniques will be carefully described - if the content inspires you to take a Craftsy class - then that is great!
It's been almost five years since my first Craftsy class debuted. Over the years, I have heard students asking for more content and more classes. While I am always hoping for another opportunity to teach my bakers more on Craftsy - that is something that takes months of planning and investment. And let me say I am so grateful to everyone at Craftsy for being so generous and expanding my class list and giving me the opportunity to teach you, bakers, even more.
It occurred to me that I can expand content in the blog and create an opportunity to expand recipe repertoires right here. I think of it as a virtual recipe box - each blog post will feature a new recipe that features techniques taught in my Craftsy classes
My goal as a teacher is to make your baking lives better. This is accomplished by learning solid technique and understanding the science behind baking. With this knowledge you will have more successful outcomes and enjoying baking more.
Today"s post expands on creaming method for cookies from 25 Essential Baking Techniques -today's cookie is peanut butter - these are yummy.
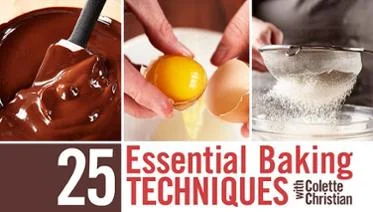
Creaming method for cookies is in this class. Use this code to enroll http://craftsy.me/2nu9Qun for 50% off.
The first baker to bake the cookies and post a photo will receive an Fat Daddio small offset spatula!
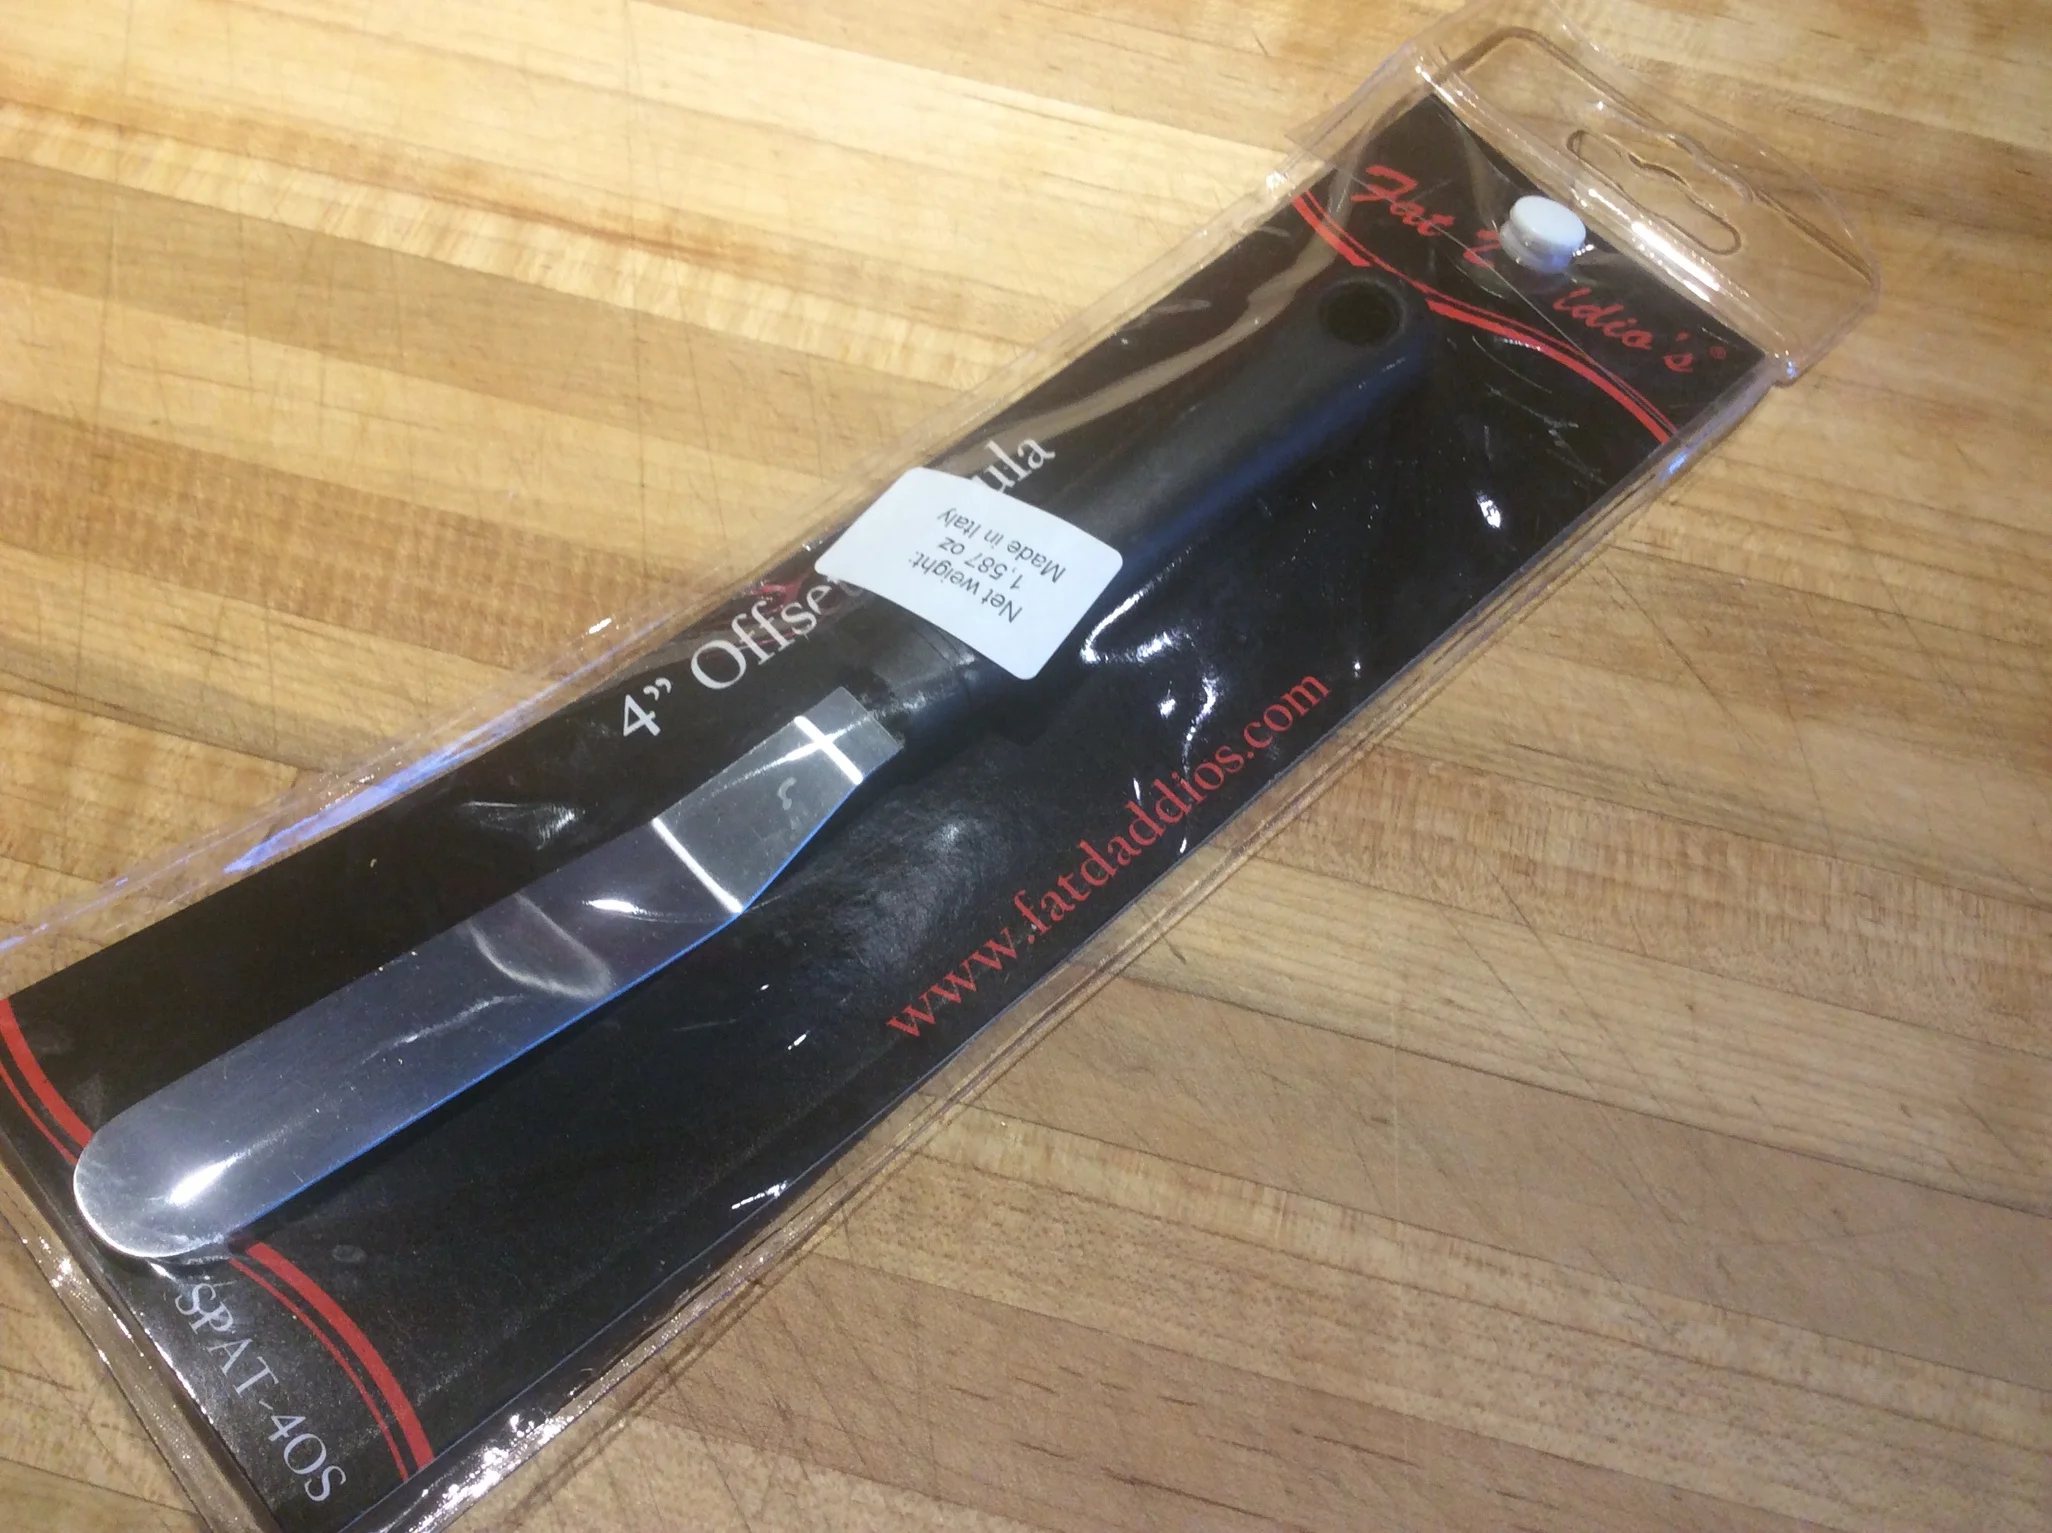
Fat Daddio Small offset Spatula - I will send it to the first baker who posts a photo of their finished peanut butter cookies!
Let me know if you have questions via my email (BakingwithColette@gmail.com) and please subscribe if you visiting the blog for the first time.
Happy Baking!
Colette
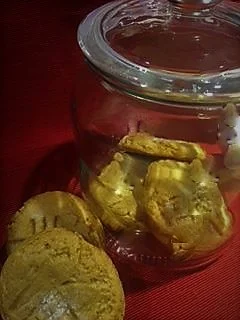
Peanut Butter Cookies
Mastering cookies is part of becoming a better baker - the peanut butter cookie lover in your life will love these and they are perfect for bake sales - store in an airtight container
Teaching moment: Peanut butter is much denser and has less water activity (content) then regular butter so it needs to go into the batter after the eggs are added and creaming method is complete. If added to early, creaming method is thrown off and the cookies could spread too much. The texture will also be altered.
Peanut Butter Cookies
Method: Creaming
Yield: 40 small cookies (#40 purple,.80 oz)
28 cookies (#24 red scoop, 1.33oz)
Yield: 18-24 cookies depending on scoop size
Equipment:
Stand or hand held mixer
Spatula
Sifter
2 ½ sheet trays lined with parchment paper
Additional ½ sheet pan available for double panning
Extra sugar for sprinkling tops of cookies
#24 Red Scoop for medium cookies
#40 Orchid Scoop for small cookies
A tablespoon can also be used to shape cookies
Fork to make cross hatch pattern on cookies
Oven: 350 degrees, 180C, Gas mark 4
Ingredients:
1 ½ sticks, 6 ounces, (170g) unsalted butter
½ cup + 2 Tablespoons, 4 ounces, (113g) granulated sugar
½ cup packed + 1 Tablespoon, 4 ounces, (113g) light brown sugar
1 teaspoon vanilla extract
6 ounces, (170g) smooth peanut butter
2 ounces eggs (57g) *please weigh this out it is slightly more than one egg
8 ounces, (227g) unbleached All Purpose flour
½ teaspoon salt
½ teaspoon baking powder
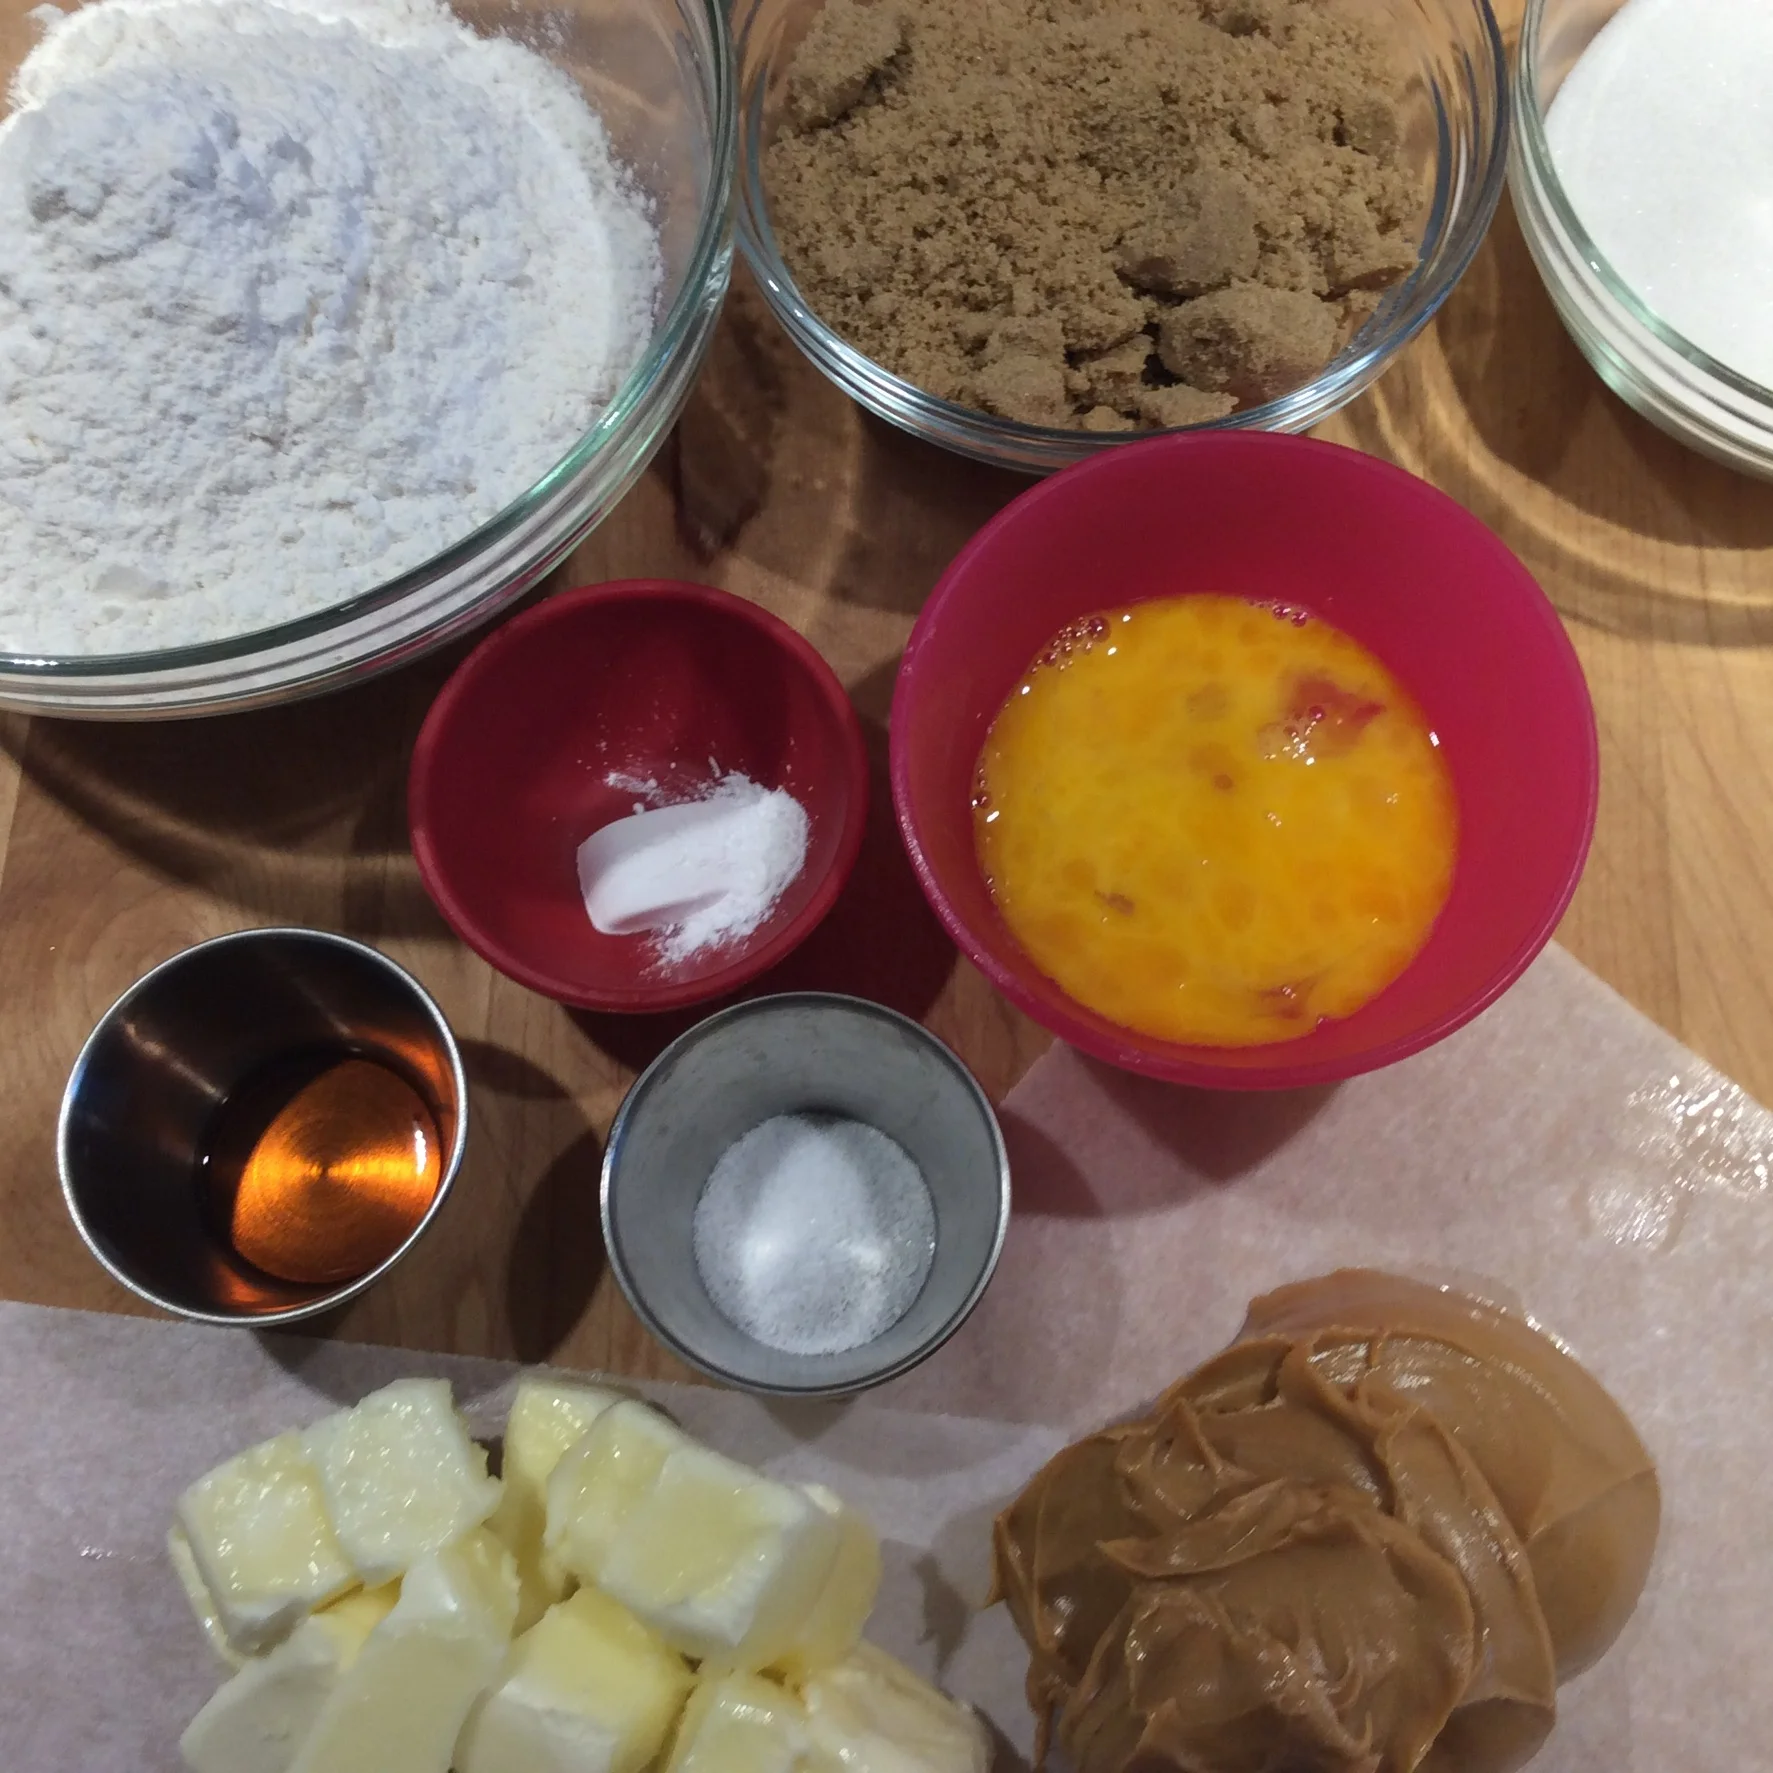
Peanut Butter Mise en Place - note I weighed the butter and peanut butter on pieces of parchment paper - less dishes......
Optional: 1 cup, 4.5 ounces, (128g) semisweet chocolate chips or 1 cup, 4 ounces, (113g) chopped salted peanuts
Extra granulated sugar for decorating the tops of the cookies
1. Cream the butter, both sugars and vanilla extract,
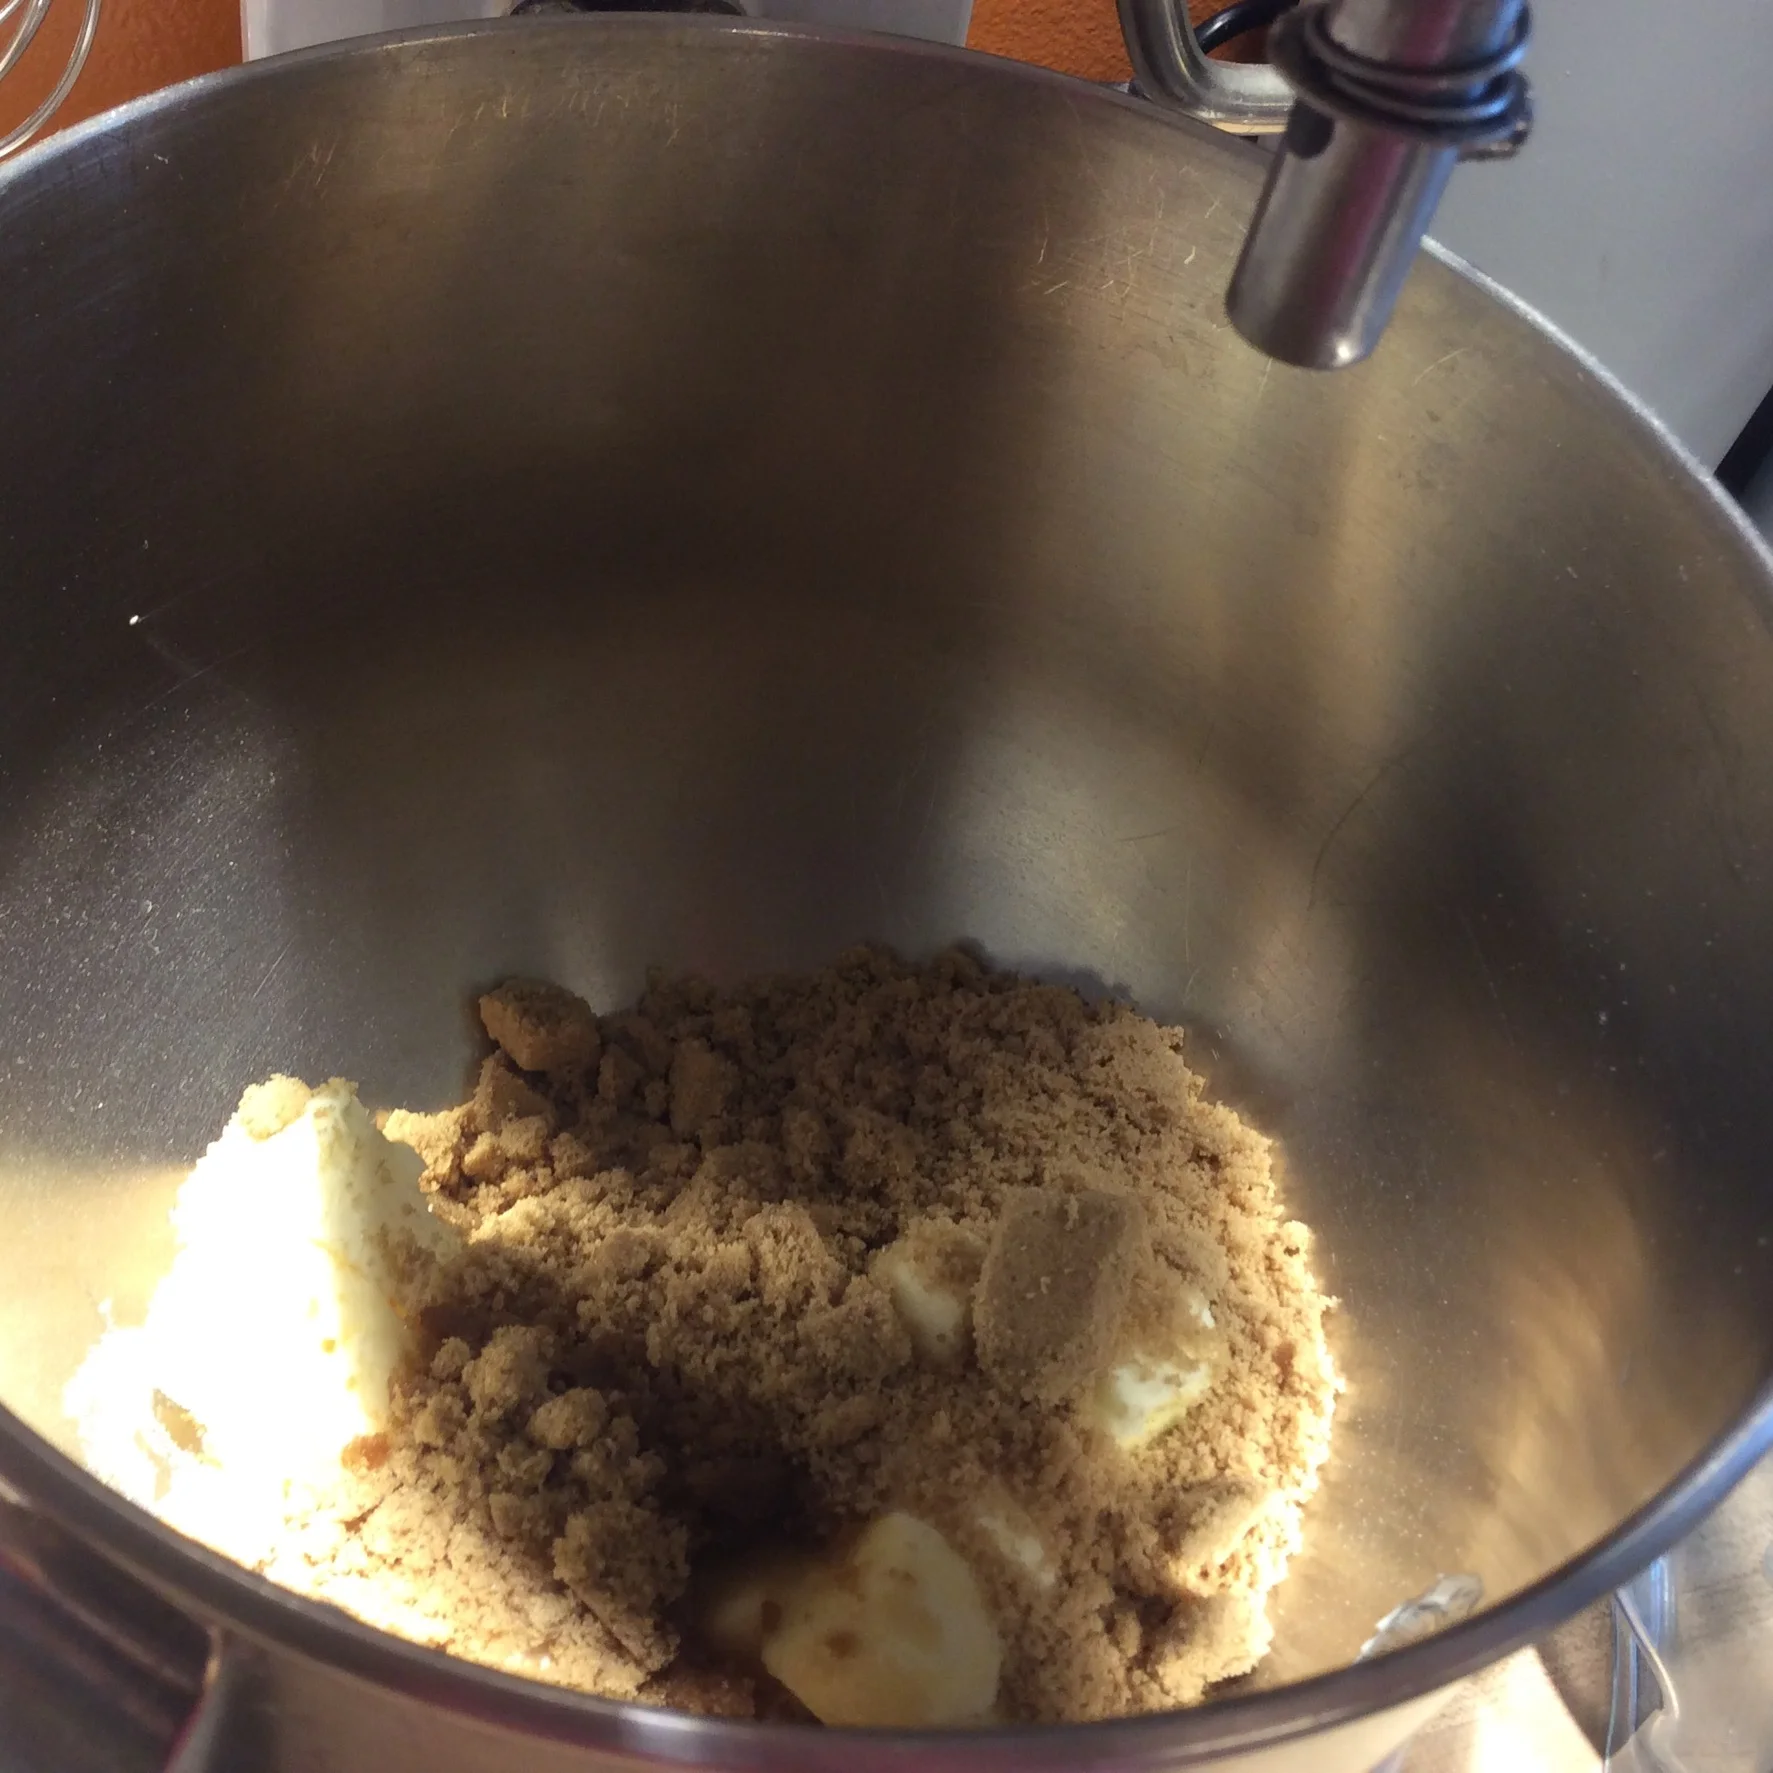
Butter, granulated sugar, brown sugar and vanilla
on low speed for about 30 seconds until combined, increase the speed to medium and mix until the mixture is smooth (about 2 minutes). The mixture should not lighten in color. Stop the mixer.
Scrape down the sides of the mixer and the paddle with a spatula.
2. With the mixer off, add the eggs one at a time, starting on low speed and then increase the speed to medium, mixing well after each addition. When the mixture changes from shiny to dull looking (about 45 seconds of mixing), add the next egg. Scrape down the sides of the bowl after each addition.
3. Add the peanut butter, mix until combined. Do not over mix.
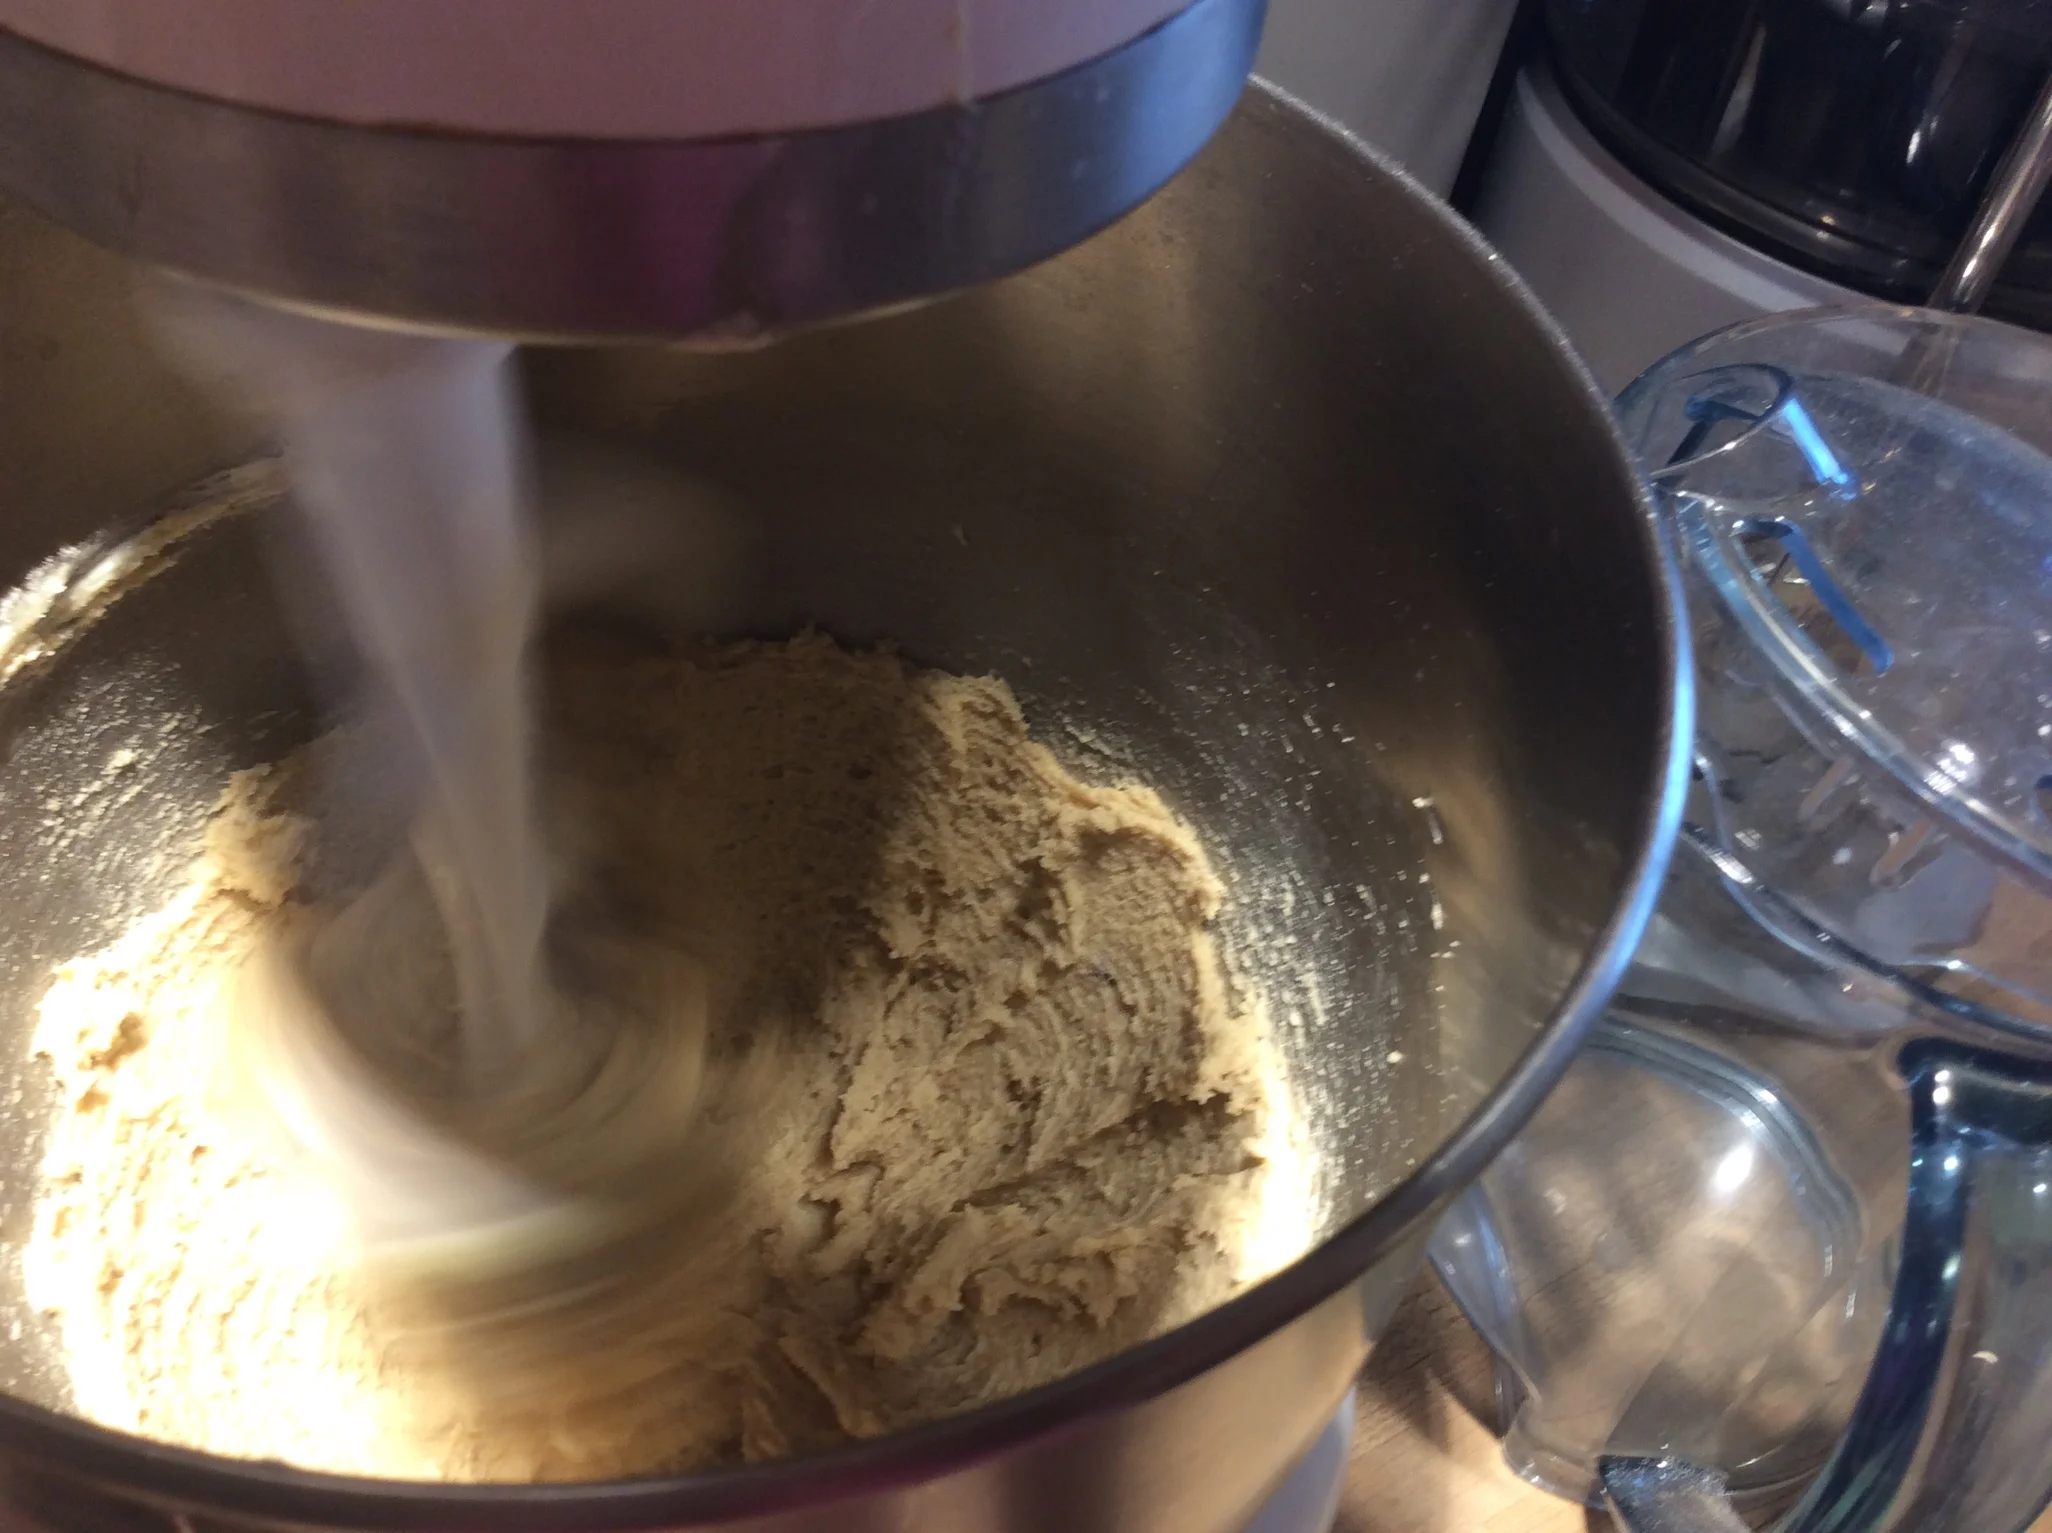
Peanut butter is in = mix only until combined - scrape down the bowl and the paddle
4. In a separate bowl or on a sheet of parchment paper sift together the dry ingredients.
5. Add the dry ingredients to the egg mixture. Turn the mixer onto low speed, mixing only until the flour disappears.
6. Add the optional chips and nuts only until they are mixed – do not overmix.
7. They can be mixed in by hand as well.
8. Chill the dough in the refrigerator for one hour minimum.
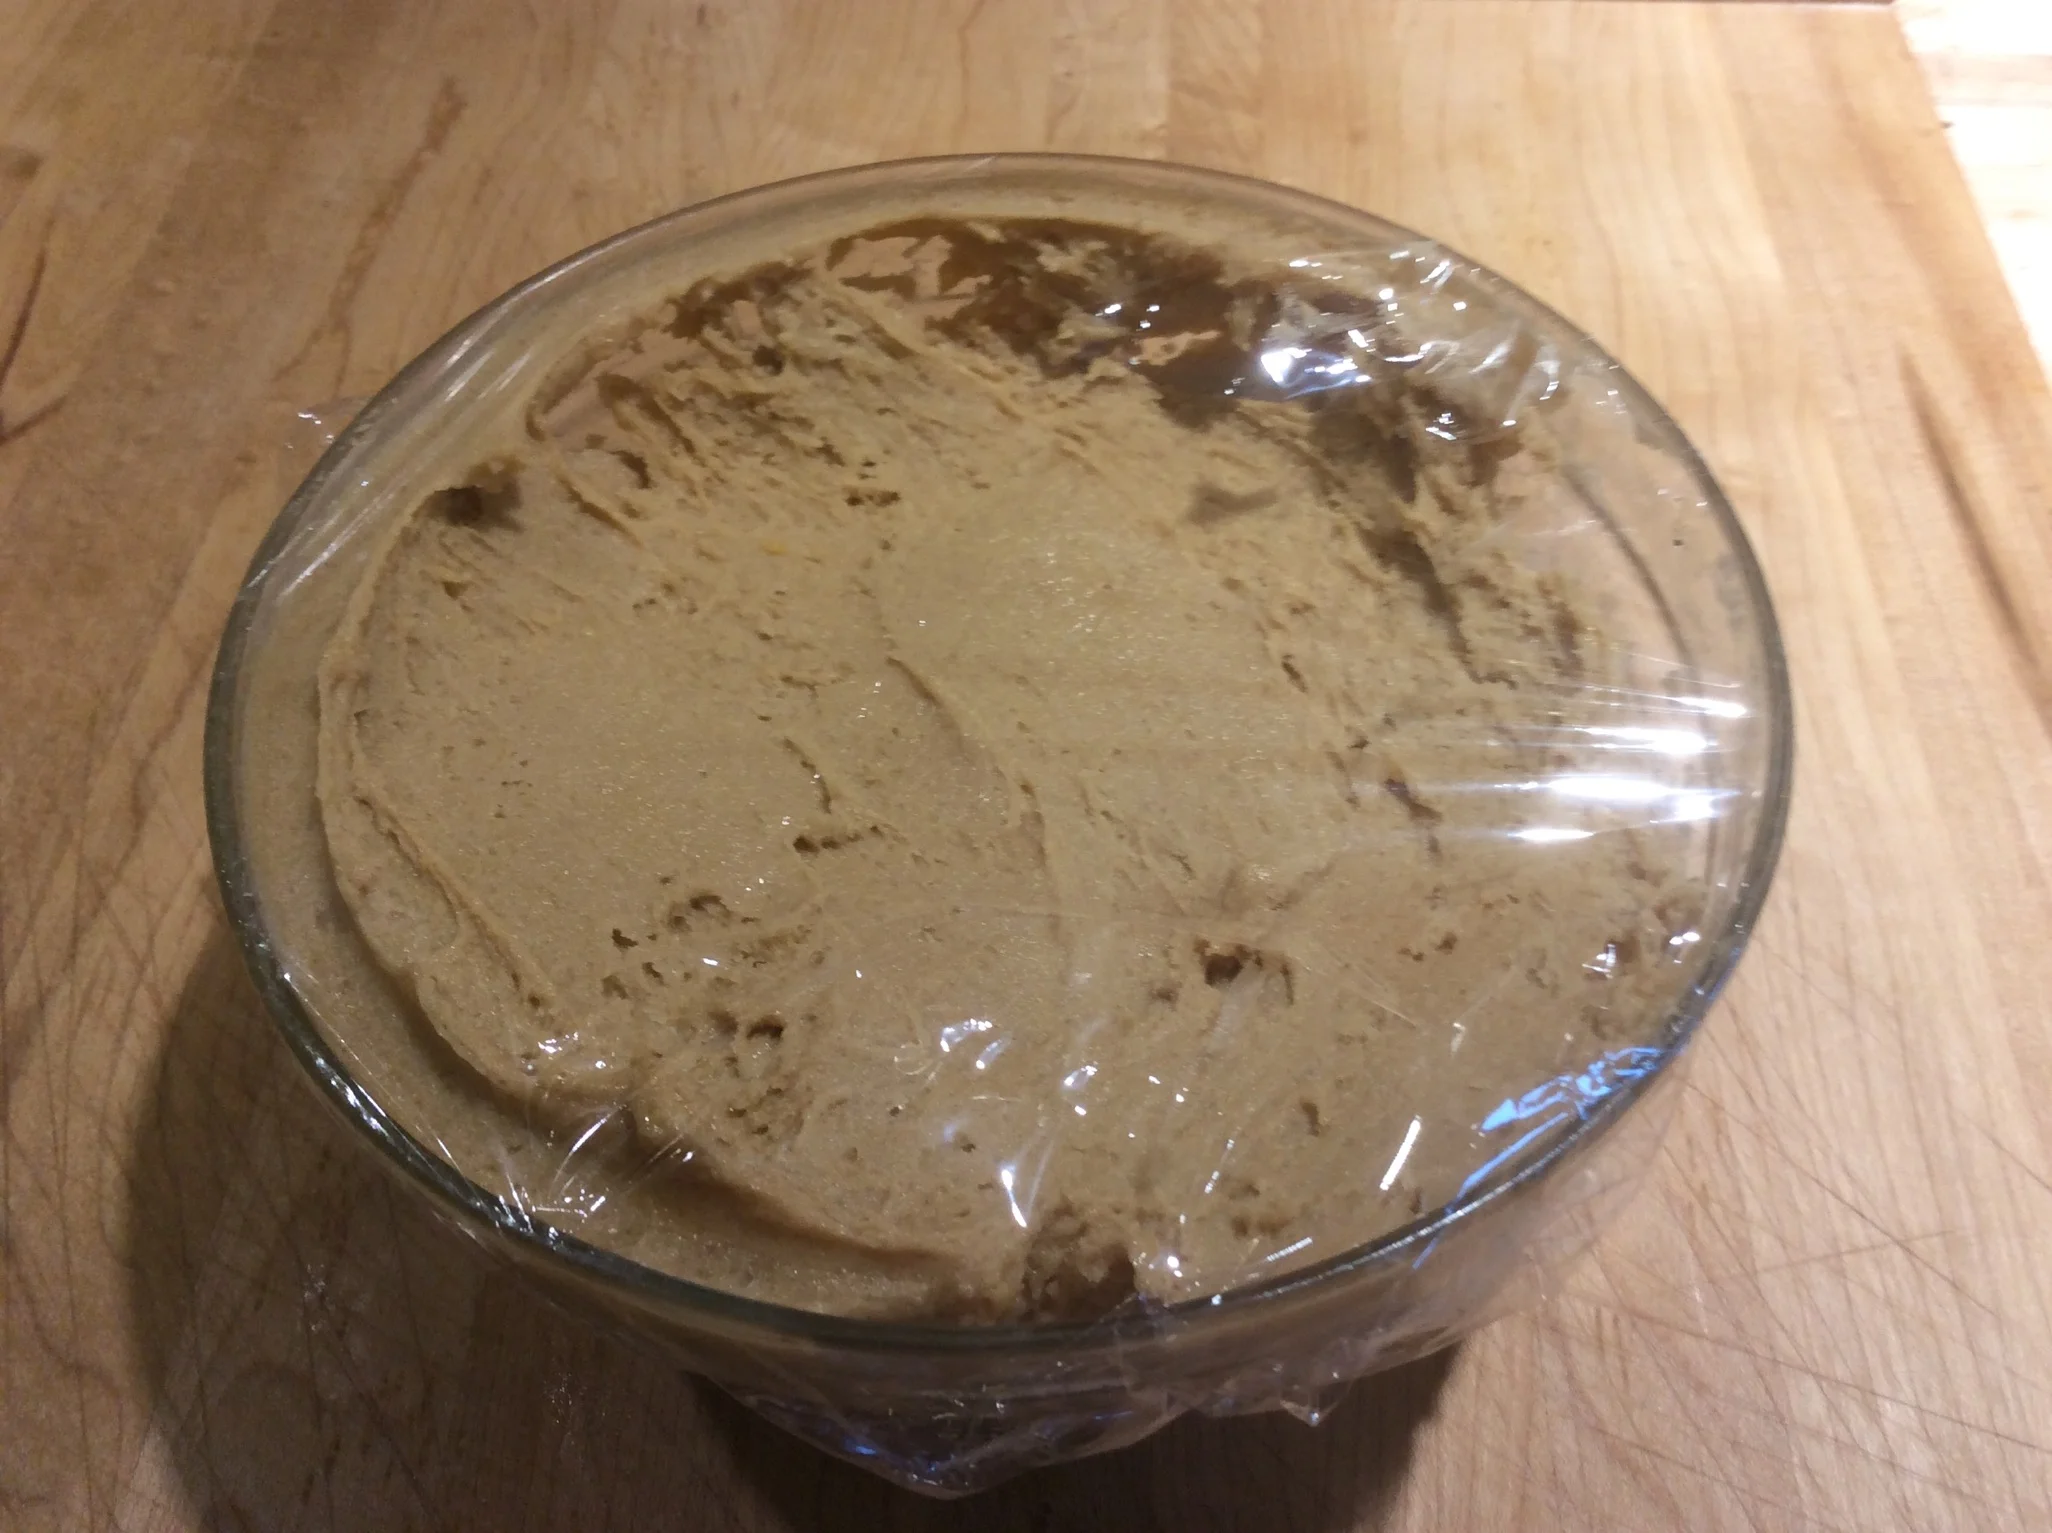
Peanut Butter Cookie Dough in Bowl - can stay in refrigerator for up to 3 days before scooping....
9. Preheat the oven to 350 degrees,(180C, Gas mark 4). Place rack in center of oven.
10. Scoop onto parchment lined pan, cookies should be 1 1/2" apart.
11. Dip fork in extra sugar and create a cross hatch pattern on top of each cookie.
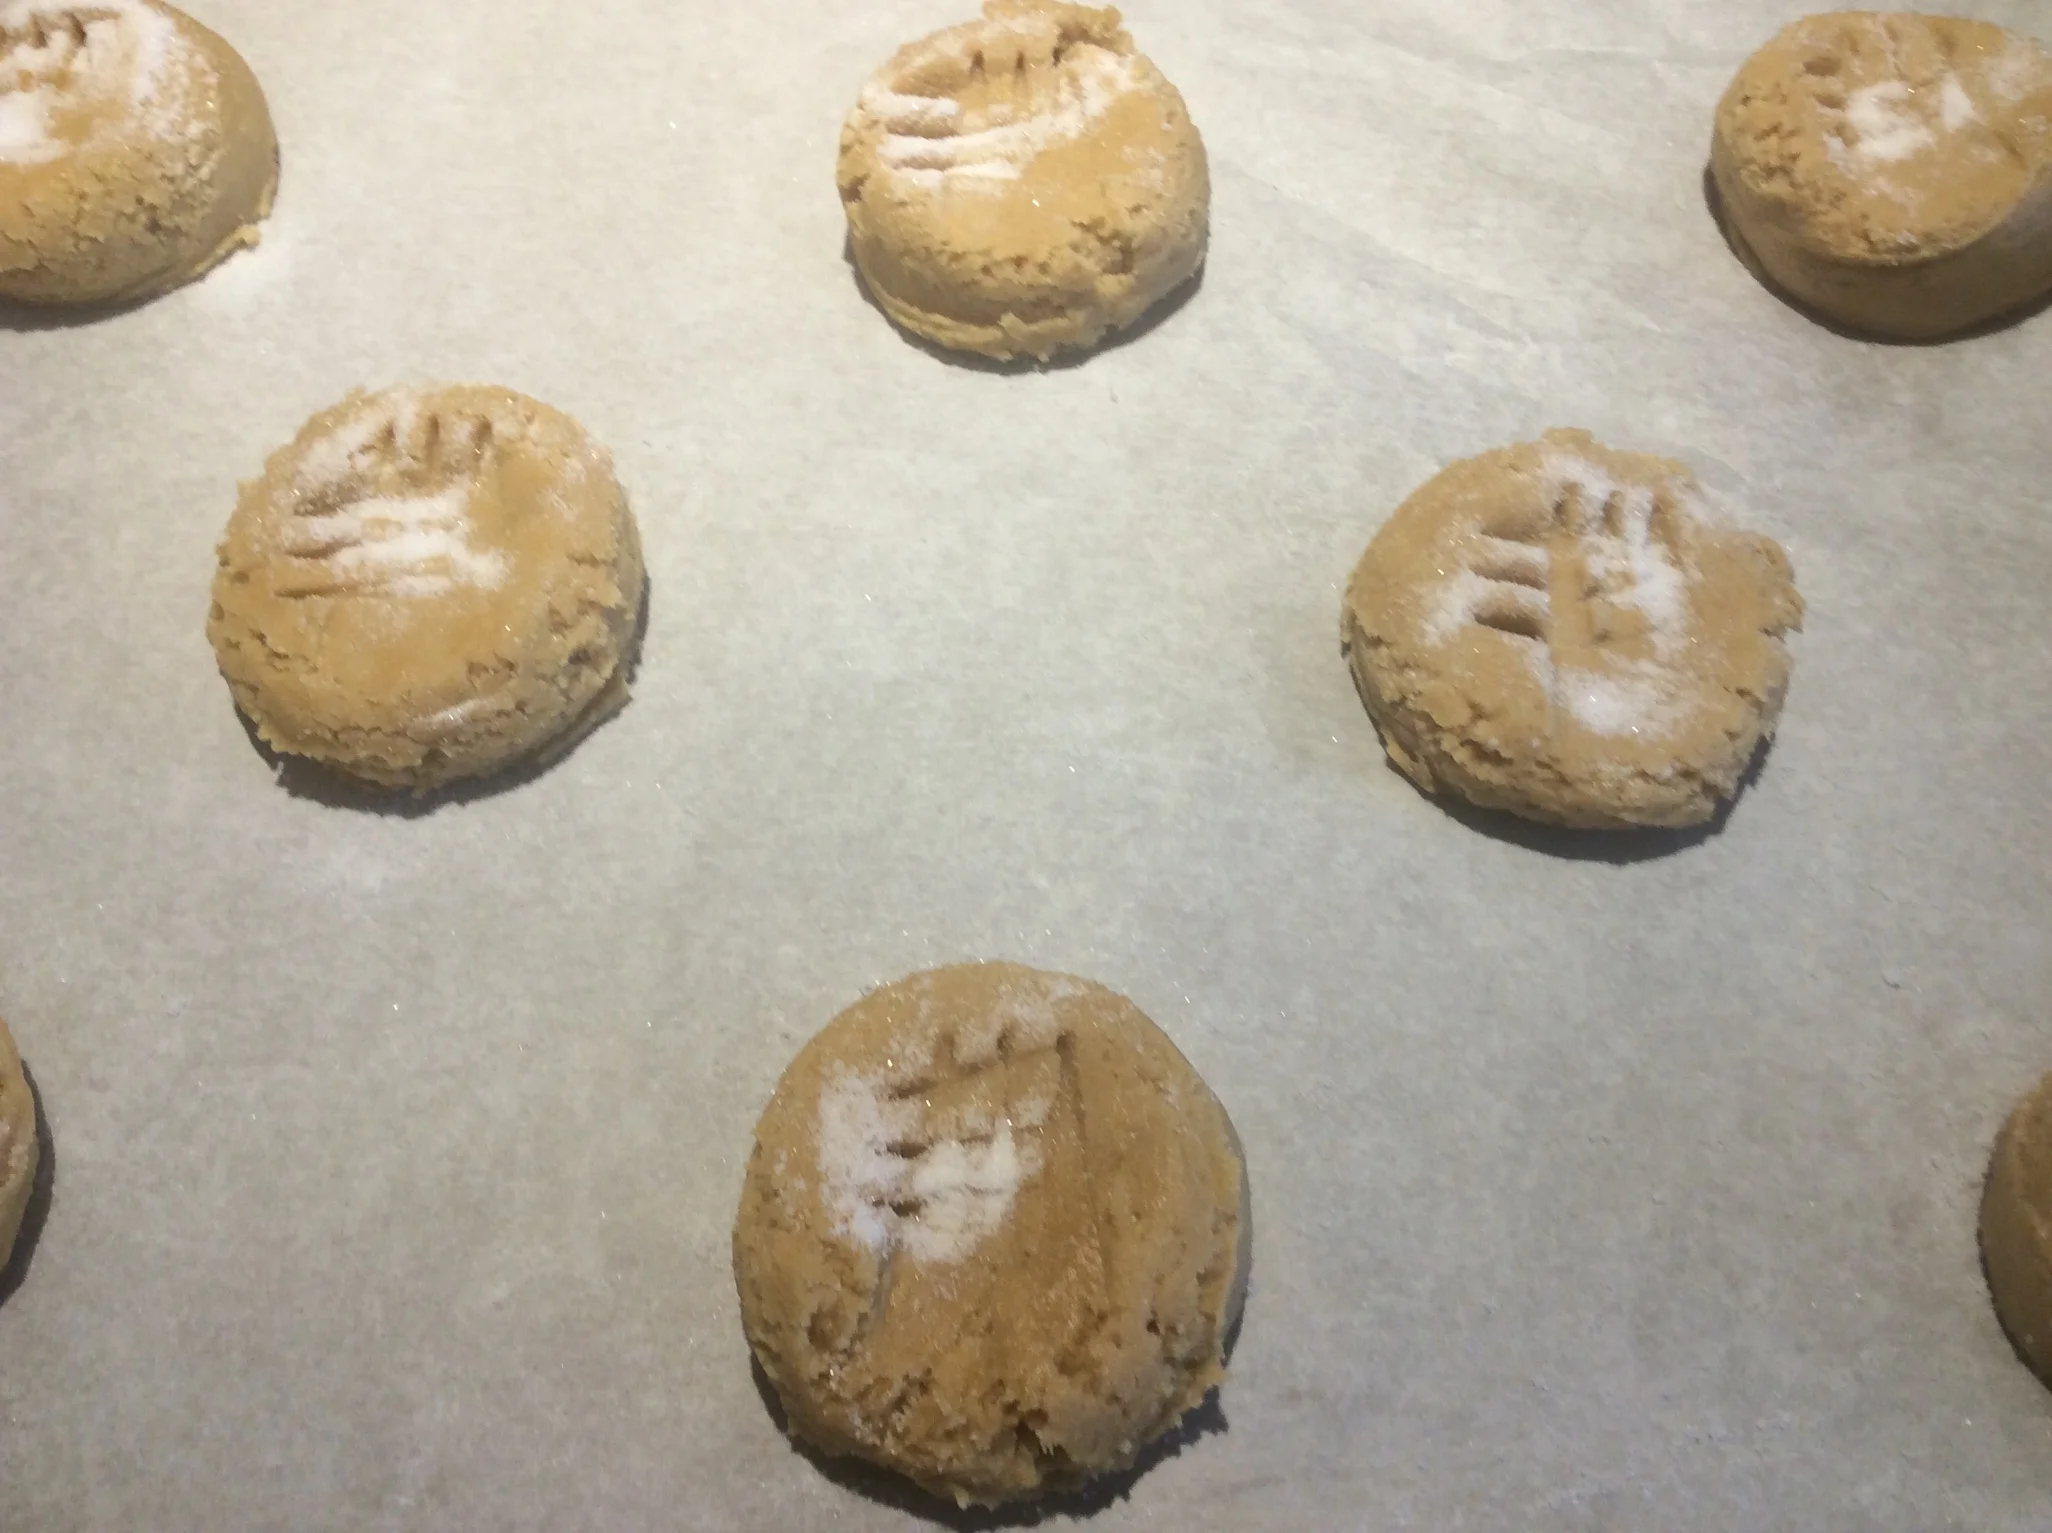
Scooped, sugared and forked.
12. Bake at 350 degrees, 180C, Gas mark 4.
13. Start checking in 10 minutes. If the cookie bottoms are over browning, double pan them. Continue to bake. Check in 4-6 minute intervals. The cookies are done when they are a light golden brown on the edges. The center should still be light but not wet.
Let cool on the pan for 5 -7 minutes before moving to a cooling rack.
Store the cookies in an airtight container. They will keep for several days.