Hello Bakers,
On Saturday’s episode the bulk of the questions were about sourdoughs, maintaining starters and breads. As the questions started coming in this week the vibe was all about bread. BTW - here is a link to the show - you can also find it archived on IG @ bakingwcolette. DoughDr Episode 1/7/23
There was a great question about hydration levels in breads from one of our bakers - this has inspired me to create a series of upcoming bread demos on the show teaching how hydration levels affect bread making - I polled the audience and got an enthusiastic response so we will be working low to high - starting with bagels - the lowest hydrated dough.
But first for those of you who are entranced by sourdough - the following is a tutorial for setting up a basic starter.
In this post, I want to show you how to start a sourdough starter in a simple and intentional way.
First ingredients and equipment.
So first - I want you to know that good quality bread flour is all you need. Most of the time, I am working with either Gold Medal Better than Bread or KA Bread Flour. Sometimes I order from Central Milling but most of the time I am using the brands that I can by close by - so don’t feel like you need anything special. BUT it does need to be unbleached and it will say so on the label.
And if you are starting your starter and you have read that rye flour is better to use at the beginning - it’s fine to start with rye. Rye flour is high in nutrients and fermentable sugars so it provides a great initial food source for the yeast.
Basic Bread Equipment:
1. Scale, set of bowls, stand mixer (very helpful), spatulas, dough scraper, sheet pans, parchment paper, serrated knife, spray bottle just for water, storage container for your starter - can be glass or plastic needs to be tall enough to contain the expanding starter, plastic wrap.
Bread Extras:
2. Bread (pizza) peel - here is a link to my favorite. Pizza Peel - it folds!
Lame - link to one I like Lame Example
Starting your basic starter - once it’s thriving - then you can transform it - make it wheat, rye, tight or loose - while maintaining a solid base.
To start your starter:
Choose a time that works for you - when you are in the thick of building your starter in the upcoming days - it will be every 12 hours.
Day 1: combine 50g of water (78 degrees) filtered is best - but tap can also be used and 50g bread flour (unbleached) or rye flour. Mix well and cover with piece of plastic wrap, secure the plastic wrap with a rubber band and leave out at room temperature.
Day 2: no feeding.
Day 3: Feed the starter 50g bread flour and 35g water. Mix until well combined. Cover and let sit 24 hours.
Day 4: Discard all but 75g of the starter - the discard is not usable at this time so compost it or throw it in the trash. Feed 50g of water and 75g of bread flour.
Day 5: Now the every 12 hour feedings start. Choose a time that works for you. I am an early bird so I feed my starter at 7:00AM and 7:00PM.
The pattern is every 12 hours, discard all but 50g of the starter and feed it 50g of water and 50g of bread flour. Store at room temperature, covered with the plastic wrap between feeding. More bubbles will begin appearing and it will start to look quite active.
Day 6: Discard all but 50g of the starter and feed 50g water and 50g bread flour.
Note: if you have started with rye flour - transition to bread flour starting on day 4.

The smell coming off the starter will be yeasty.
If there is any red liquid around the edges and it begins to smell bad - discard the whole thing and start over. Note: I have only had this happen once in all these years of sourdough baking! So it’s rare that a starter goes bad. The stinky red liquid comes from spoilage yeast microorganisms that haunt the mostly refrigerated environments - the same microorganisms that spoil long forgotten opened containers of ricotta and cottage cheese.
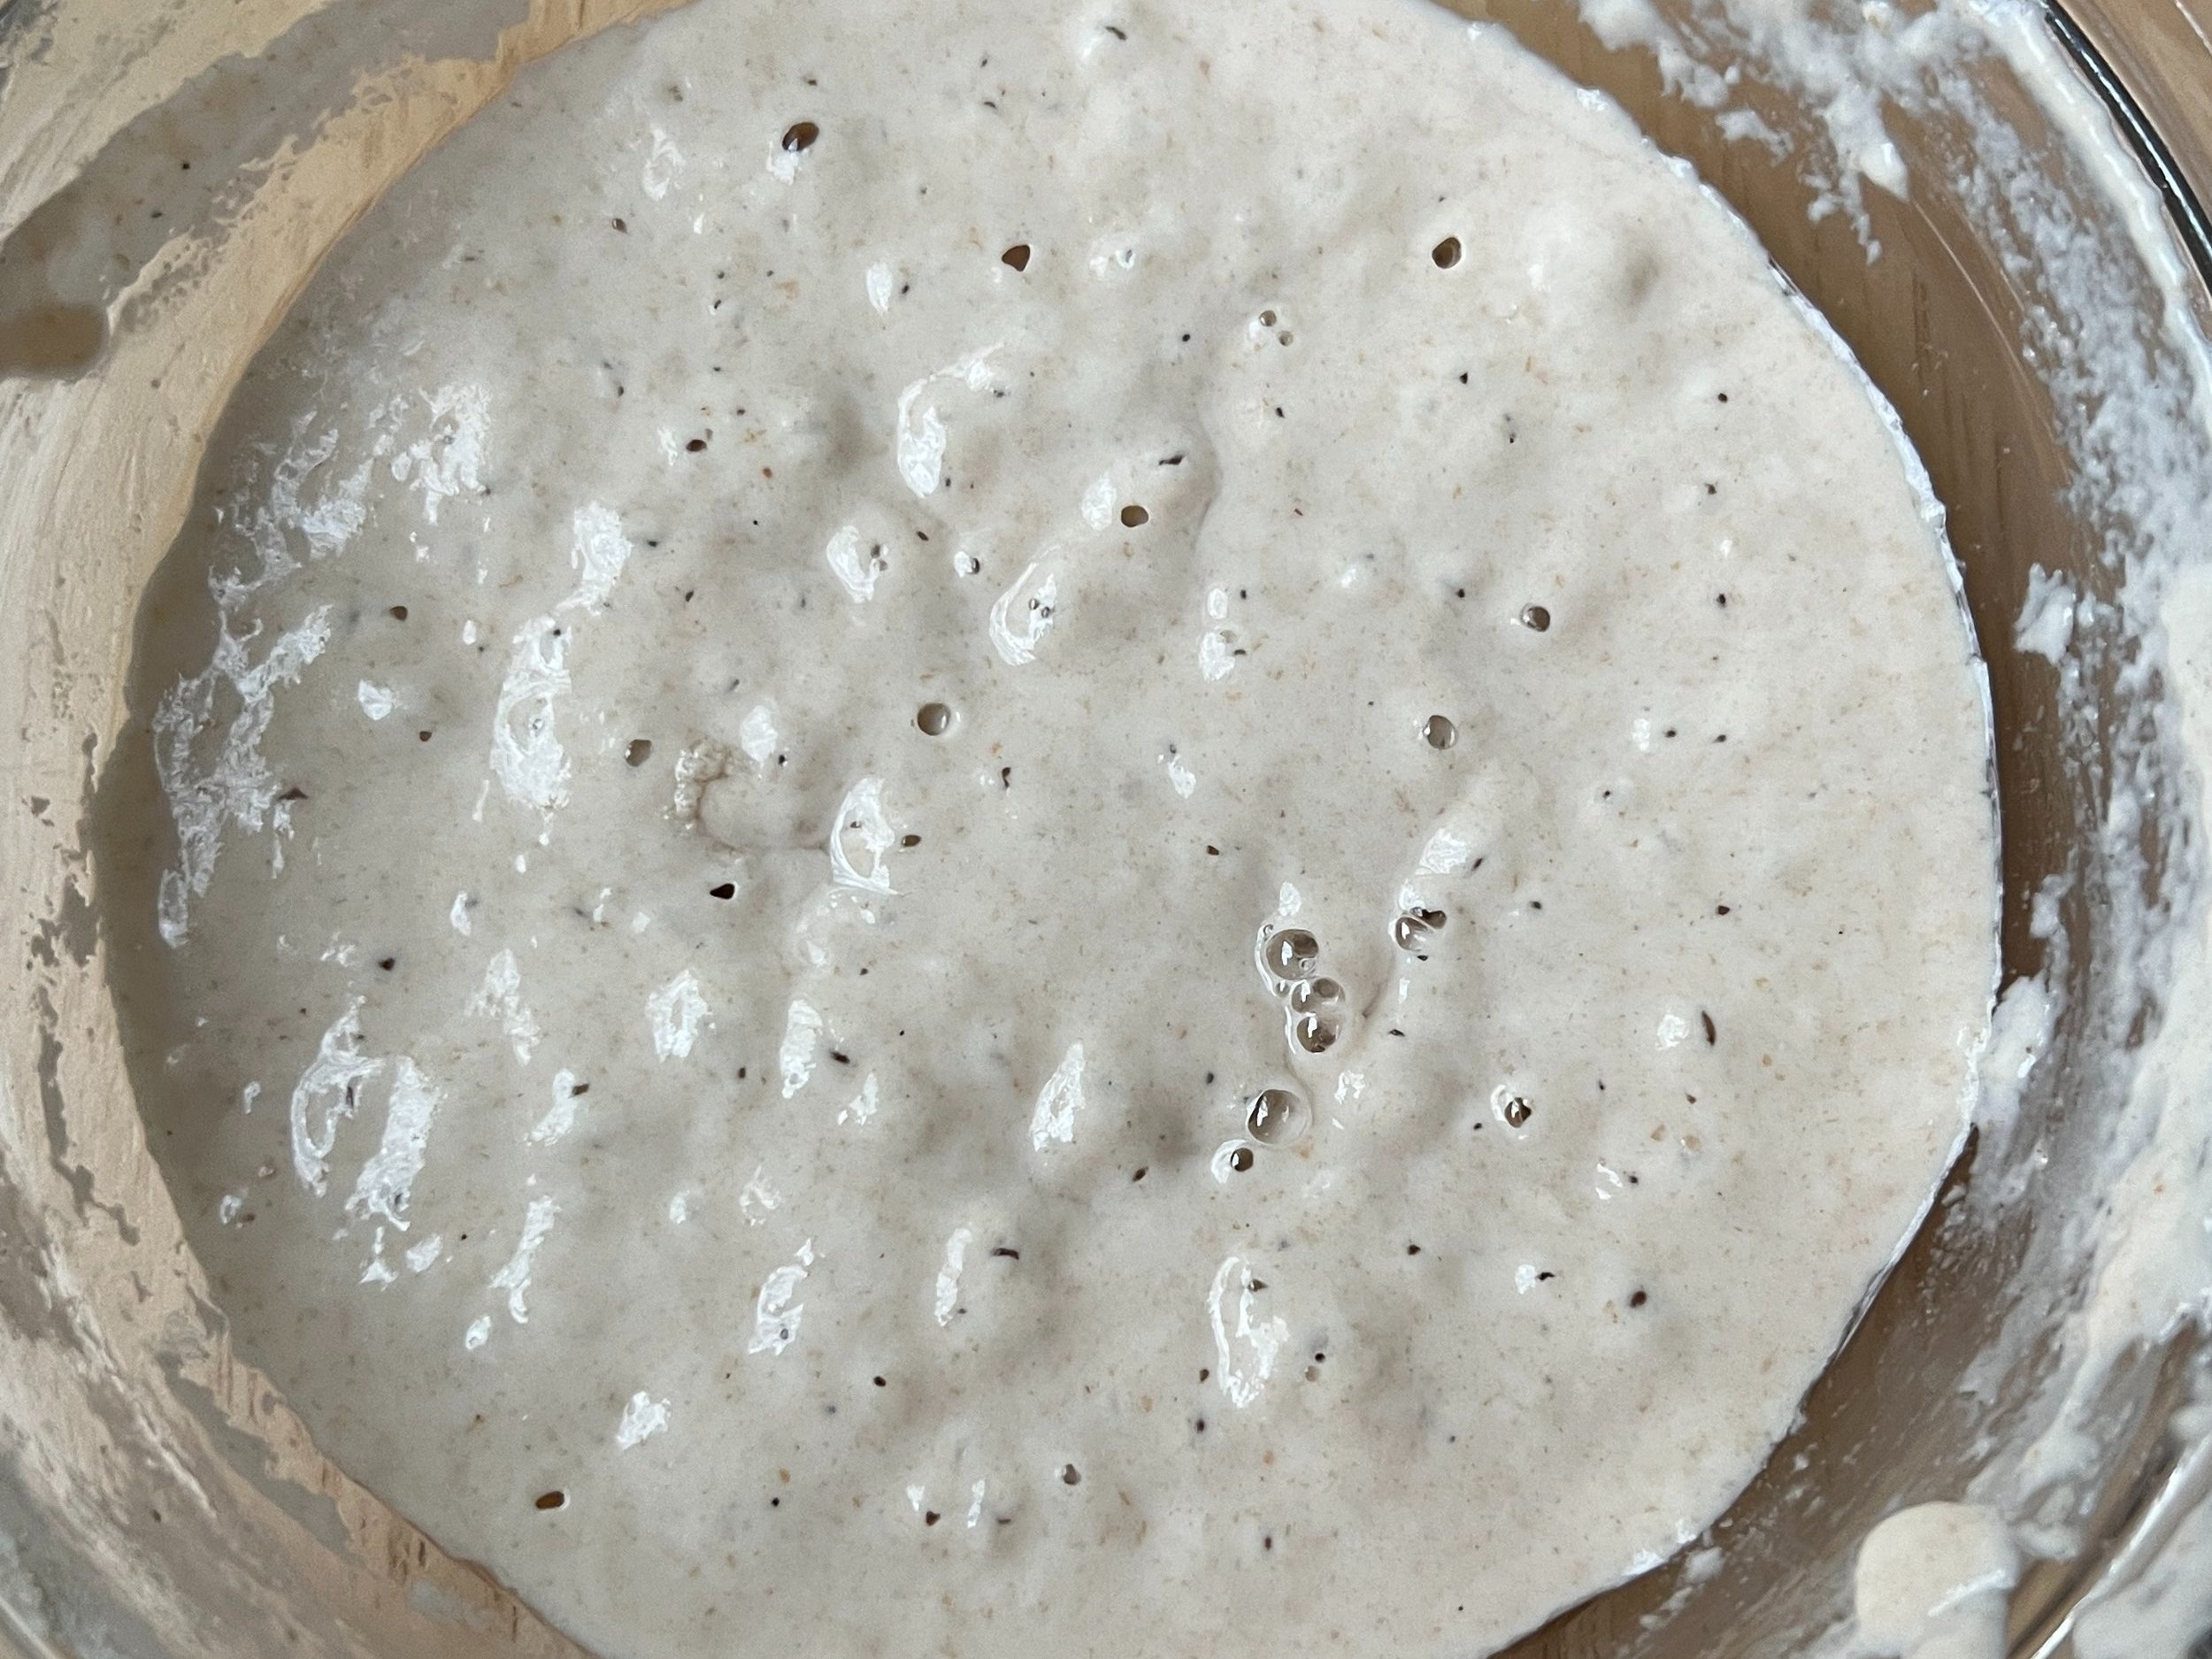
Back to building our starter. This is what we are looking for.
If you want me to check your progress - DM me a photo at bakingwcolette.
Next week on the show we will start our bread adventure working with hydration levels - low to high. First dough - bagels. For demo next week I will demonstrate the finished dough, shaping and the final bake. The recipe will then be published here on Monday morning.
Please join me next week at noon Pacific @bakingwcolette on Instagram.