
Hello Bakers,
Here is the companion recipe to today's Ingredient Function Friday, Episode 12. In case you missed it you can click on the IFF tab and check it out.
This recipe is from my Craftsy class, 25 Essential Baking Techniques. These are easy and delicious.
As I said in the segment, this recipe can be customized to be savory, add cheese, chopped crisp bacon, herbs, scallions - anything you want.
The first baker who posts a photo of their finished biscuits will receive a container of La Baleine Sea Salt! You can post here or email me at BakingwithColette@gmail.com or on any of my social media platforms. FB, Facebook.com/BakingwithColette, Twitter and Instagram: BakingwColette.
Be creative and have fun. Happy Baking! Colette
Yield: 8 to 10, depending on size of cutter
Equipment • Half sheet pan lined with parchment paper • Large mixing bowl • Bowl scraper • Pastry blender (optional) • Sifter • Rolling pin • Biscuit cutters • Bench scraper or chef’s knife • Pastry brush

Biscuit Mise en Place
Ingredients • 2 cups (9 ounces/255 g) unbleached all-purpose flour • 2 teaspoons baking powder • ½ teaspoon baking soda • 1 tablespoon sugar • ¾ teaspoon salt • 1 stick (4 ounces/113 g) unsalted butter, cubed and chilled • ¾ cup (6 ounces/170 g) buttermilk, store-bought or homemade, plus extra for brushing
1. Line half sheet tray with parchment paper.
2. Preheat the oven to 375 F (190 C). For convection 350 F (180 C).
3. Sift together dry ingredients in a large bowl.
4. Cut in the butter with a bowl scraper or pastry blender until the butter looks like small flakes.
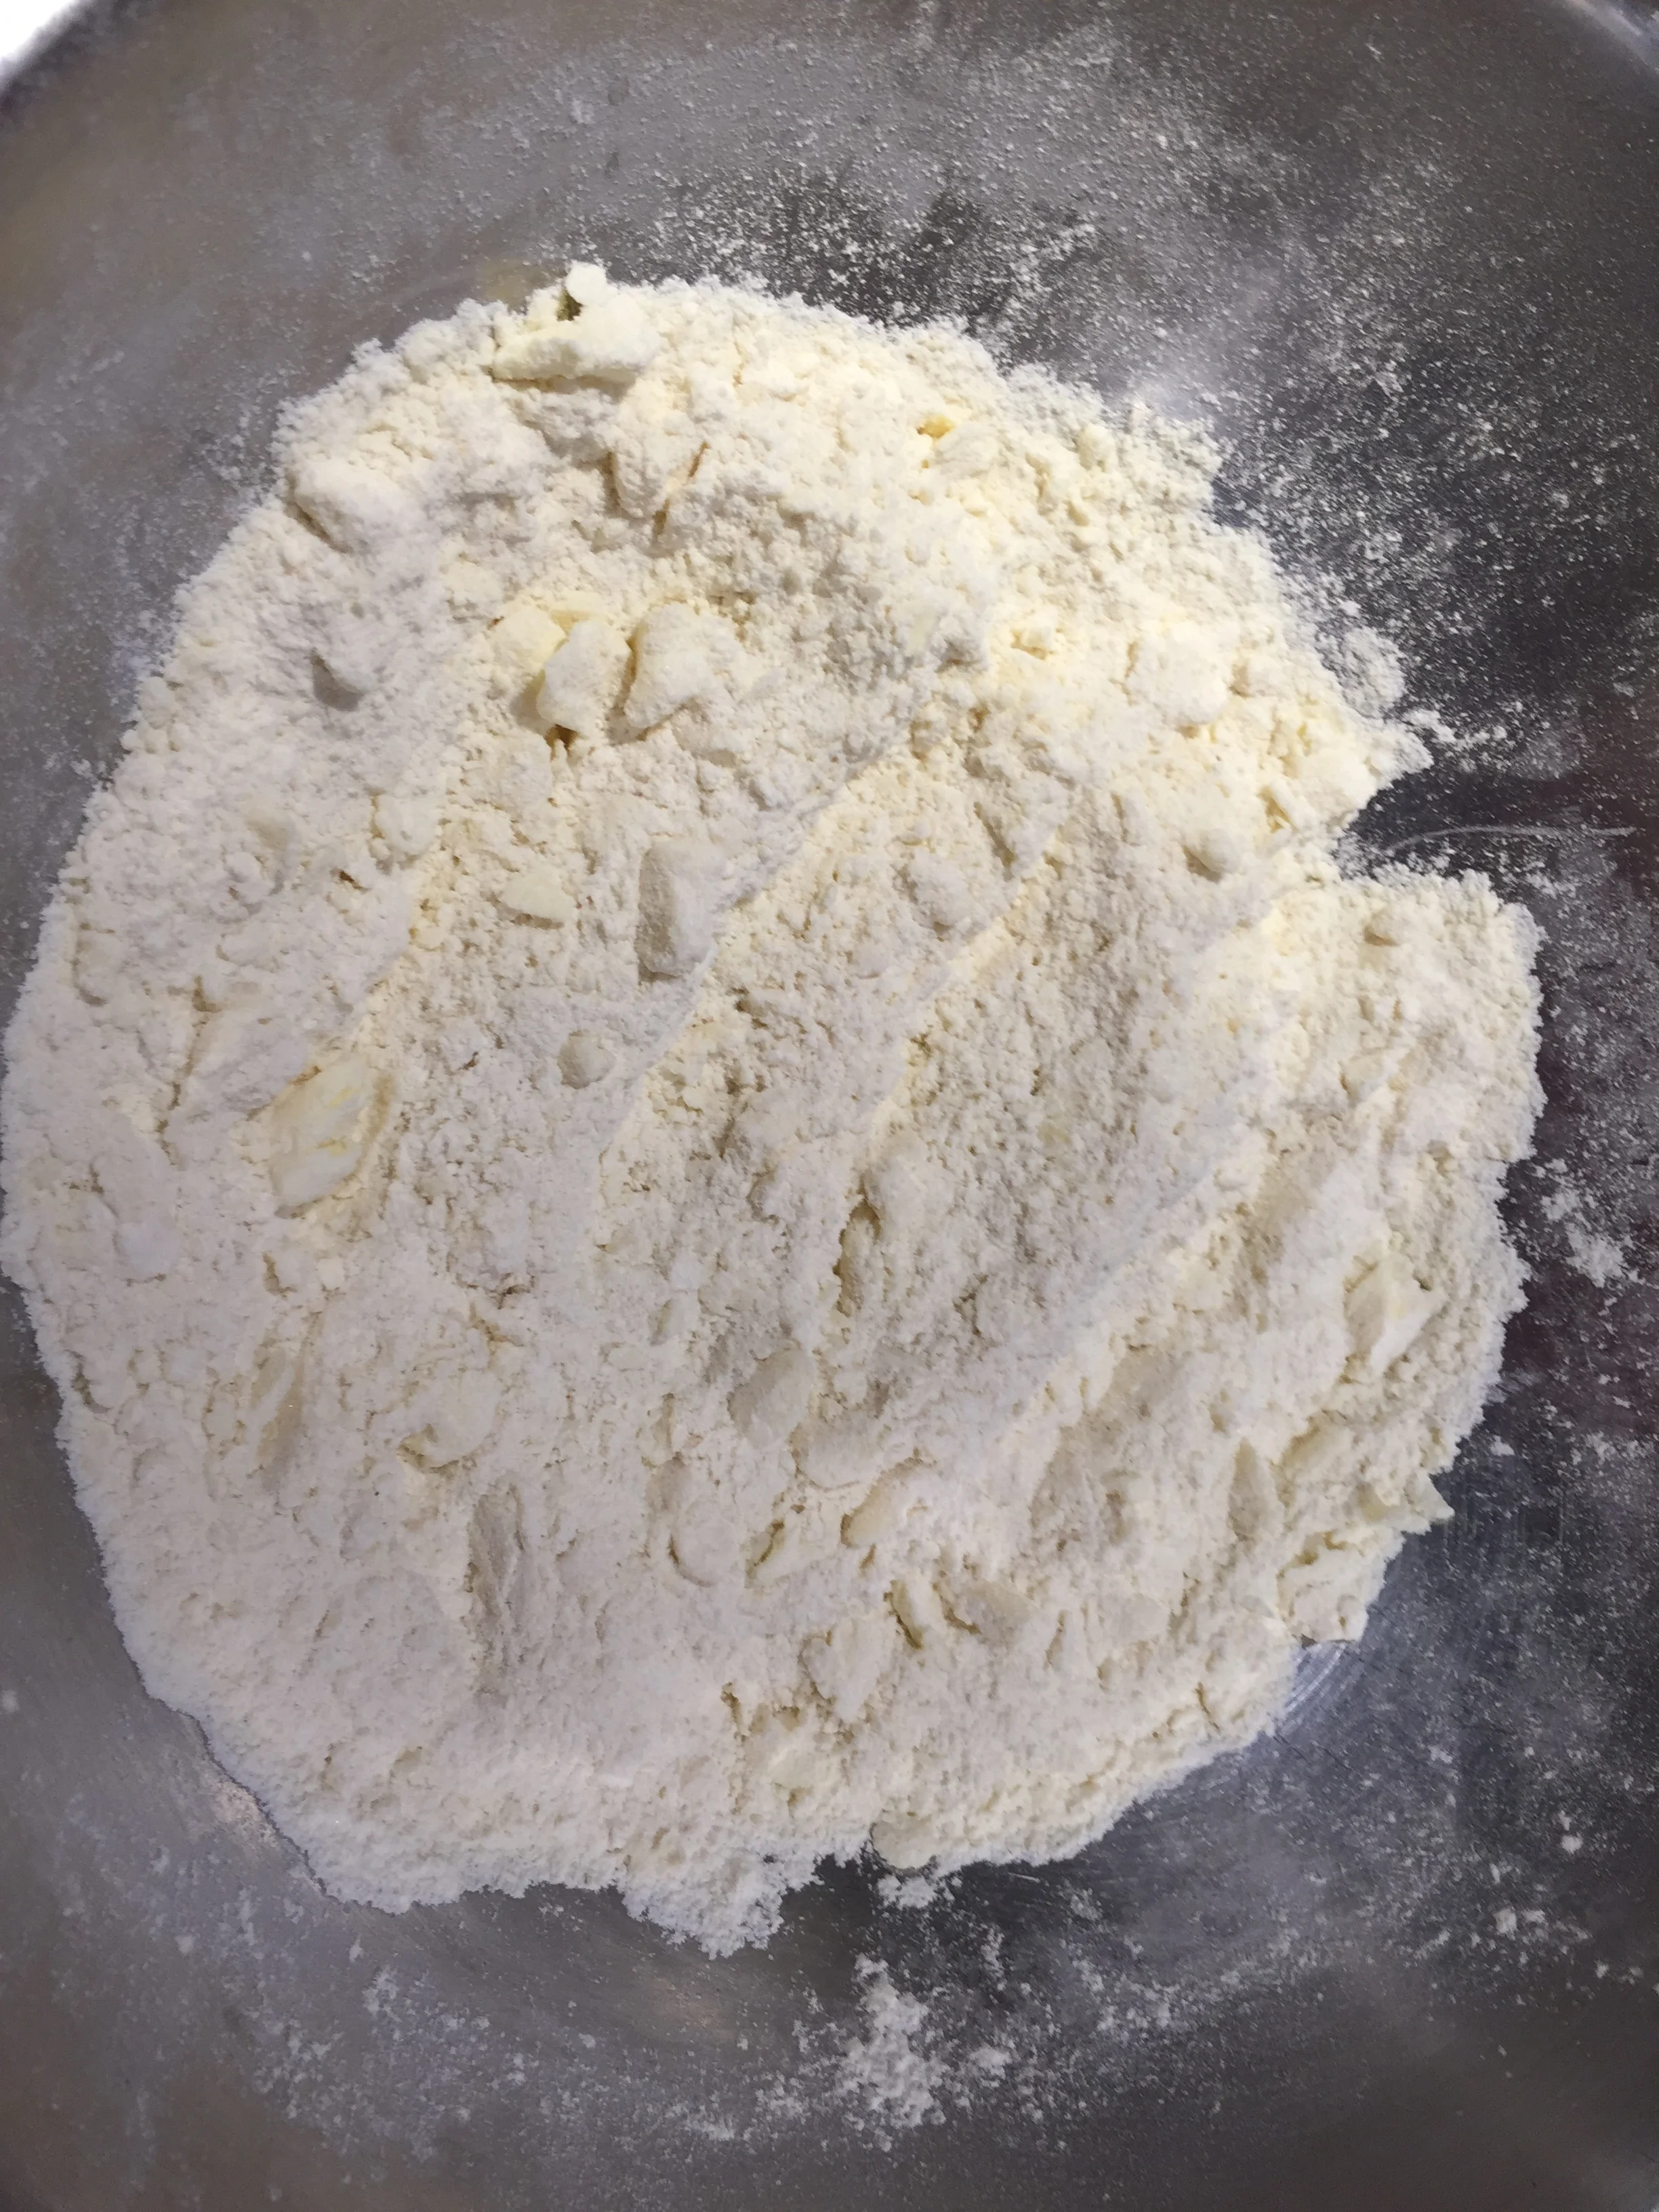
Cut in butter and flour
5. Add the buttermilk over the top of the dry ingredients, using the bowl scraper to push and fold the liquid into the flour.
6. If it looks dry add a little more buttermilk (a tablespoon at a time) around the edge the bowl.
7. Continue to mix and fold until all the dry ingredients are incorporated and there is no dry residue on the bottom of the bowl.
8. Turn the dough out onto a very lightly floured surface and fold briefly until smooth. The dough can also be rolled out and turn twice as shown in the video.
9. Roll the dough out into a 6"x 6" square, measure 1 1/2" squares across and down - this will yield 9 square biscuits. Cut the squares with a dough cutter or a chef knife.

6"x 6" Square
10. Place biscuits on a baking tray, 1 inch (2.5 cm) apart and chill in the refrigerator for 20-30 minutes.
11. Brush tops with buttermilk.
12. Bake the biscuits. Start checking in 14 minutes.
Check for doneness by picking one up - it should feel light and be golden brown in color.
13. Usually, more baking time is needed, reduce the oven temperature by 25 F (15 C) and continue to bake, checking in 5-7 minute intervals.
14. Cool for a few minutes on a rack. Serve warm. Note: Leftover biscuits freeze well. Wrap and hold for up to one month. Thaw and refresh in a 350 F (180 C) oven 5-7 minutes before serving.