
Hello Bakers,
It's Halloween again and that means when it is all over you will have leftover Halloween Candy. There are lots of cleaver ideas about what to do with it. The favorite seems to be to fold it into brownie batter and bake it. My assistant from Sur La Table, Tatiana, suggested that I create a cake with the leftover candy.
She always give me good advice.
Now here is a bit of science...I had to decrease the sugar in the cake to make up for the sugar in the candy - and I needed to increase the cake flour a little so the cake would have enough structure. And lastly, instead of milk (which is normally used for this kind of a cake) I used buttermilk for the liquid. My hope was that tang of the buttermilk would offset the sweetness of the cake.
The cake is iced in Italian Meringue - I decreased the sugar a little here too and notice we are not turning it into a buttercream - that would be too much.
I hope you enjoy making this cake - and the same recipe could be made with leftover Easter candy, except I am not sure about Peeps...
Happy Halloween and Happy Baking!
Colette
Halloween Candy Cake
Makes 1 8” 2 layer cake or 1 13x9” cake or 12 cupcakes
Components: 2 8” layers or 12 cupcakes
1 recipe Italian Meringue
Extra Halloween candies for decorating
Equipment: 2 8" cake pans, greased and lined with parchment paper circles, or 13X9" pan, greased and lined or 12 cup muffin pan, lined with paper liners.
Stand mixer or handheld mixer.
Rubber spatula
Cooling rack
Timer for mixing and baking times
Assembling Equipment: Serrated knife, offset spatula, cardboard cake round, cake turntable (optional but useful), creme brulee torch (optional but necessary if you want to toast your meringue)

Halloween Cake Mise en Place
4 large eggs
6 ounces (170g) buttermilk or sour cream
2 teaspoons vanilla extract
9.4 ounces (267g) cake flour
10 ounces (283g) sugar
1 1/2 teaspoons baking powder
1/4 teaspoon salt
2 sticks of unsalted butter, 8 ounces, (227g), softened
5 ounces (142g) of assorted Halloween candy, chopped into small pieces
Preheat the oven to 350 degrees.
Whisk together eggs, buttermilk or sour cream and vanilla until just mixed.
Just combined – eggs should be incorporated but do not over whisk.
Sift the dry ingredients together in the mixer bowl of a stand mixer fitted with the paddle attachment.
Add the butter to the mixer and starting on low speed mix until the butter and flour look sandy and pebbly with pieces about the size of peas.
Stop the mixer and add the buttermilk, egg and vanilla mixture.
And mix at the lowest speed until incorporated. Then mix at medium speed for 2 minutes. The batter will now be light and fluffy.
Return the mixer at low speed, turn it back on and add the remaining milk mixture. Mix until incorporated about 20-30 seconds. Turn off mixer and scrape down the bowl. Mix on medium high speed (speed 8) for 2 more minutes. The mixture may look a little broken but that is fine.
Remove the bowl from the mixer and add the chopped Halloween candies.
Divide the batter between the prepared pans or (if making cupcakes scoop into paper lined tin.)
Start checking for doneness in about 20 minutes. The cake layers or cupcakes are done when a skewer or cake tester comes out clean.
Place on a cooling rack to cook for about 30 minutes.
The cake (or cupcakes) should be completely cool before decorating.

Butter added to sifted flour and sugar in mixing bowl, egg, buttermilk and vanilla mixture standing by with the chopped candy...
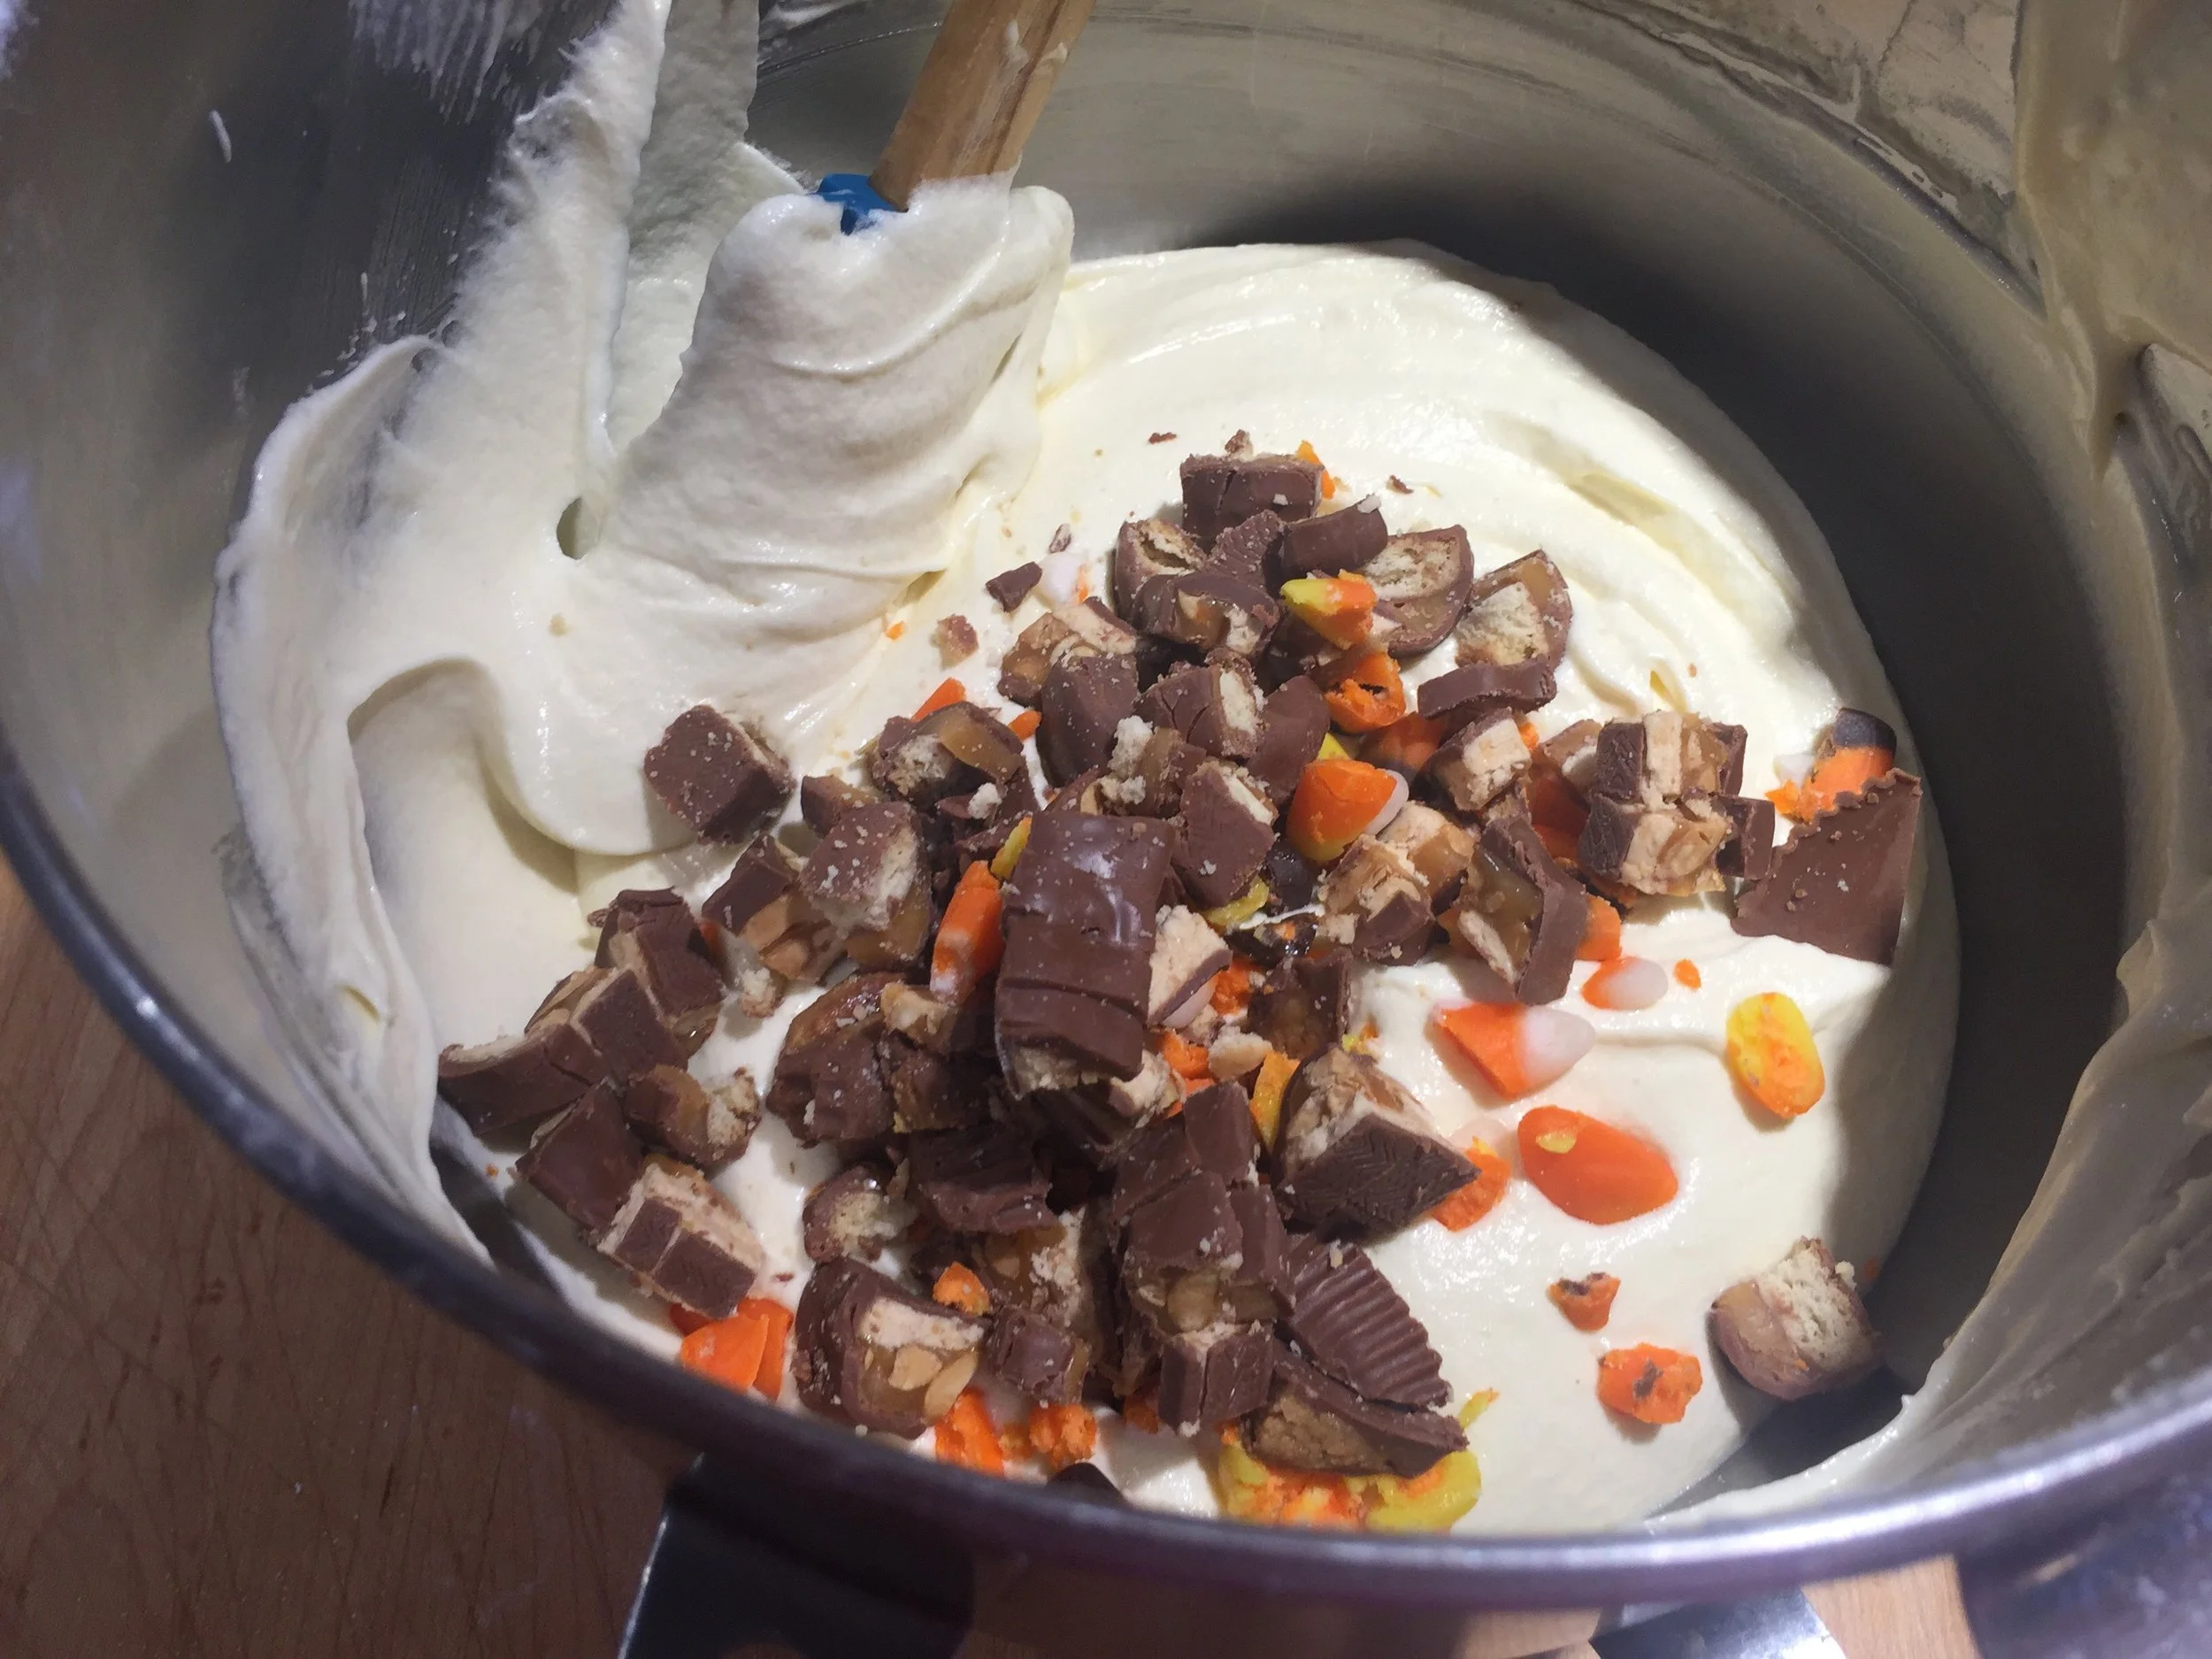
Candy ready to be folded in...
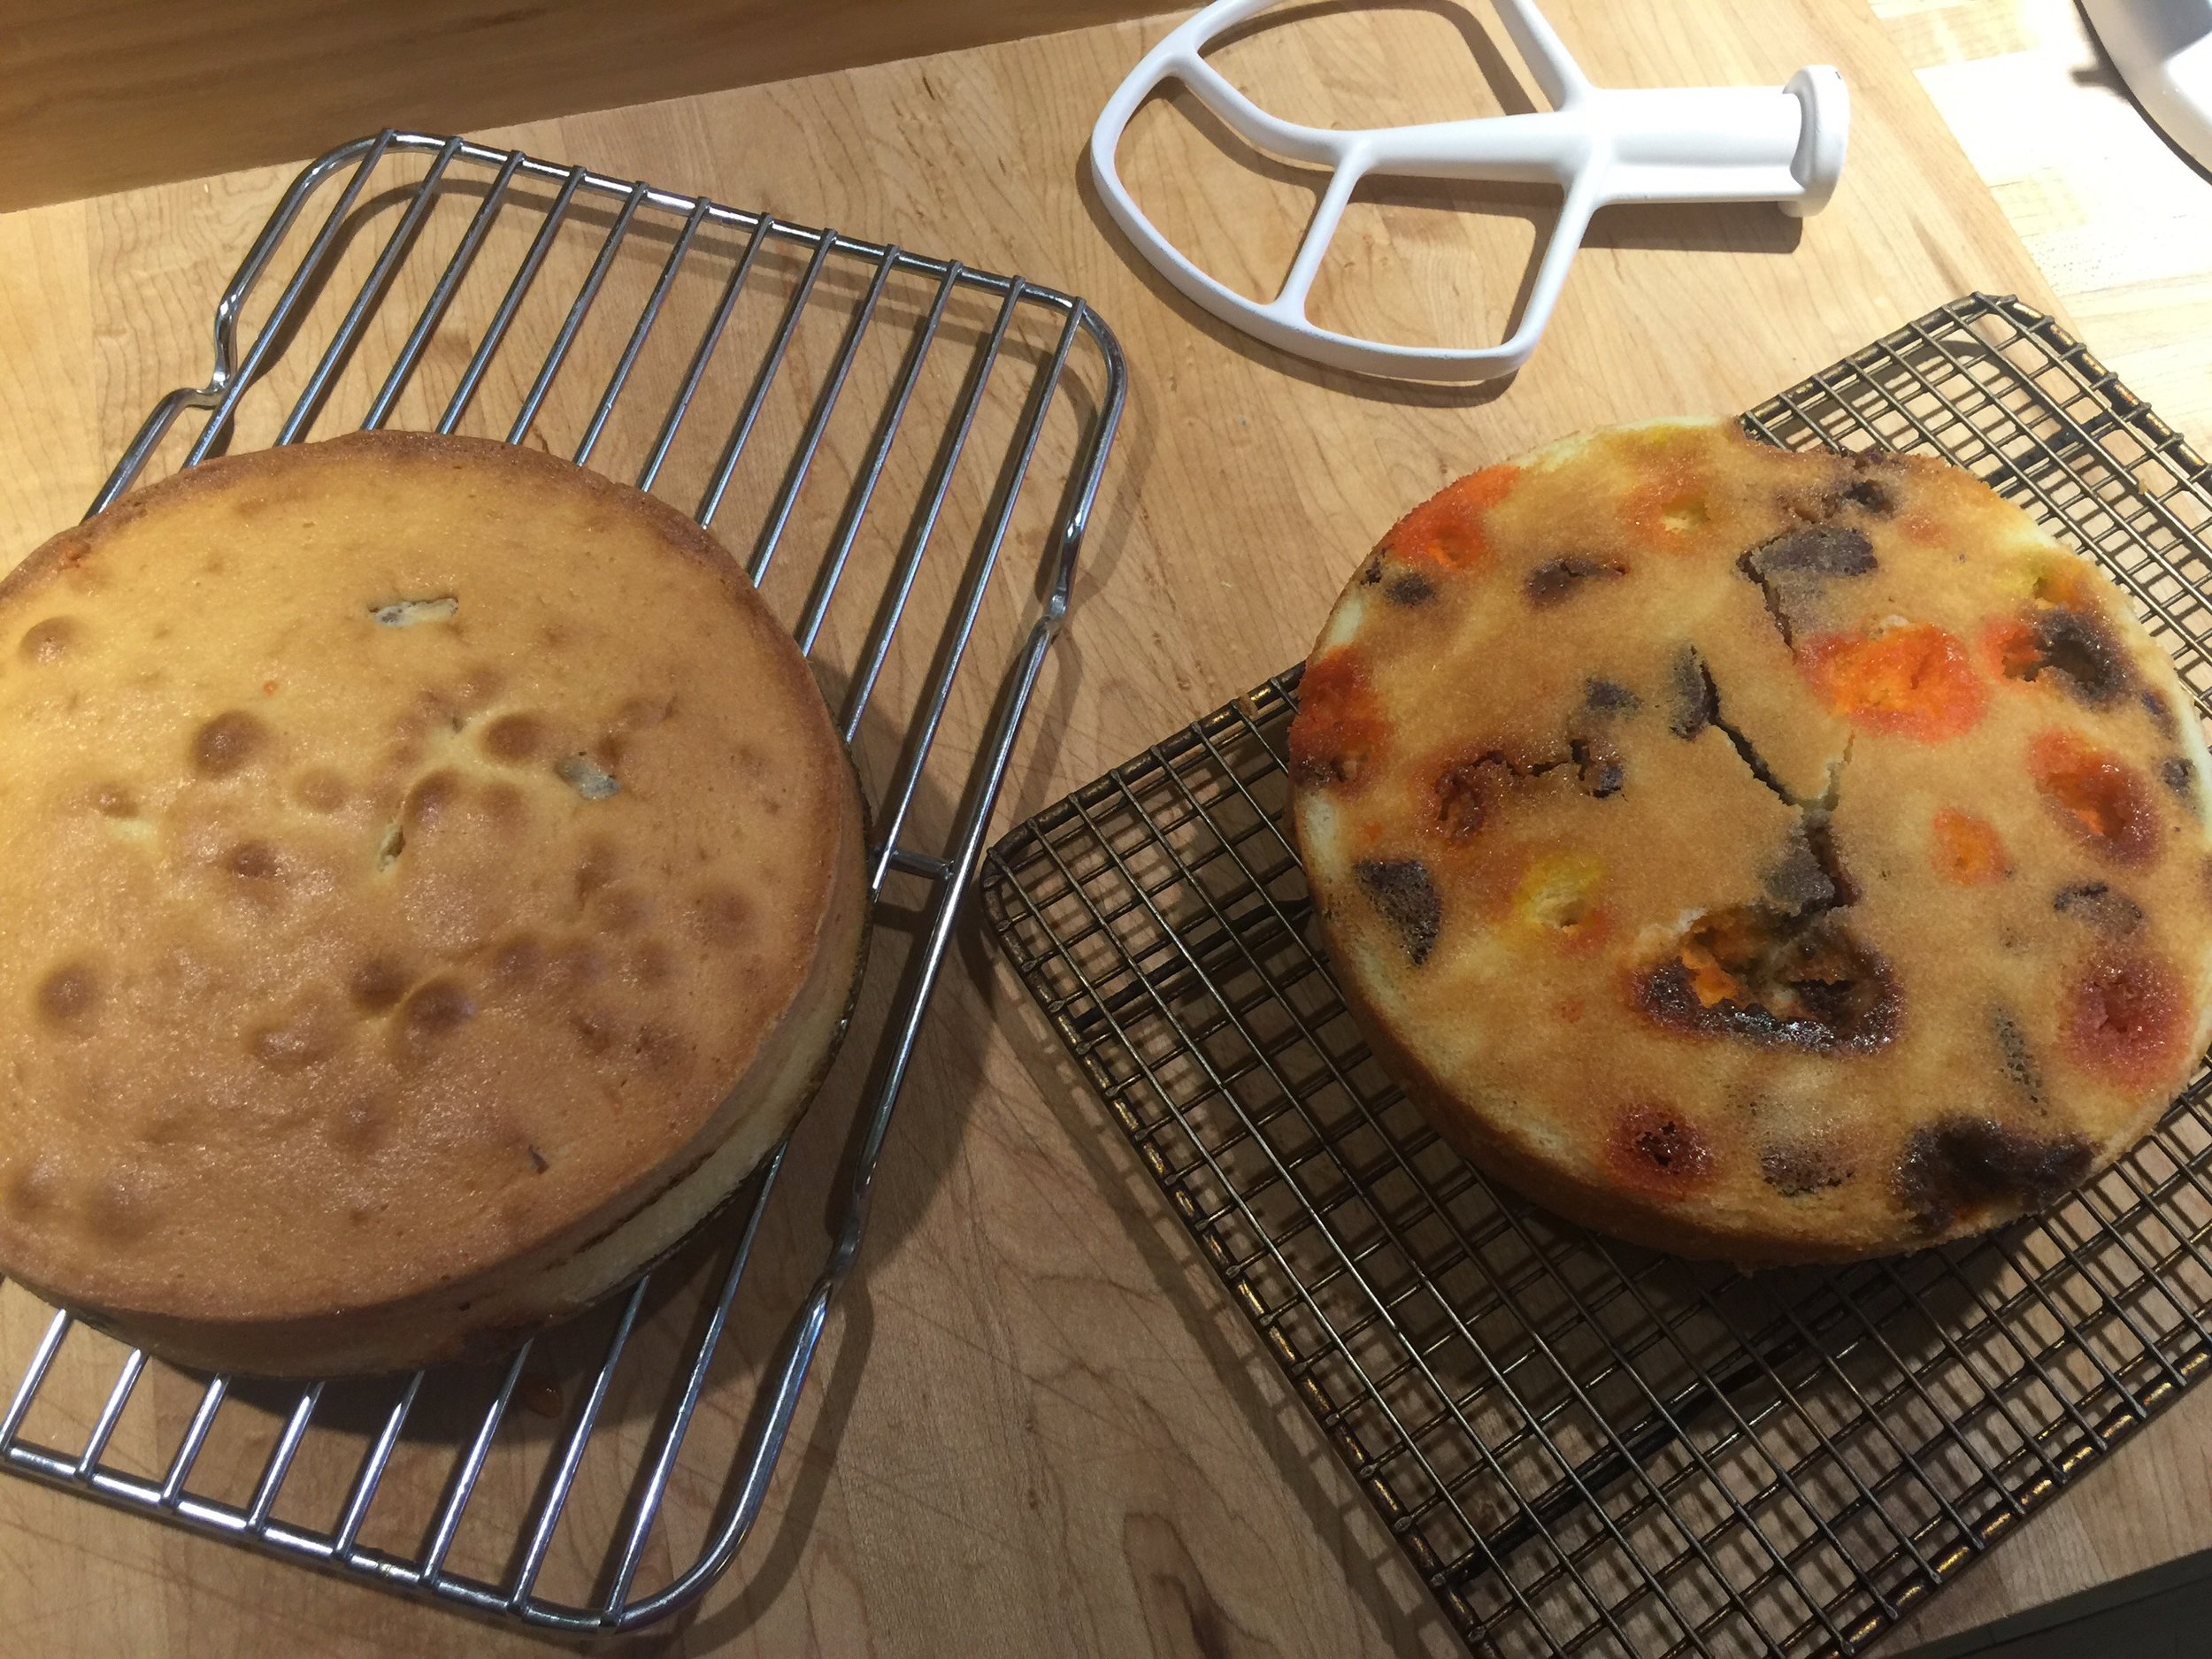
Two views of baked layers - not worried about the crack on the layer on the right hand side.
Italian Meringue
Yield: 16 ounces (454g) of Italian Meringue
4 ounces egg whites
10 ounces (283g) sugar
1 ounce light corn syrup
1 ½ teaspoons of vanilla extract.
Italian Meringue Mise en Place
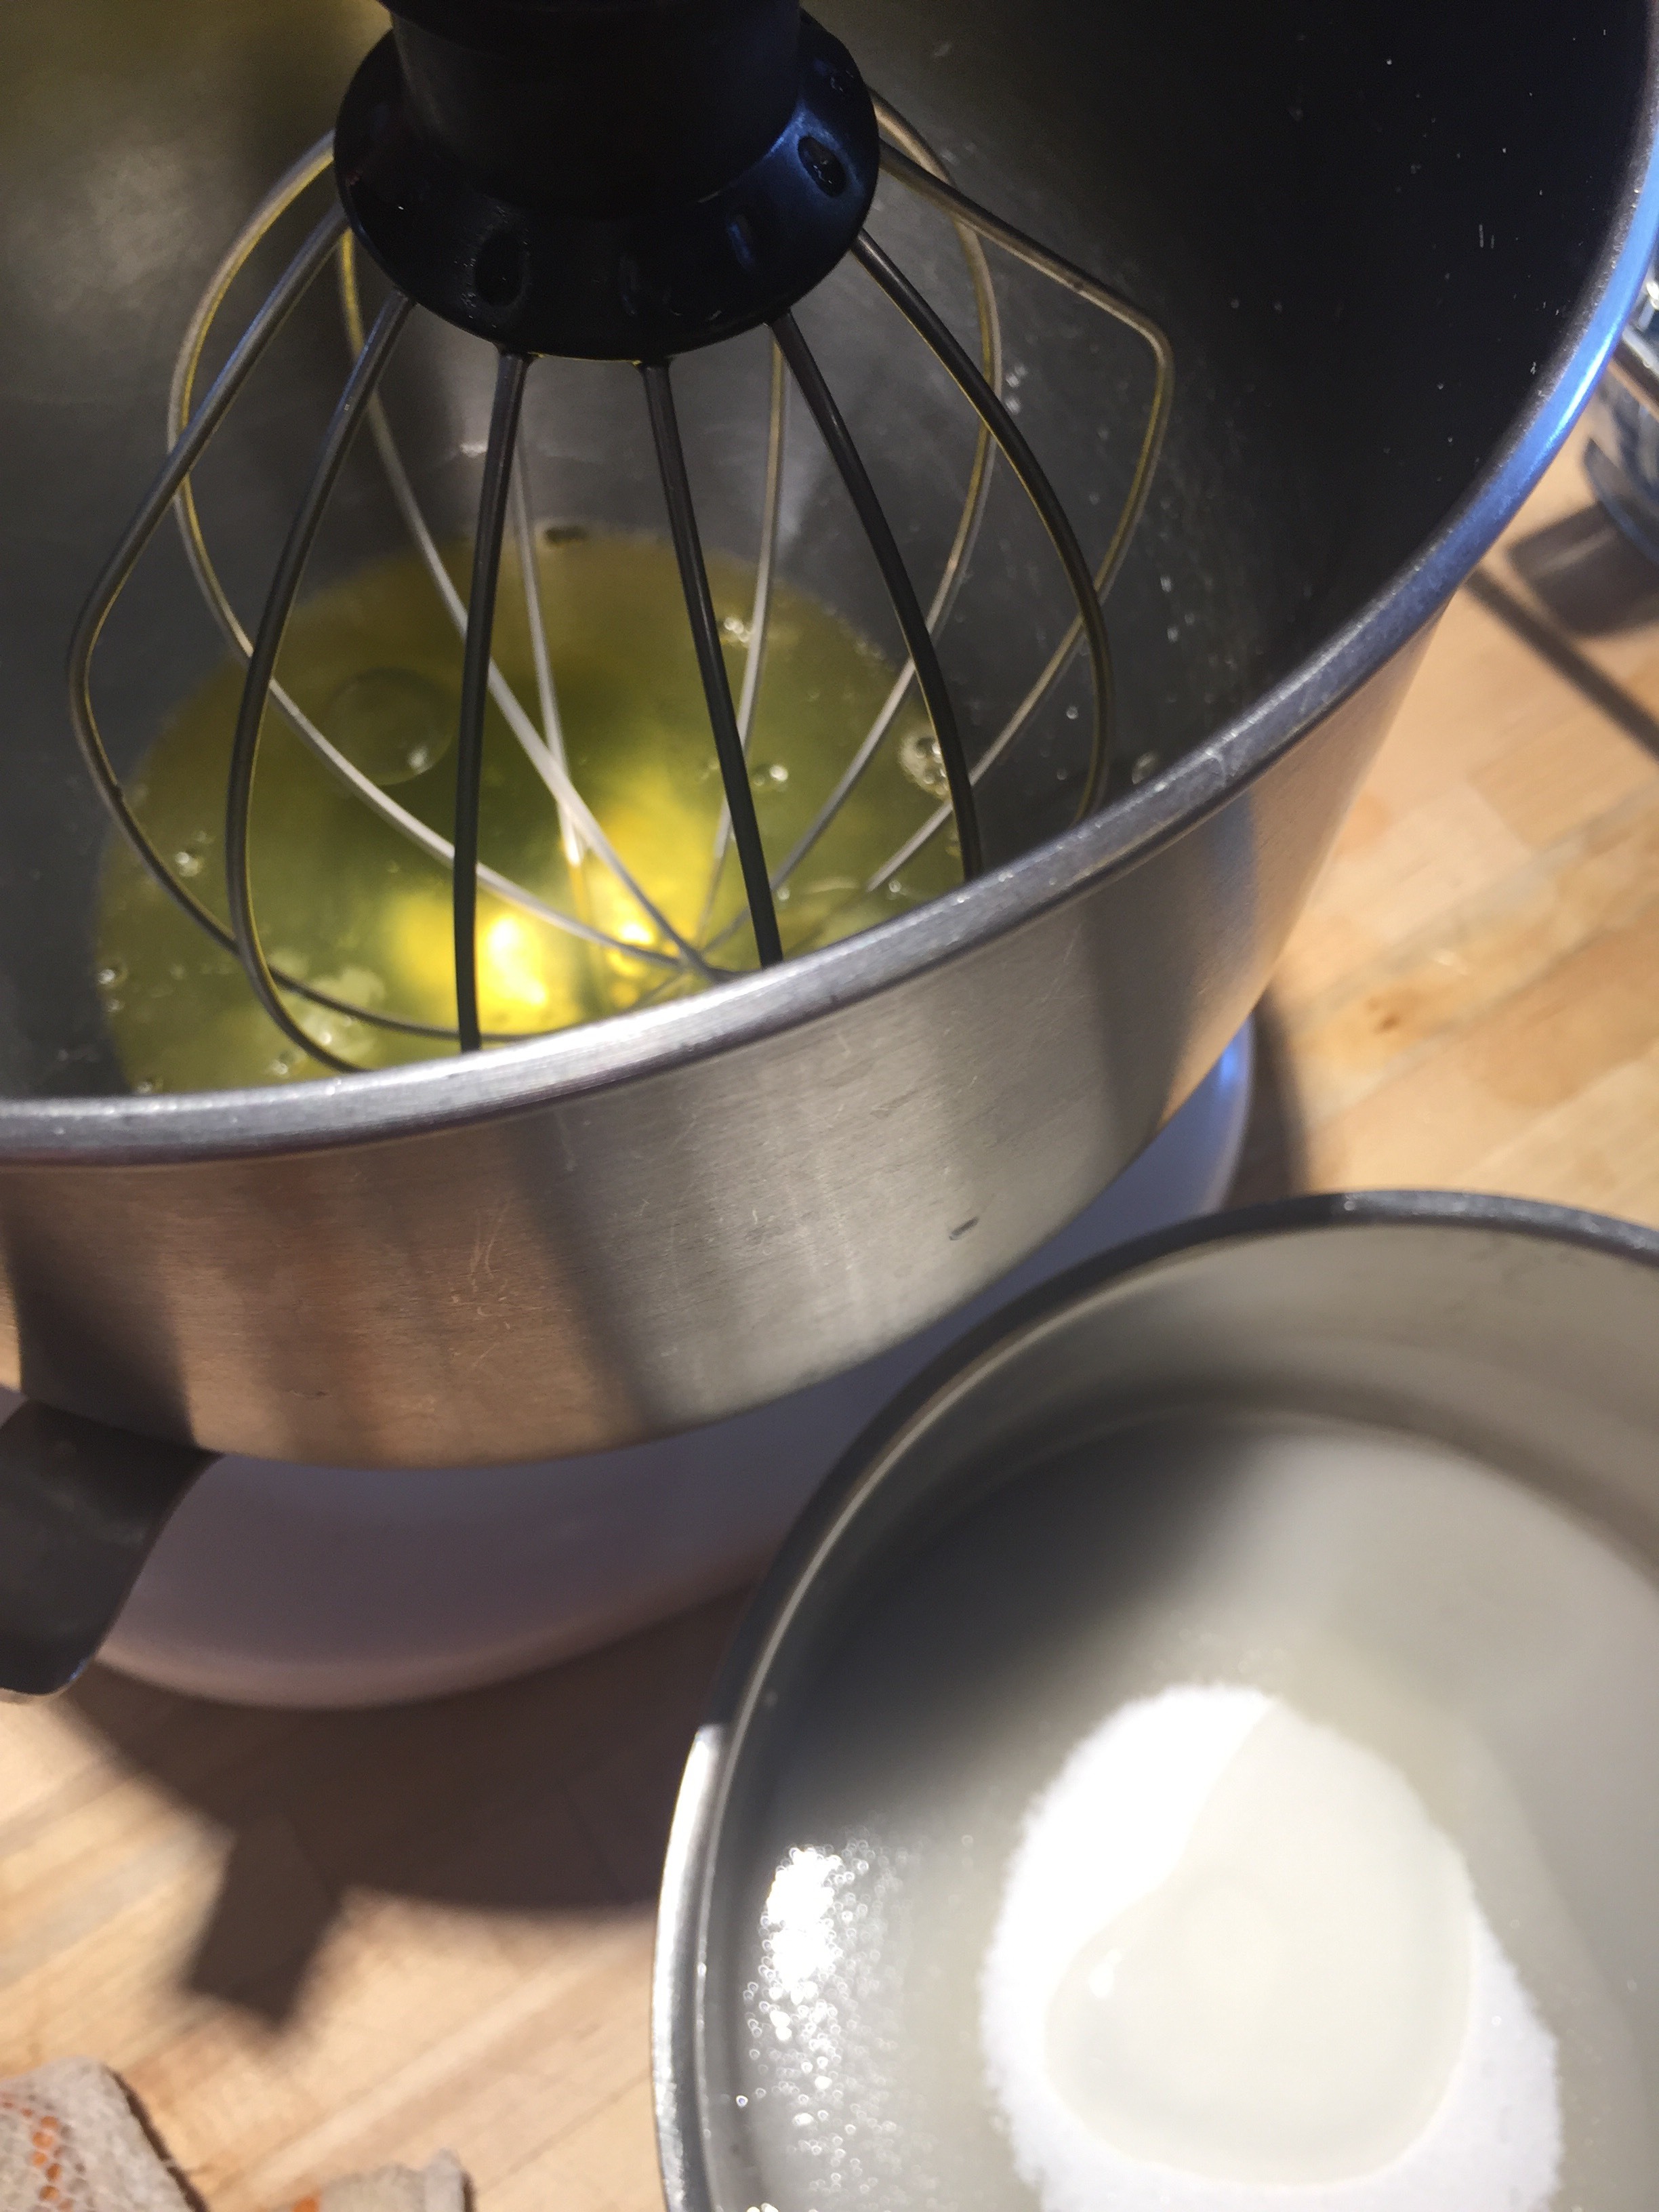
Place the egg whites in the mixer bowl fitted with the whisk attachment.
In a small saucepan, combine the second water, sugar and corn syrup. Bring to a boil cook until 236-240 degrees. (soft ball stage) - this takes about three minutes. If fact older recipes for 7 minute frosting say to boil the sugar syrup for a timed 3 minutes but if you have a thermometer use it or blow a bubble of sugar through a large paper clip as I demo in my Craftsy class, French Pastry Shop Classics.
Start mixing your egg whites at medium speed as you sugar syrup is cooking.
Pour the sugar syrup over the moving egg whites, try not to hit the whisk.
Once all the sugar is poured in, increase the speed to medium high and beat until the mixer bowl is no longer warm. Add the vanilla and use right away.
Assembling the cake:
You may cut the layers in half or just use two. Level if necessary.
Stack the layers with a good amount of Italian Meringue in between, smooth as you go, making the layers as level as possible.

See the flecks of candy in the batter - slather the Italian Meringue on - you will have plenty.
3. Italian meringue is very forgiving. Once the cake is masked and it should be not be perfect. You can also load a pastry bag with a star tip and decorate the top. Then if you have a creme brulee torch, lightly brulee the meringue - be careful and safe with that torch.
4. Then decorate the top with chopped up leftover candy. Have fun and Enjoy!