Hello Bakers,
The new Ingredient Function Friday is here. Now you choose the ingredients that you want to know more about. The companion recipe is Cinnamon Rolls. The trick to these is not to over bake them. Once they are golden brown - pull them out of the oven.
In all the years that I taught in culinary school - the day that we made cinnamon rolls was by far the happiest.
I hope you get a chance to bake these soon. They are so delicious. And the smell of them baking is so wonderful. Bake happy and Happy Baking! Colette
Once baked, they freeze well and then can be refreshed at 350 for 5-7 minutes.
Cinnamon Roll Recipe
Yield: 12 Cinnamon Buns
Equipment: Stand mixer, paddle and dough hook, spatula, scale, medium sized bowl, kitchen twine or dental floss, pastry brush, half sheet tray, ruler
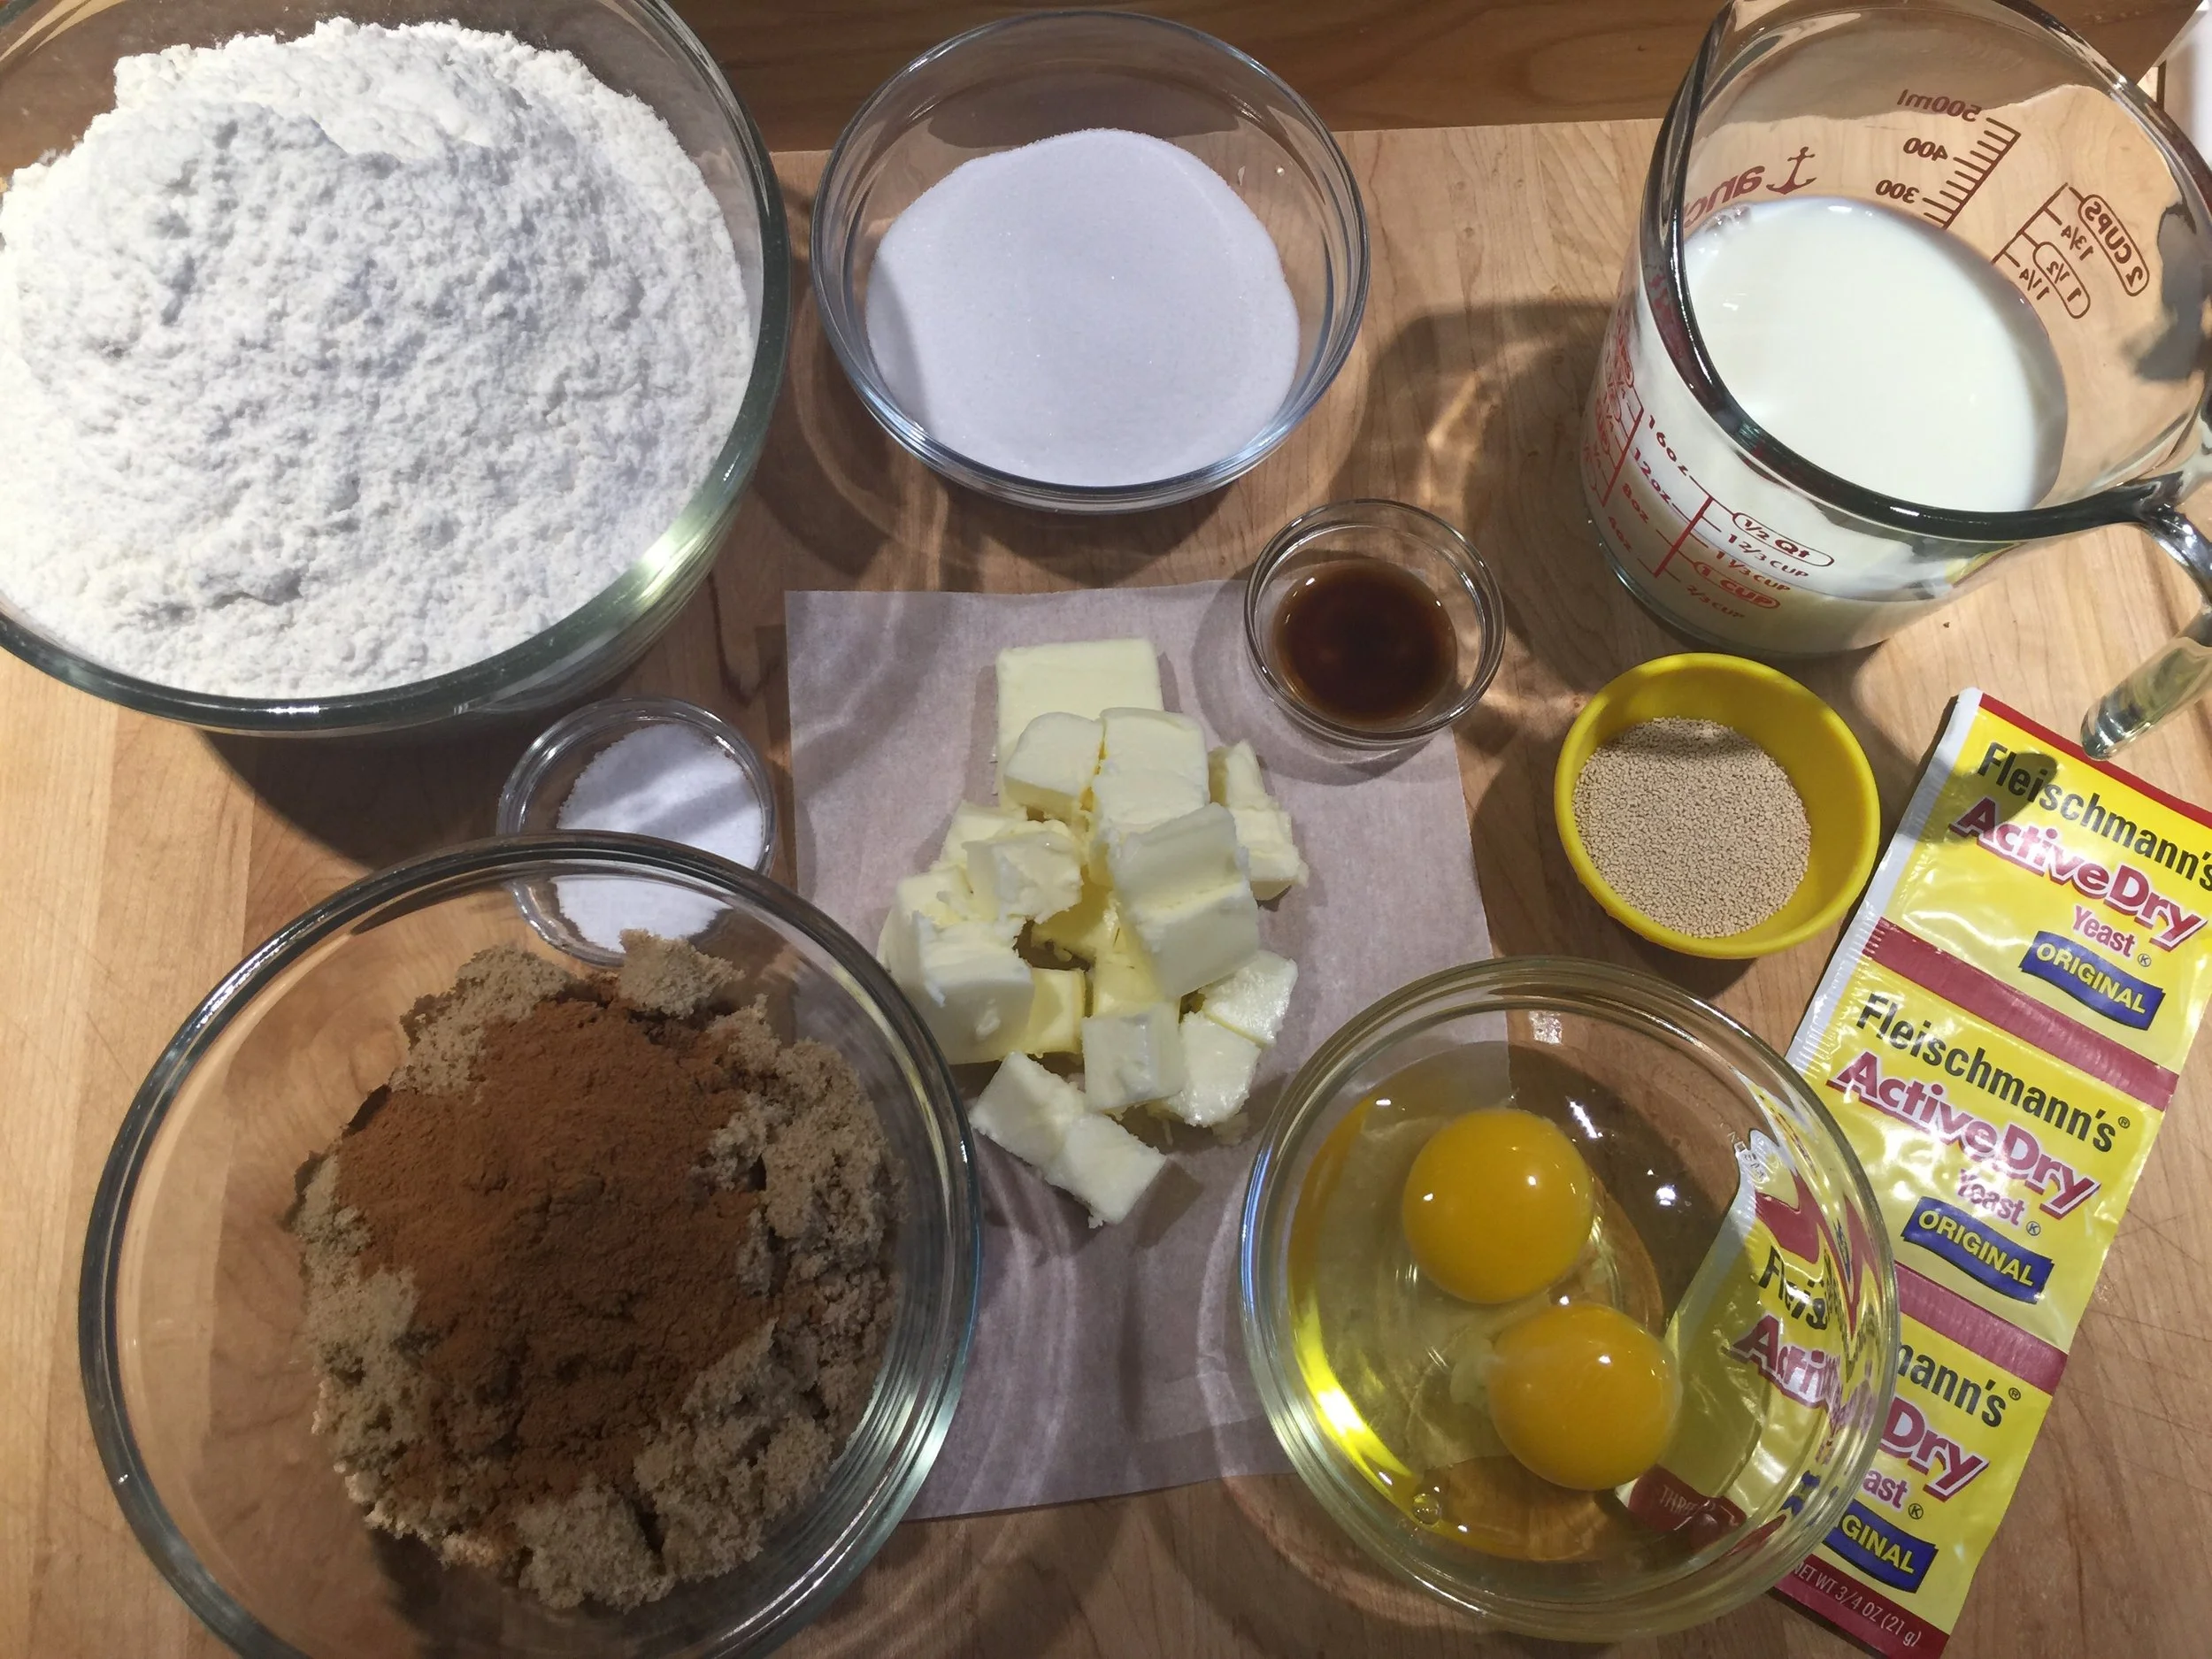
Cinnamon Roll Mise en Place
Ingredients:
- 10 ounces (283g) Milk, 85 degrees
- .5 ounce (15g) Active dry yeast
- 5 ounces (142g) Butter
- 5 ounces (142g) Sugar
- 1 teaspoon (4g) Vanilla extract
- 2 each Eggs
- 24 ounces (680g) All purpose flour, unbleached
- .5 ounce (14g) Fine sea salt
Cinnamon sugar filling
- 7 ounces (198g) Brown sugar
- 1 Tablespoon (15g) Cinnamon
- Combine the milk and yeast and set aside while the butter and sugar are creaming. (see photo below)
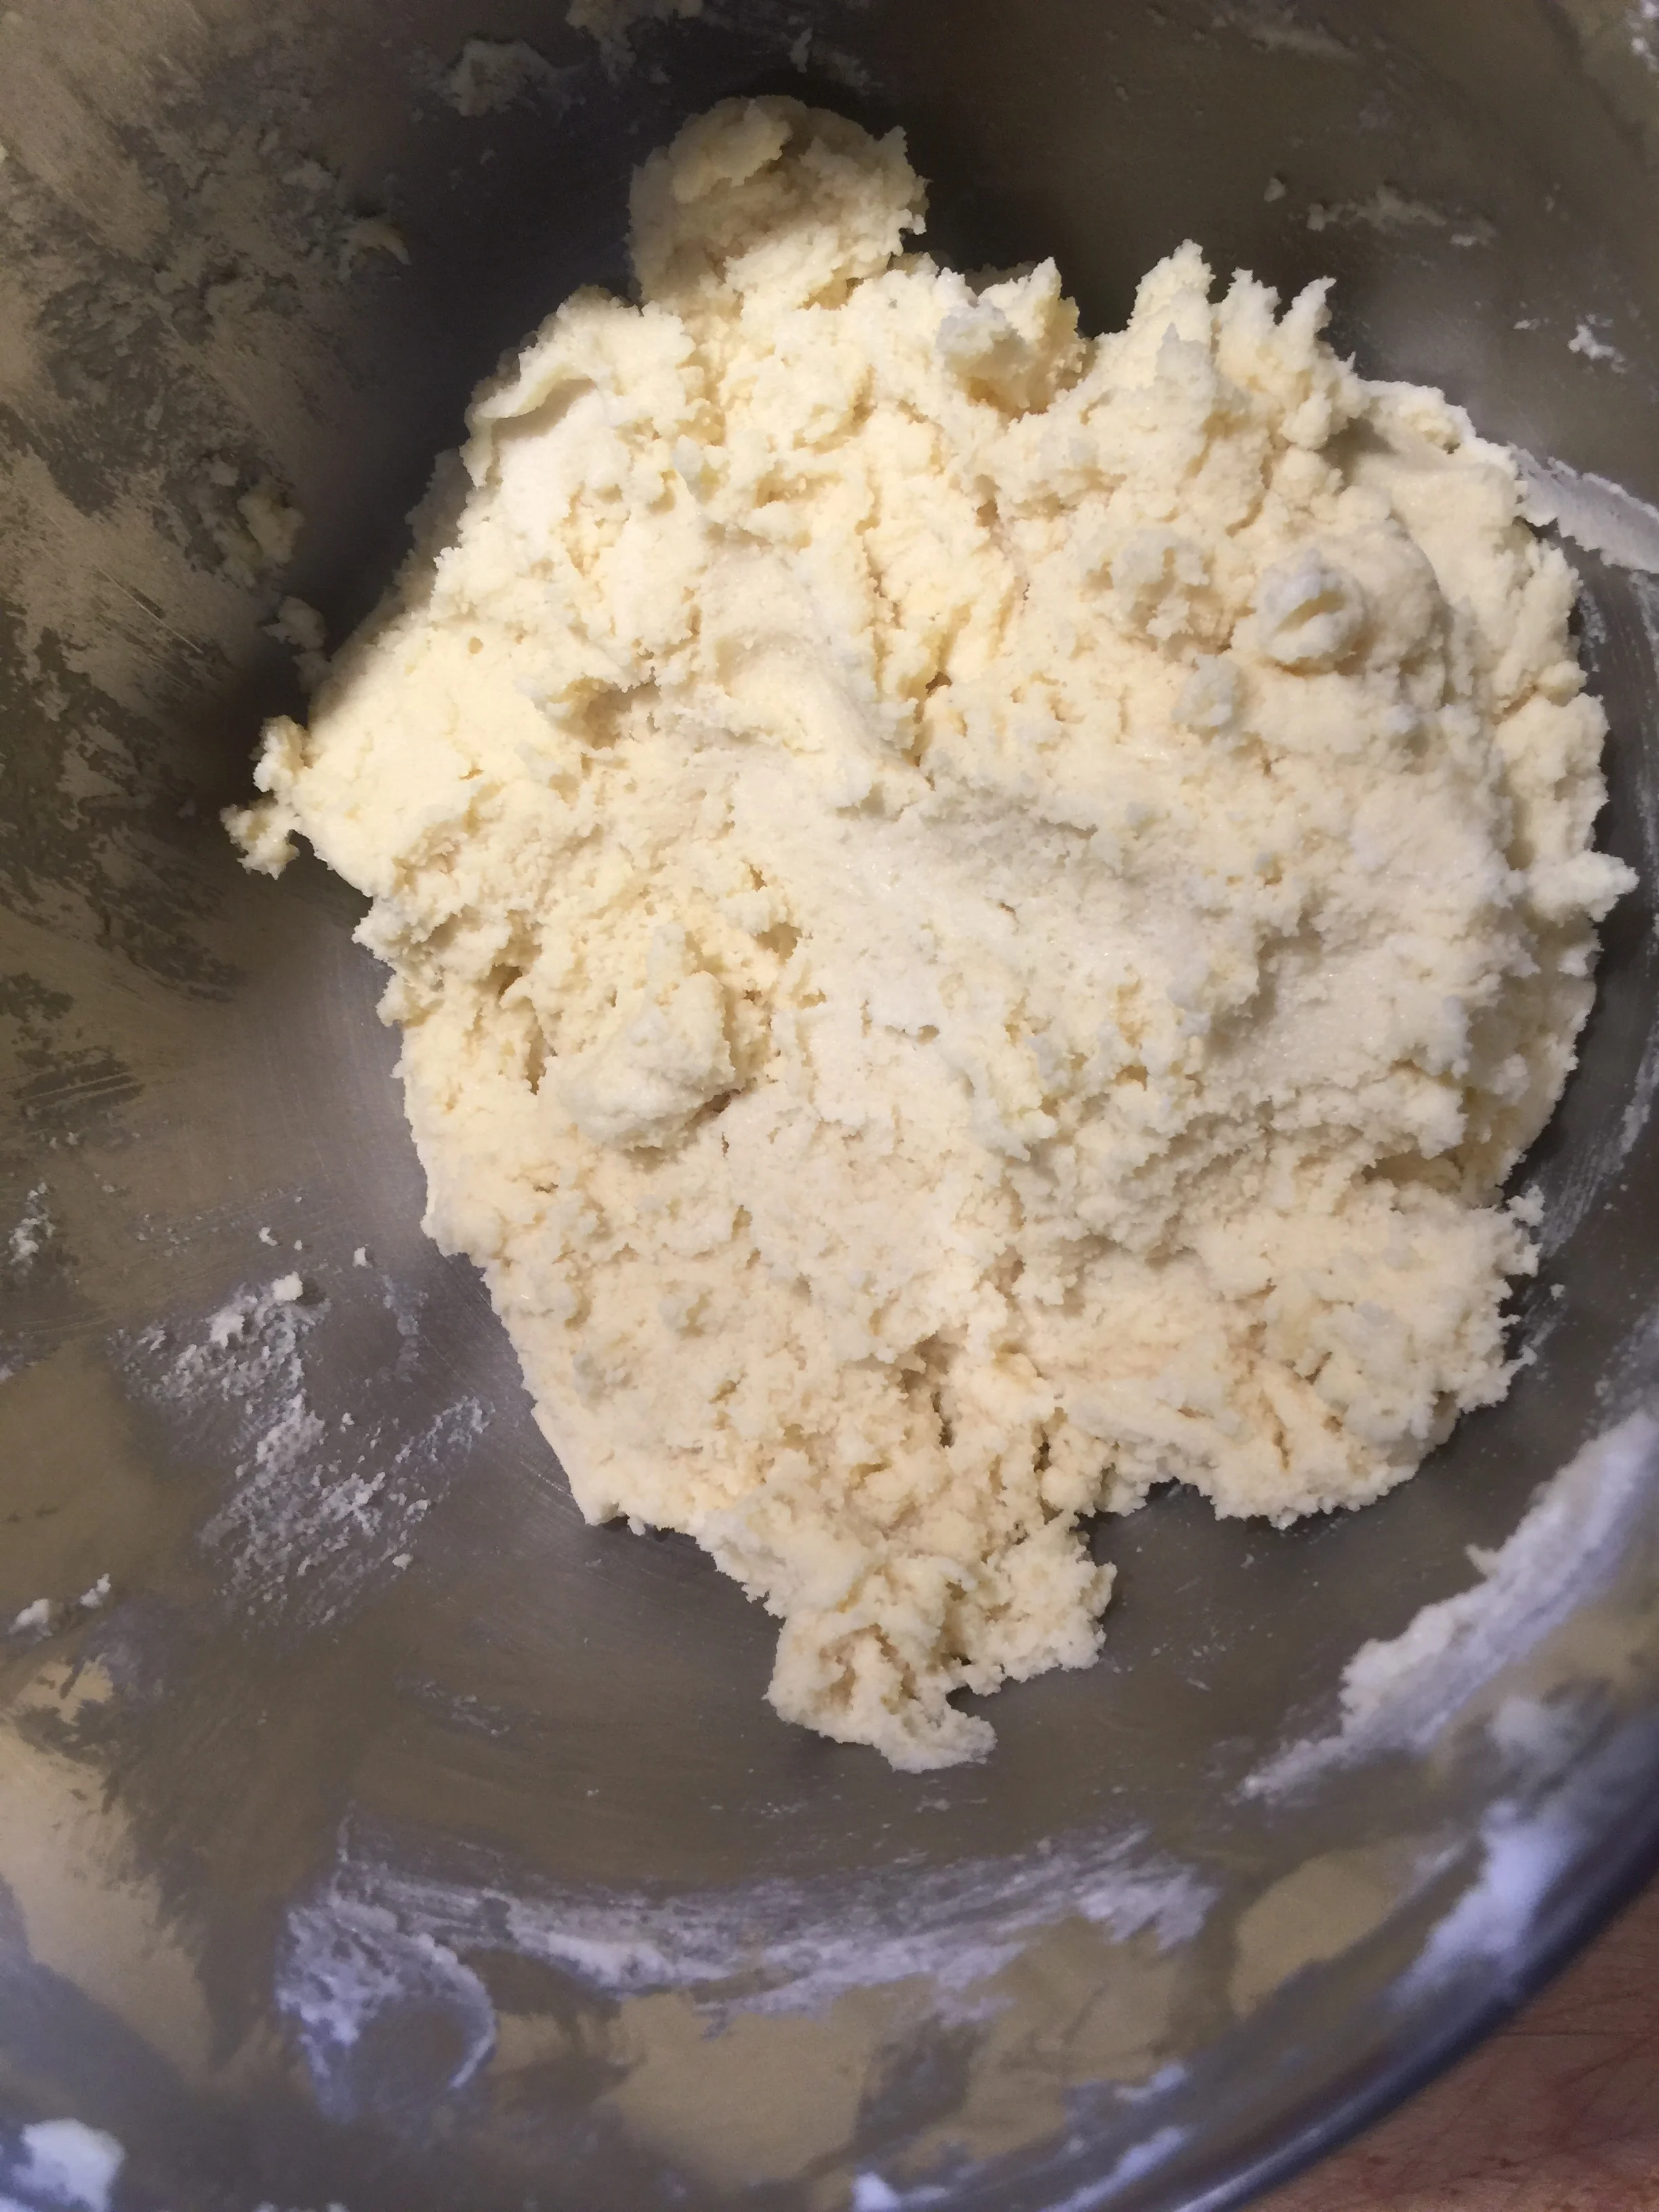
- In the mixer fitted with the paddle attachment, cream the butter, sugar and vanilla on low speed for 1 minute and then increase speed to medium and mix until light and fluffy - about 5 minutes.
- Add eggs, one at a time. Mix on low speed for 20 seconds and then increase speed to medium and mix for 25 seconds.
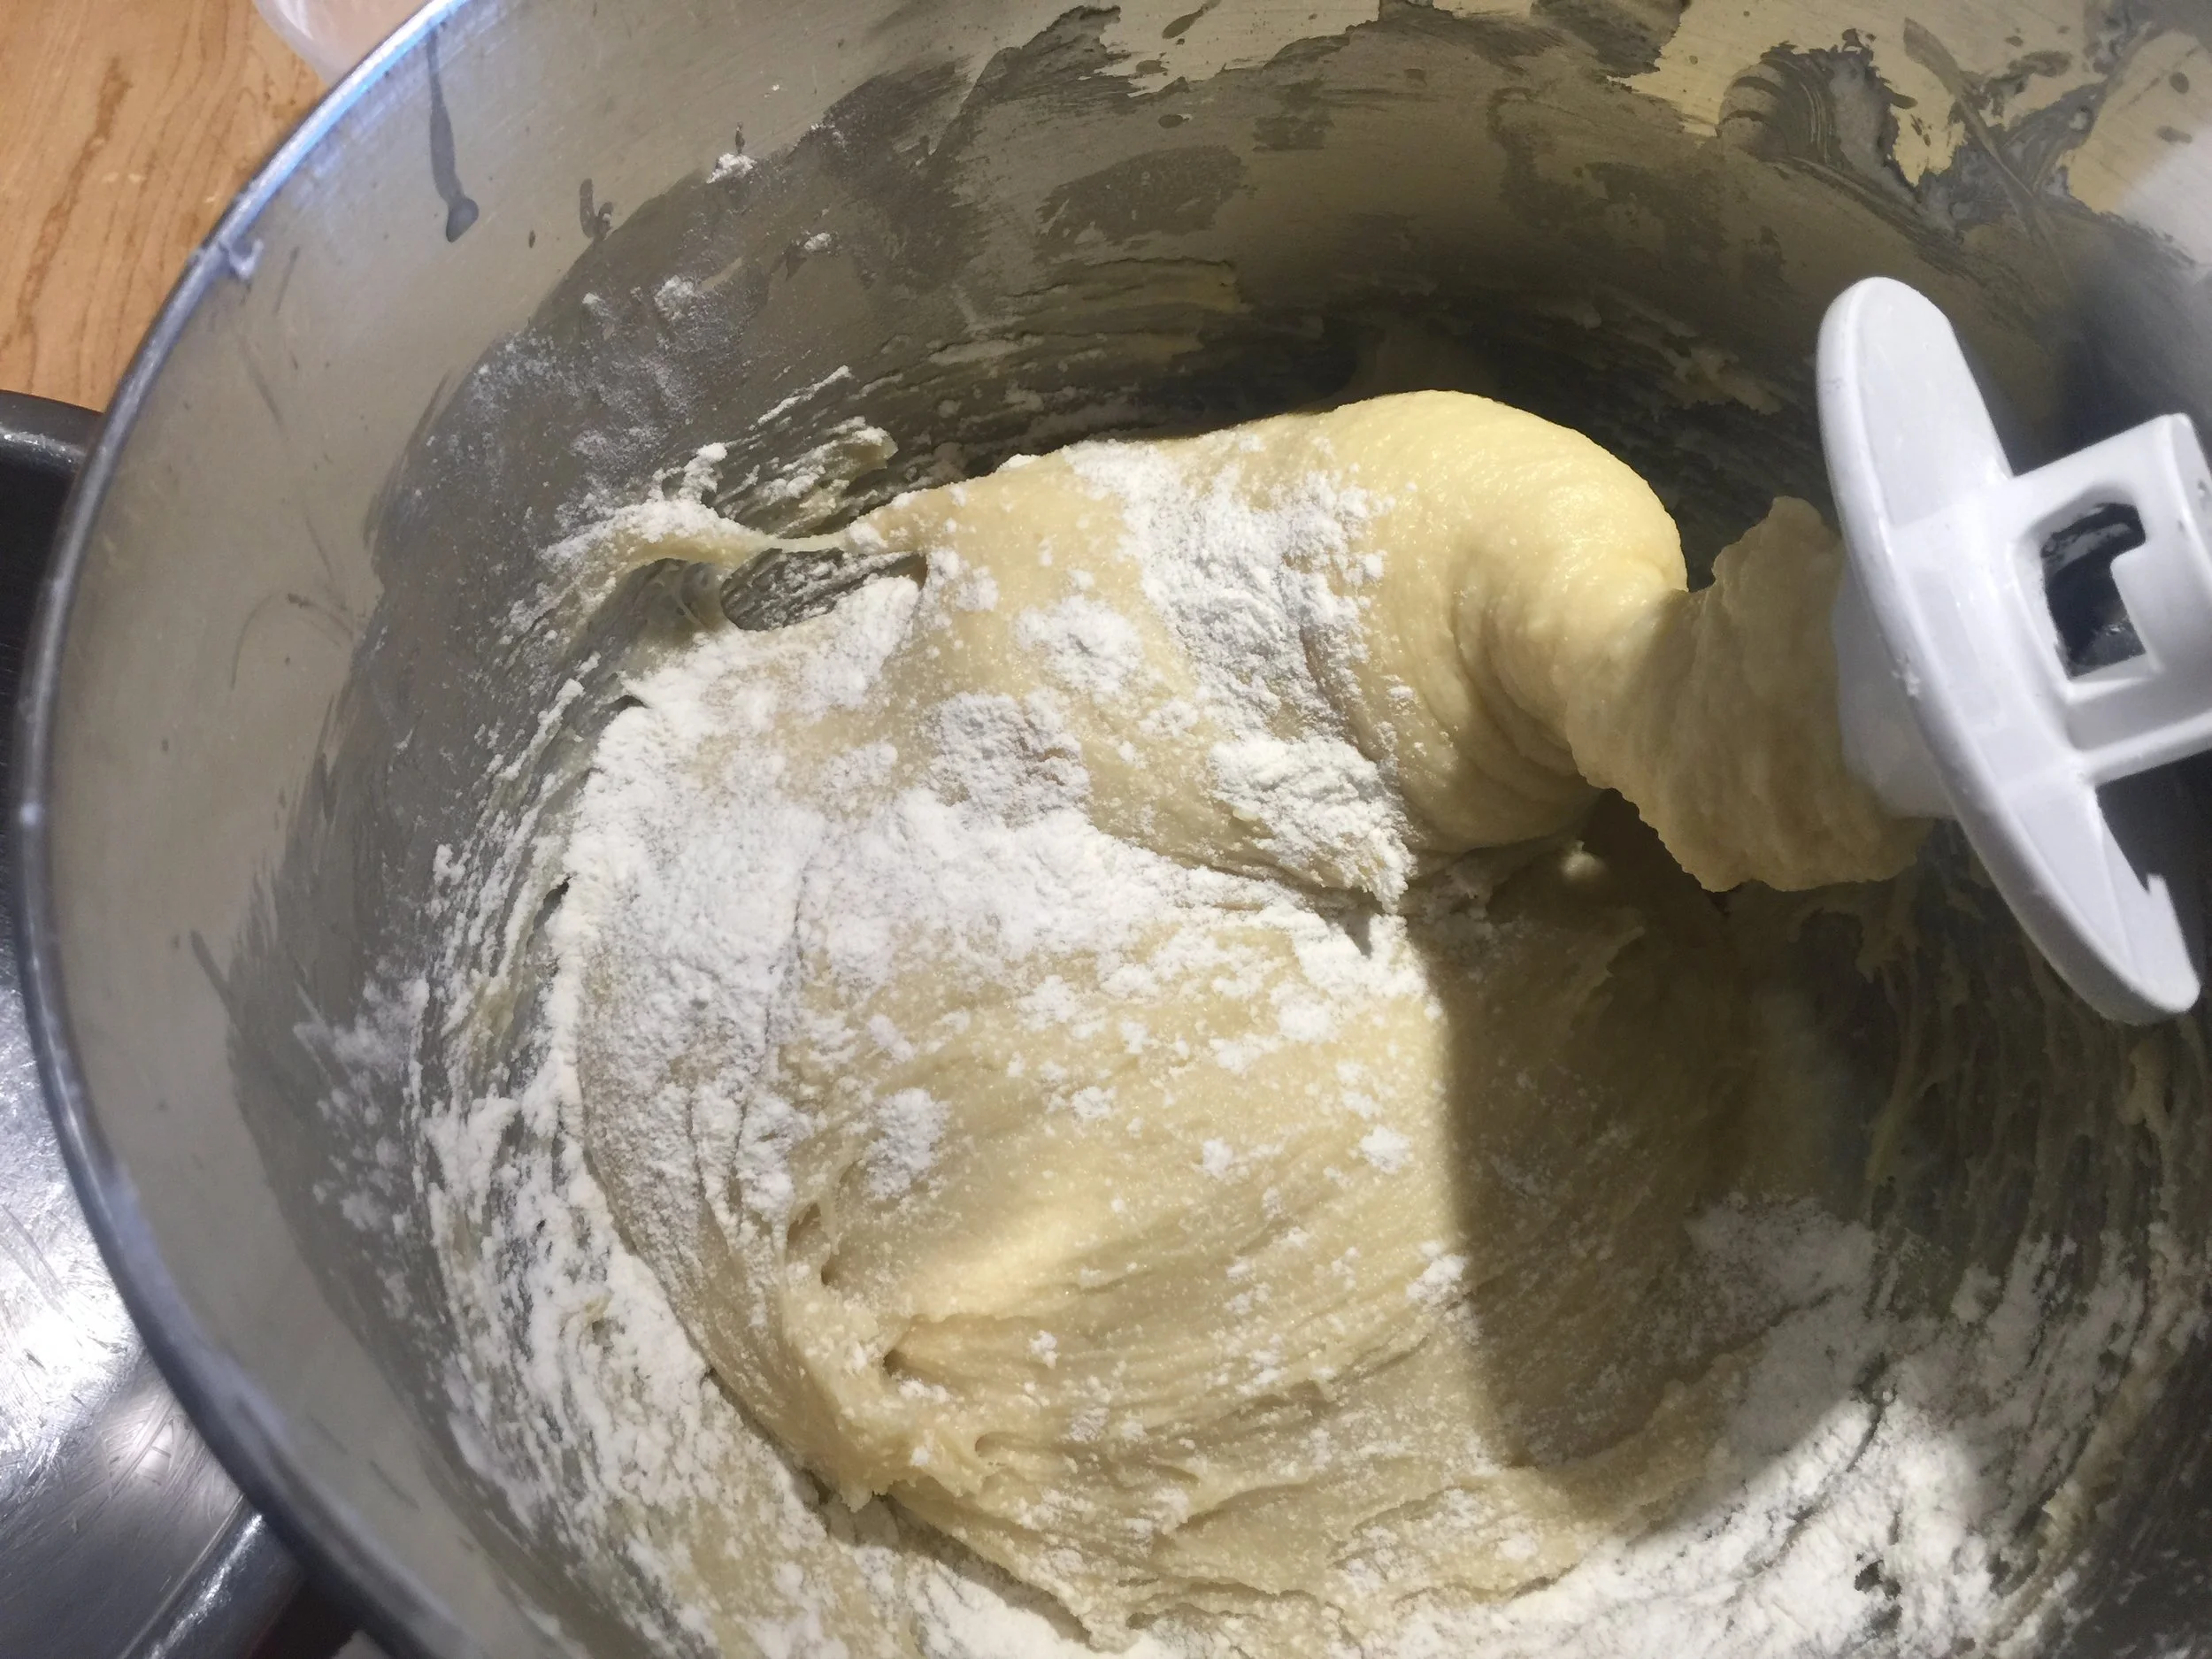
- Add the milk and the yeast mixture. Mix for about 1 minute on low speed. It will look like a curdled mess. That is ok. (see photo below)
- Change to dough hook.
- Add the flour and salt. Mix on speed 1 for 4 minutes. Then on speed 2 for 2 minutes.
- The dough will be soft. Place dough in a buttered bowl and cover. (see photo below)
- To bake in one day: Cover and let sit at room temperature for one hour.
- To bake the next day. Press dough onto parchment lined sheet pan.
- Cover and refrigerate for 8-16 hours.Same day bake: Remove dough from bowl and roll into into a rectangle about the size of a half sheet pan. Square off corners and sides with a bench scraper or a ruler.
- After 1 hour if baking the same day or the next day. Roll the dough out to a 12"X18" rectangle on a lightly floured board. (see photo below)
- Brush the dough with water or egg wash (1 egg beaten well with a pinch of salt) and spread the cinnamon sugar evenly, leaving a 1” margin at the top. Use all the filling - it will be packed on. (see photo below)
- . Starting at the long bottom edge, roll up the dough, not too loose and not too tight. Pinch the seam close and place it on the table. Cut the dough into 1 1/2” pieces by placing a piece of twine under the dough and then cross. Place them on the baking tray 3 across on 4 down, pretty side up. It is easiest to cut the dough in half and then the halves in half and then the halves in thirds.
- Place in proofing bag with a cup of hot water, seal bag and proof for 30-35 minutes. Any cracks in the rolls will have filled in and they will have a slight marshmallowy texture.
- Preheat oven to 350. Bake for 20 minutes until they are a light golden brown. Garnish with Flat icing (recipe follows photos)
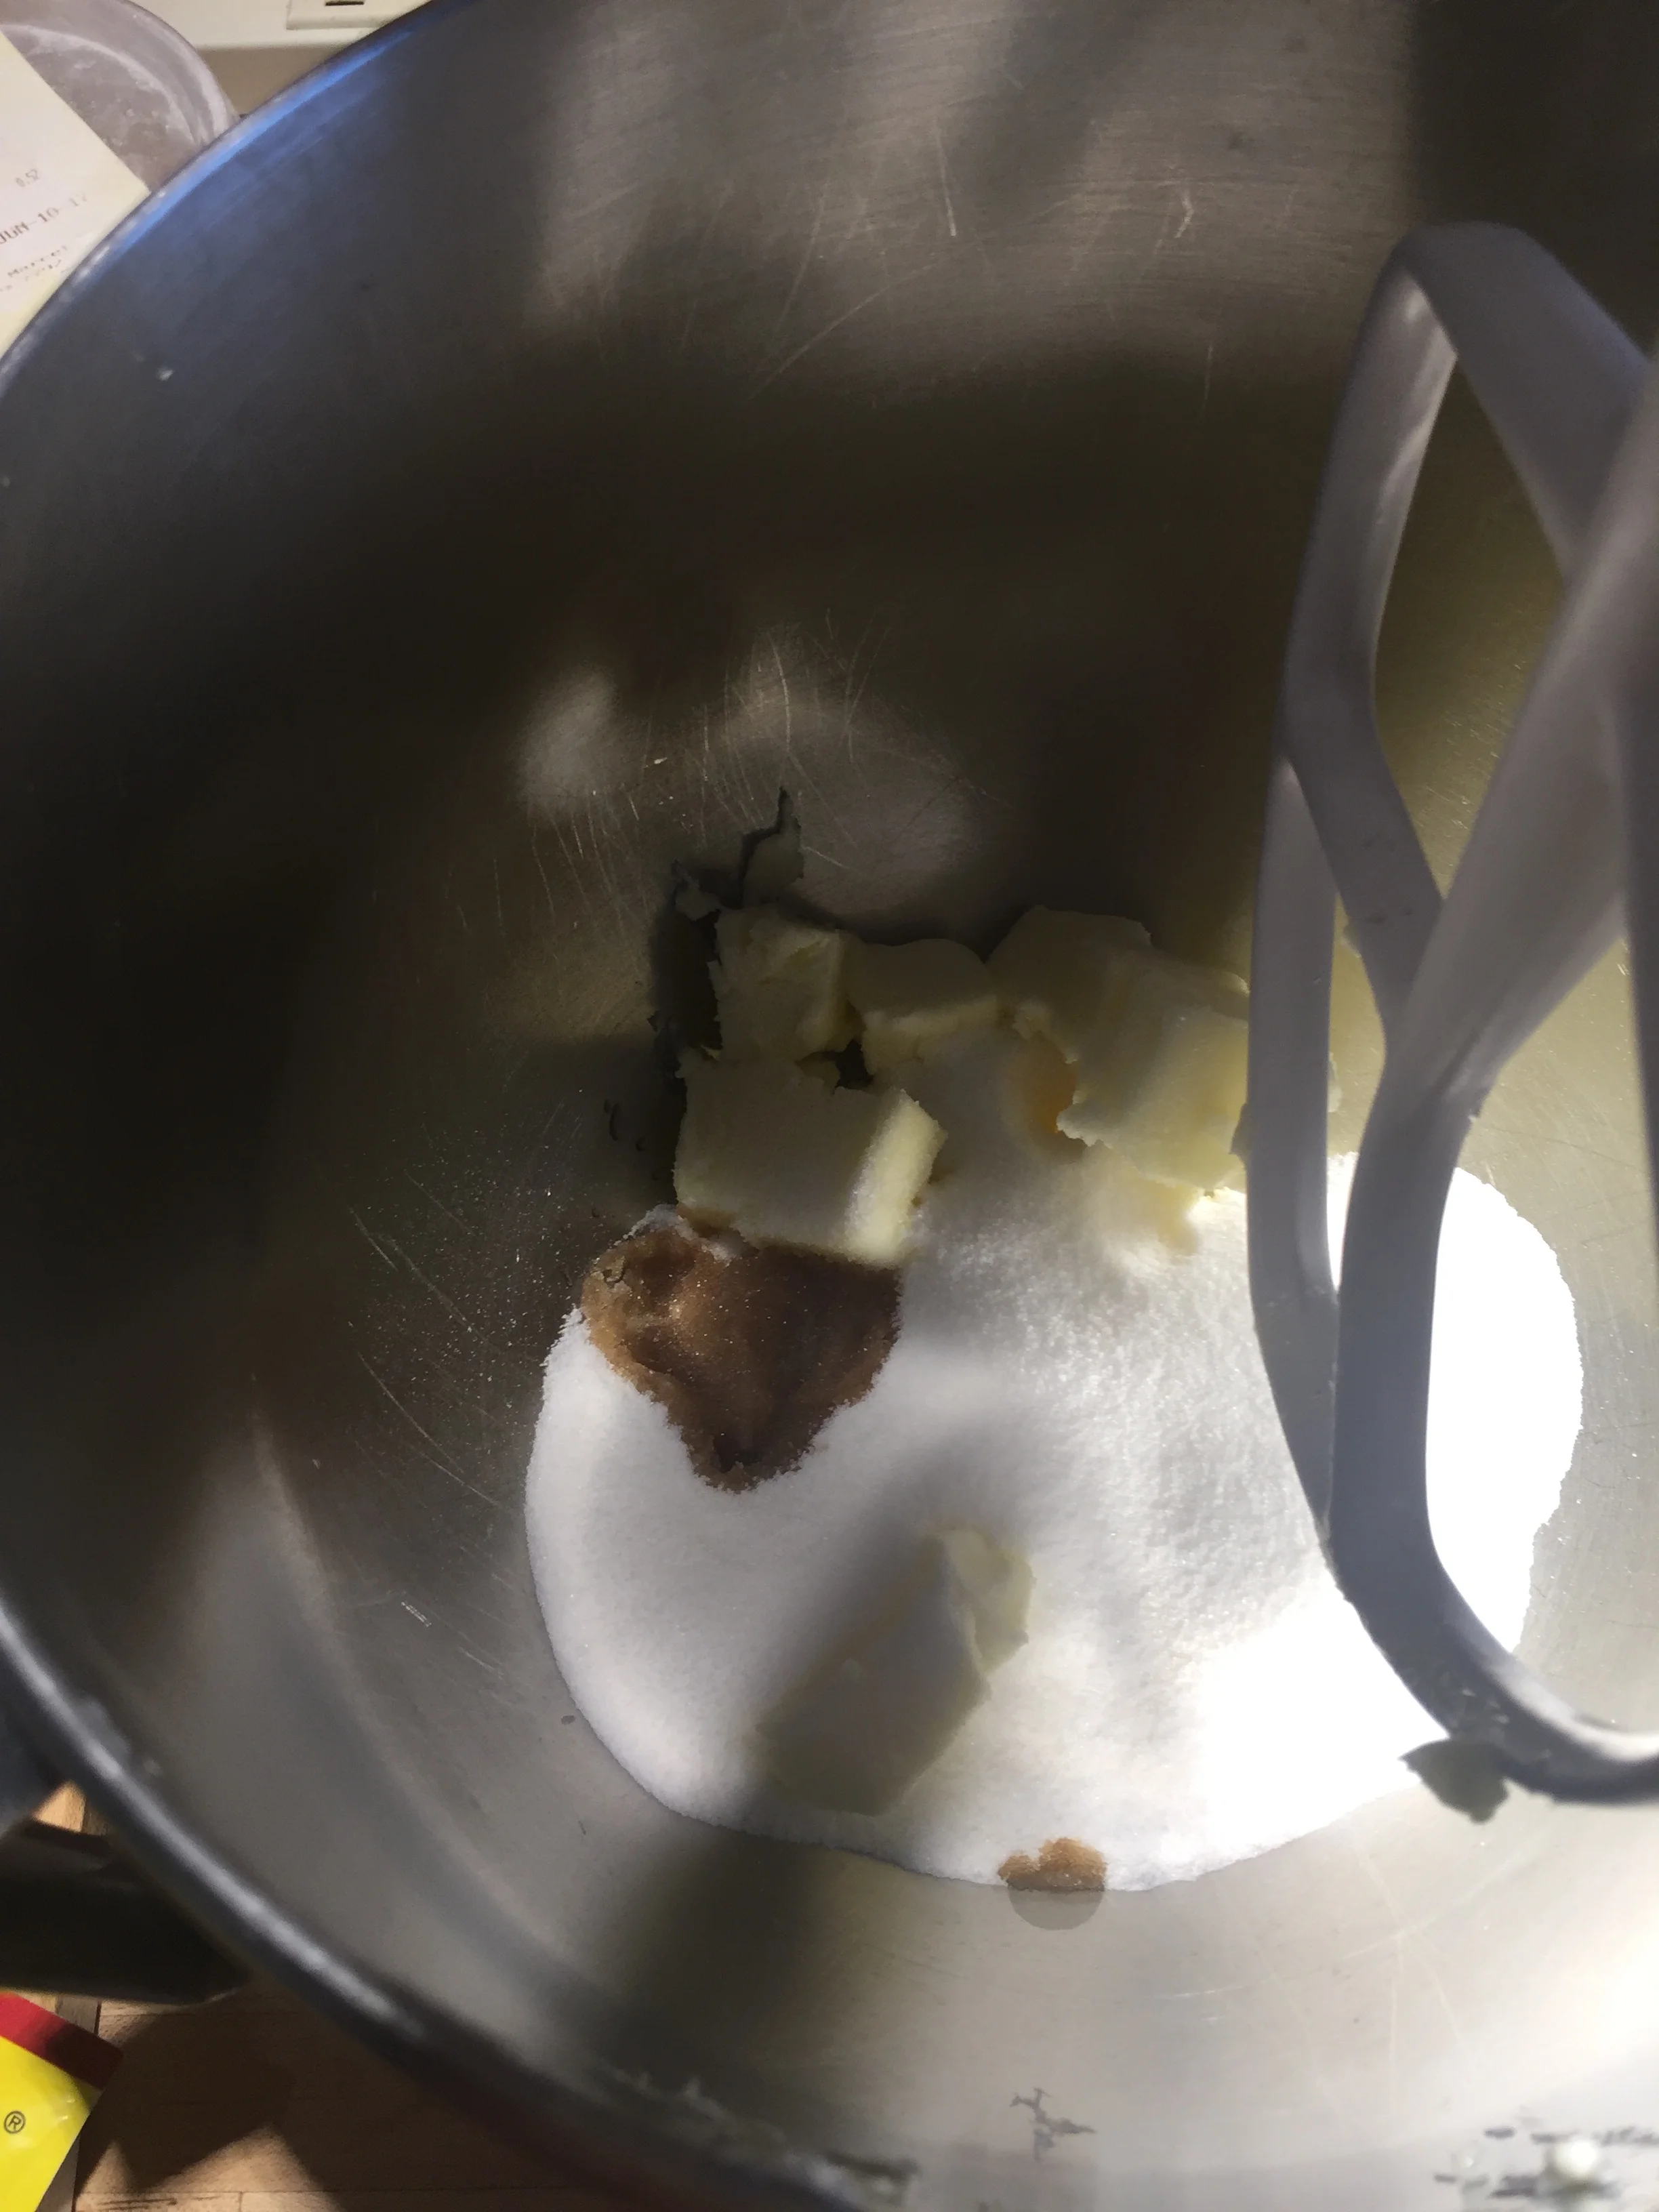
Butter, sugar and vanilla

Butter and sugar - after creaming
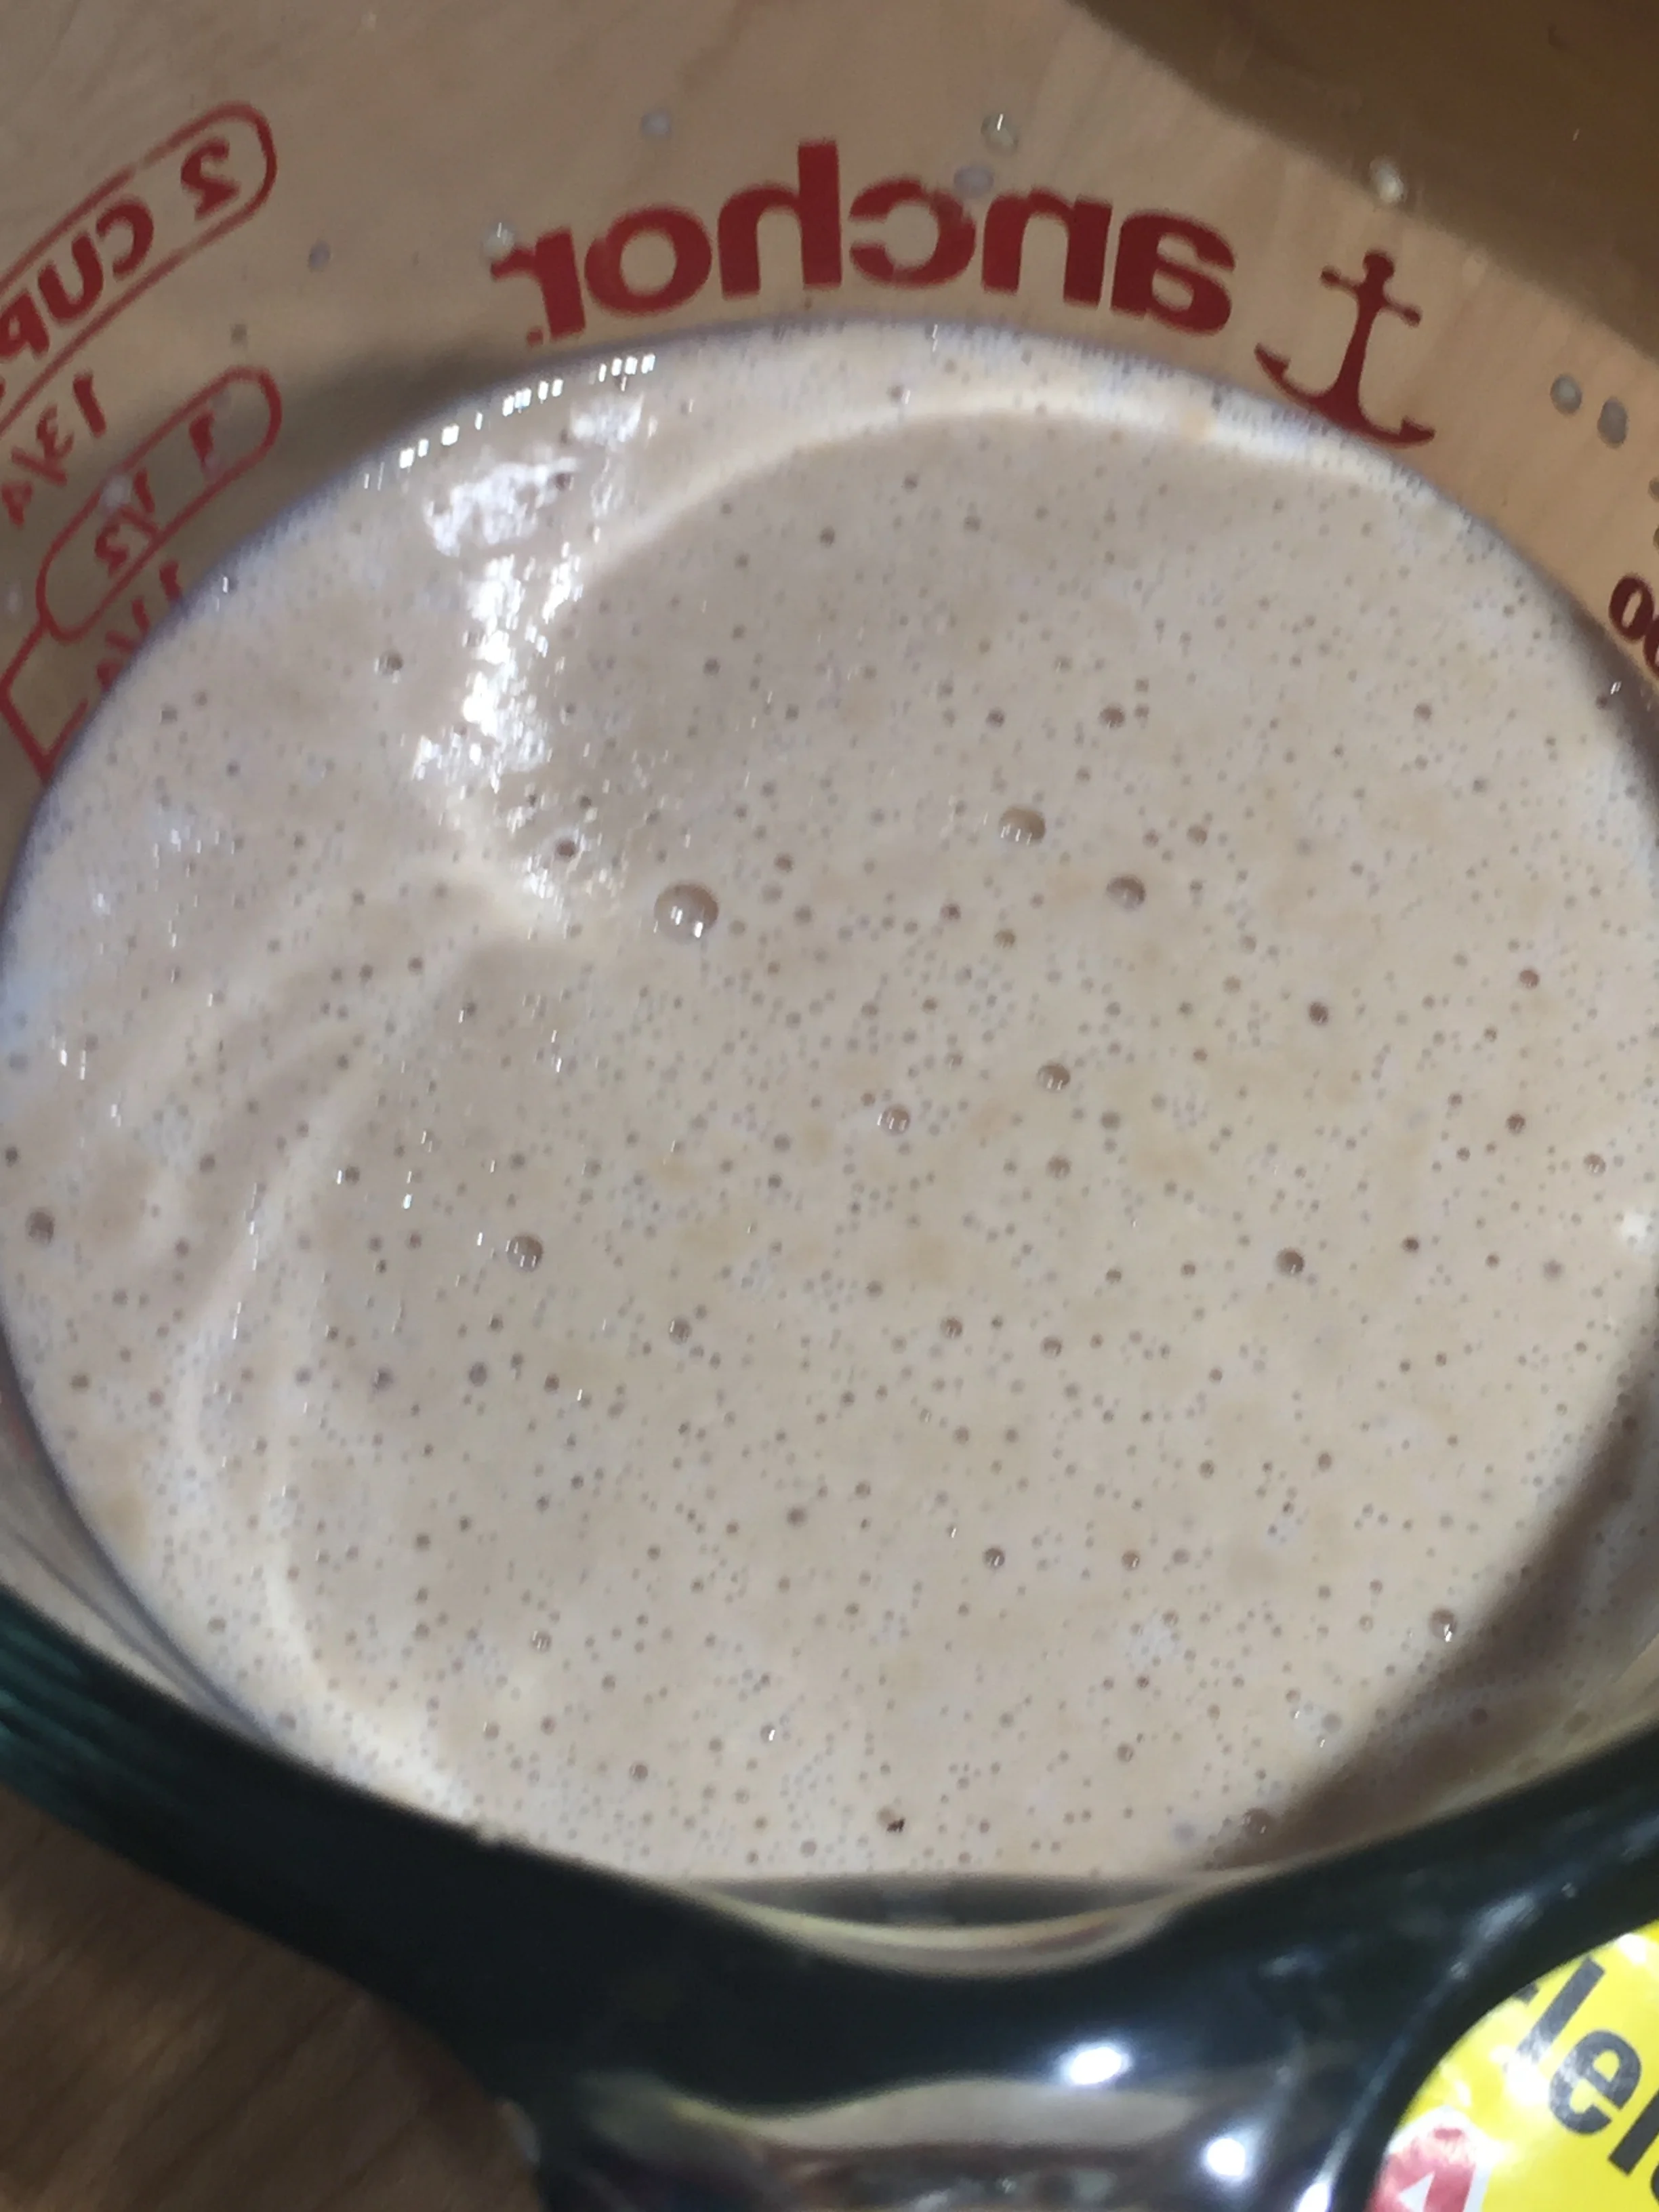
This is what the yeast and milk should look like.

When you add the yeast and milk to the butter and sugar - it will look like a mess - that's ok
The dough will be very soft and silky - sprinkle a little flour around the edge of the bowl to release.
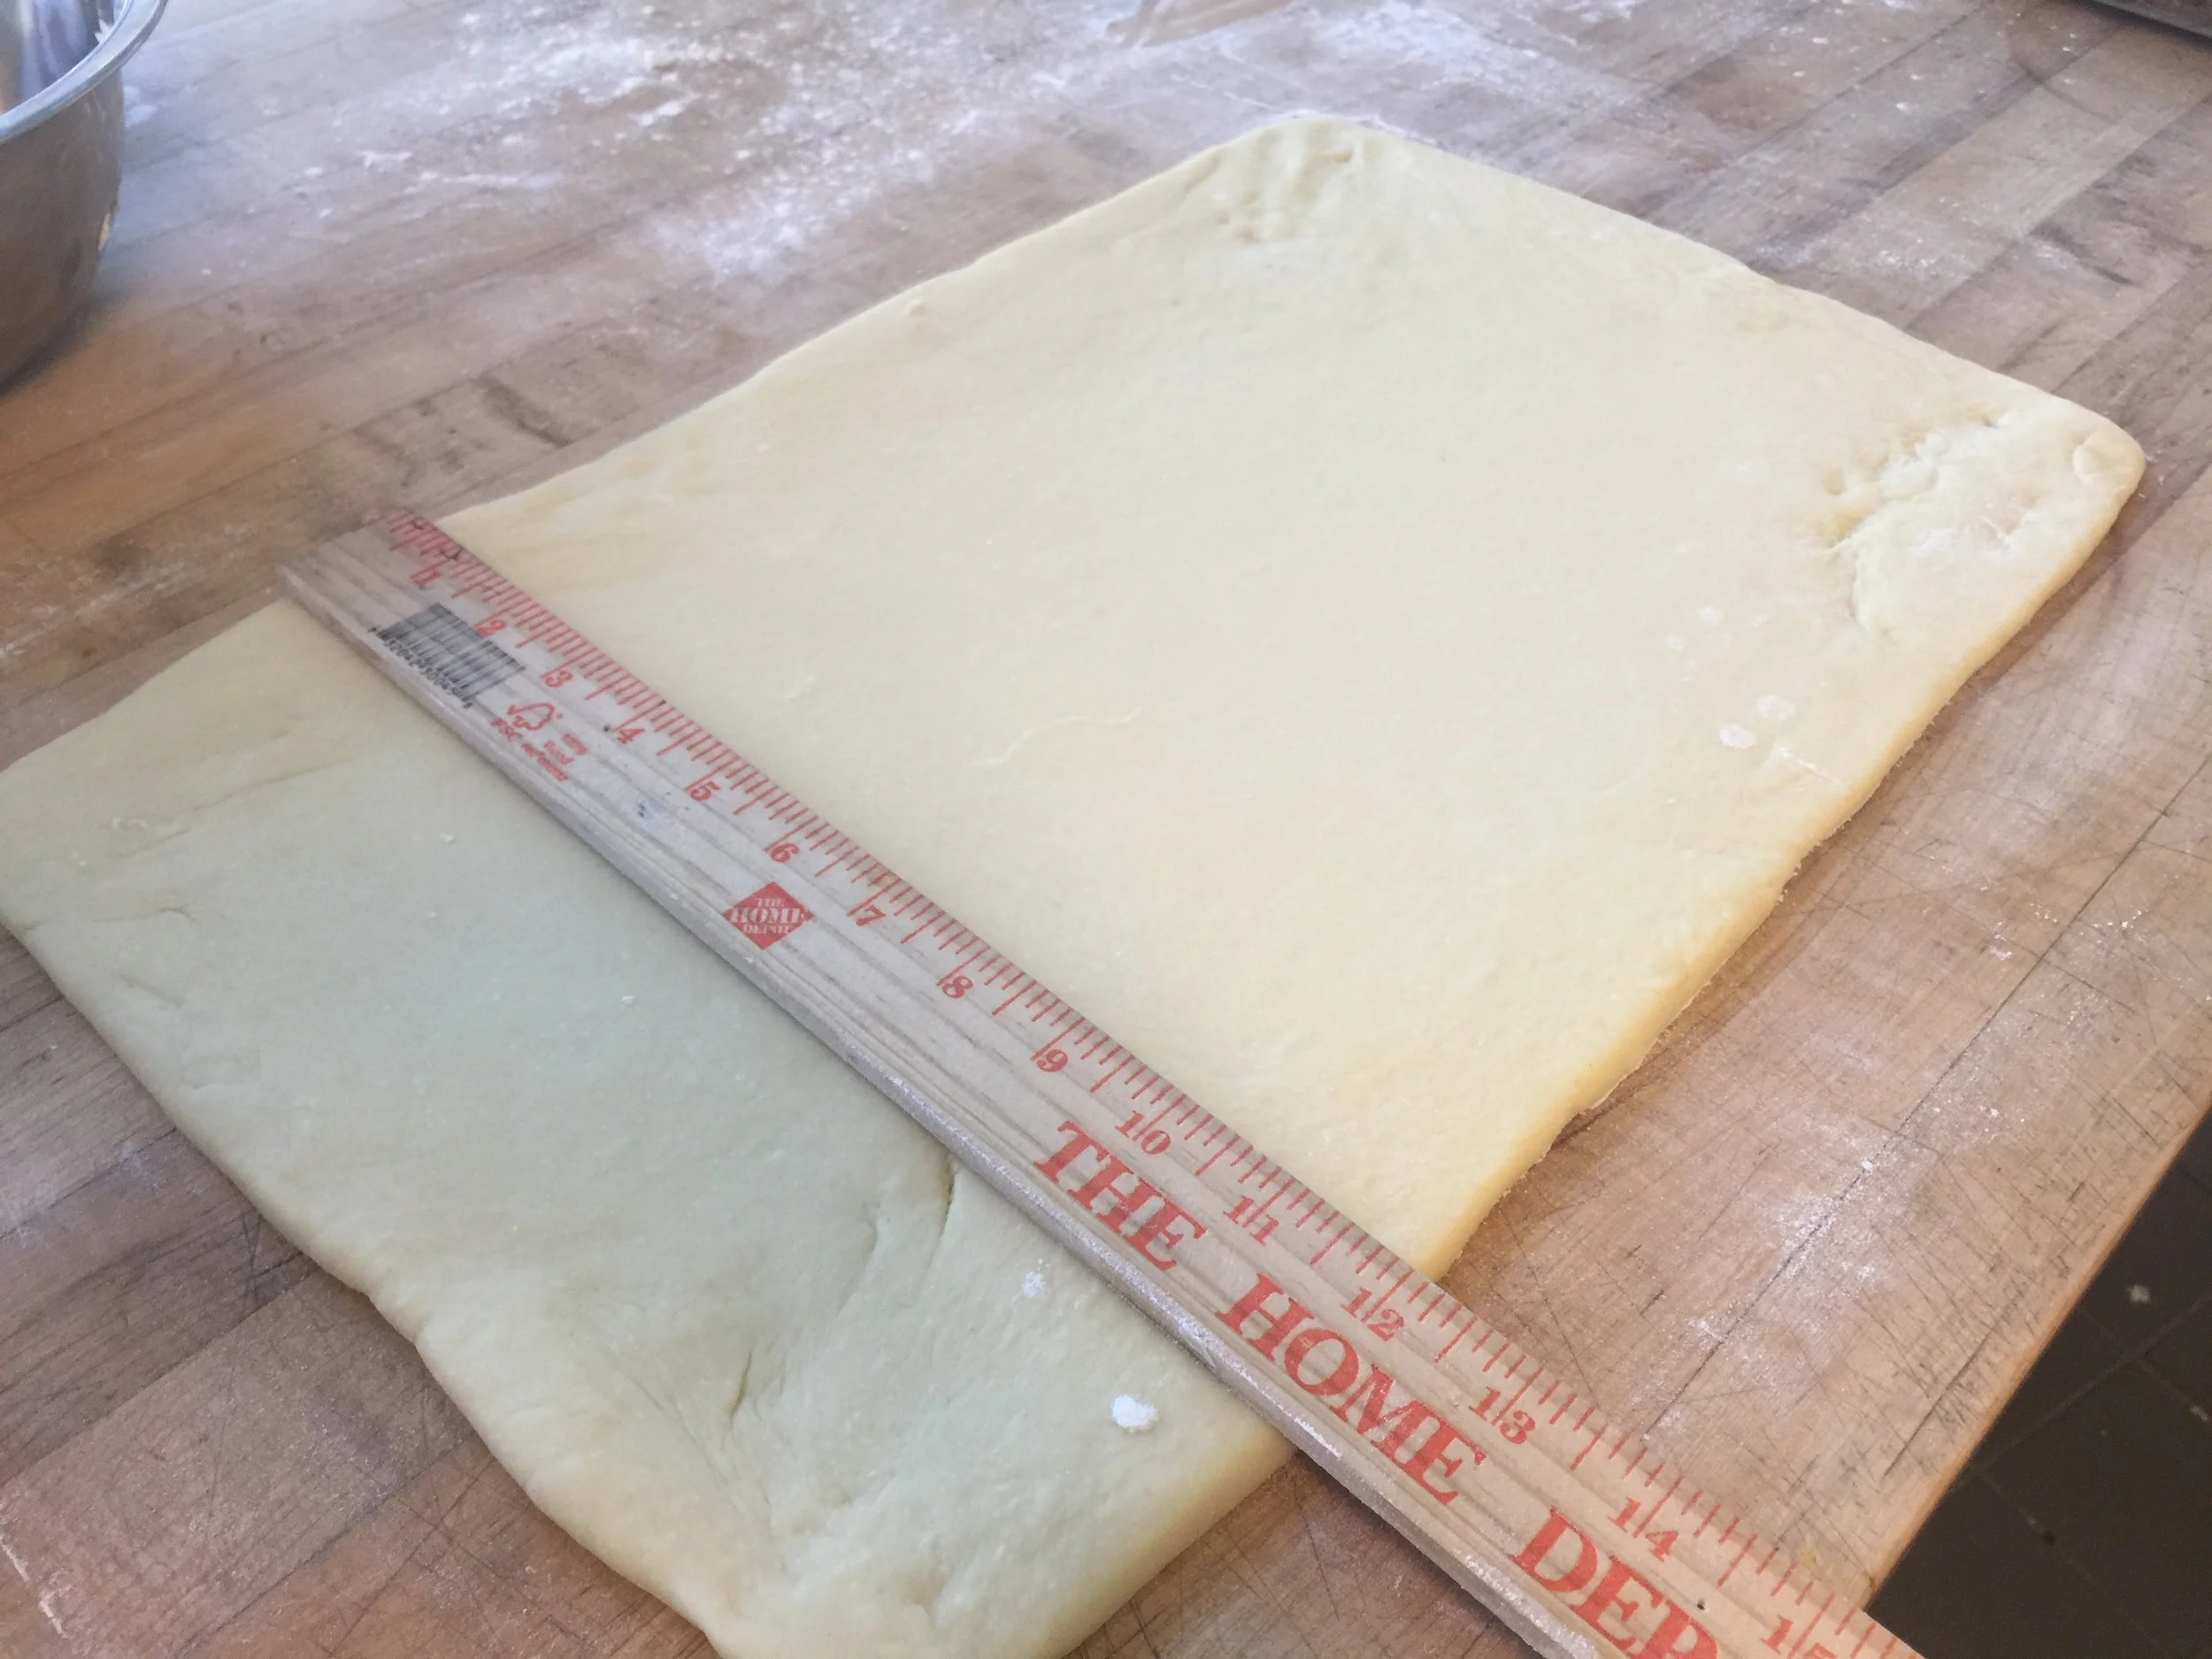
Roll out 12" x 18"

Spread sugar on the dough leaving 1/2 clear at the top

This is how the cinnamon rolls should look when they are fully proofed.
Flat Icing for Finishing Cinnamon Rolls
Equipment: Medium bowl, whisk
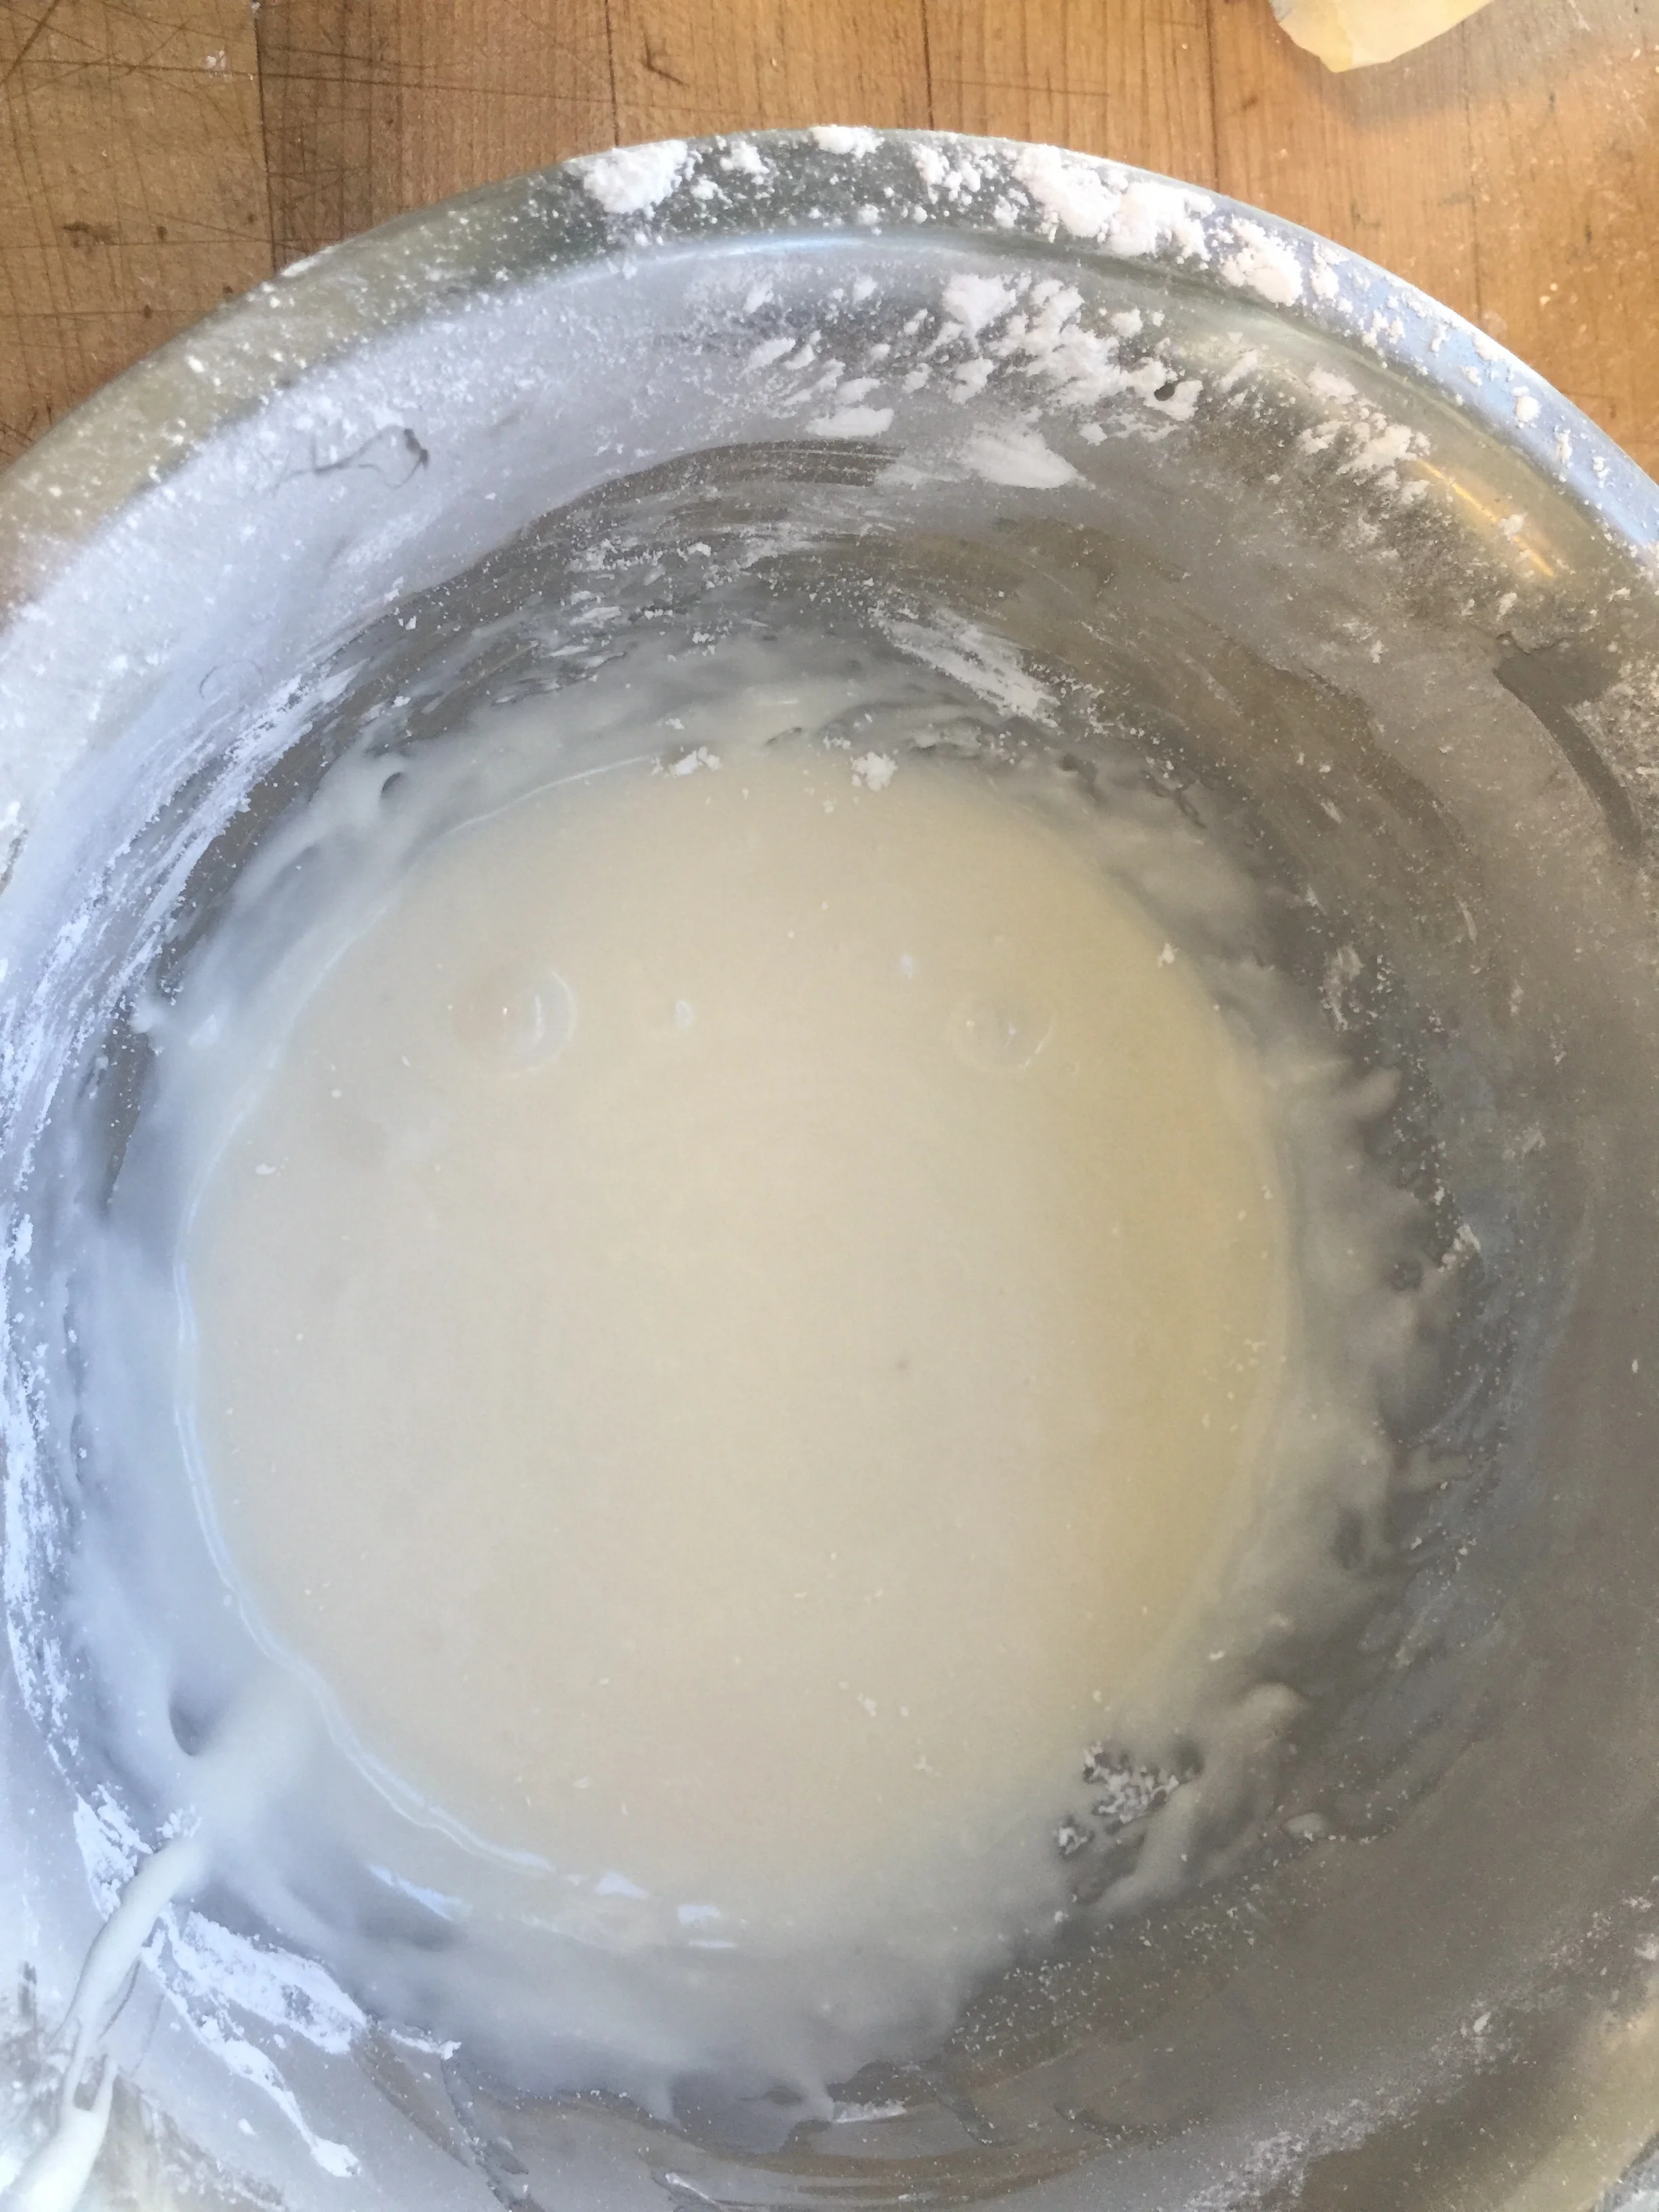
Flat Icing in the bowl
- 9 ounces (255g) Powdered sugar, sifted
- 2 ounces (57g) Milk
- 1 ounce (28g) Melted Butter
- 1. Combine sugar, milk and melted butter in a medium bowl. Whisk until smooth. Store leftover in the refrigerator.