• Home
  • Recipes and Blogposts
  • TheDoughDr Archived Episodes
  • About
  • Ingredient and Baking Videos
Menu

Baking With Colette

Certified Master Baker, Craftsy Instructor, Teaching you to bake your best!
  • Home
  • Recipes and Blogposts
  • TheDoughDr Archived Episodes
  • About
  • Ingredient and Baking Videos

Looking for a perfect bake? Search Recipe and Blogposts below:


Subscribe

Sign up with your email address to receive news and updates.

We respect your privacy.

Thank you!
I am a Craftsy Instructor. www.craftsy.com

I am a Craftsy Instructor. www.craftsy.com

Tweets by BakingwColette

Red Velvet Wedding Cake with Vanilla Bean Buttercream #nakedcake #pastrychef #amoretti #redvelvetcake #baking #laweddings Macaron madness at Art Institute - for Portfolio Show! Rose petal shells with Champagne buttercream and S'mores....#amoretti #macaron #pastrychef #baking
You made it to Friday - indulge with a chocolate chip scone...#5250 #pastrychef #baking #delicious Mini Apple Pies ready for the case at #5250 cafe! Fall baking is in full swing. #baking #fallbaking #apples #applepie #pastrychef #amorettiarmy Croissants fresh out if the oven at 5250 Cafe. #croissant #5250 #amoretti #pastrychef #baking #foodporn Tango Apple Cake with Caramel Icing - new recipe post at BakingwithColette.com. Get inspired for your fall baking today #apples #baking #cake#caramel Cranberry Orange Scones for 5250 Cafe.  Perfect with morning coffee.....Start your day with something sweet. #baking #amorettiarmy #baker #bakery##5250 Chef Rossi competing at Art Institute of Los Angeles - ACF category cold plating desserts :)
Go Chef!!!! #plated desserts There is a theory that Brioche a tete were modeled after Marie Antoinette's breasts -!if true then she was the patron saint of small breasted women. These are so yummy and delicious. #baking#marieantoinette #delicious #brioche#5250 #bread
Finished Madeleines...

Finished Madeleines...

Master Recipe: Madeleines, Ingredient Function Friday, Episode 14

February 02, 2018

Welcome to the companion recipe to today's episode of Ingredient Function Friday!  Our topic for today is baking powder. This recipe uses 4g or 1 teaspoon of baking powder. Please check out the episode. Click on the video tab, above, to view.

This is a master recipe for a classic madeleine. I got this idea from one of my Craftsy students who asked if I had a madeleine recipe that could be customized. Here it is. Thanks so much for the great idea.

I love master recipes and one day I would love to write a baking book full of them.

Back to our madeleiens...the flavor profile can be changed to almost anything but chocolate. 

The reason for that - it’s best to use a recipe that starts out using chocolate and cocoa. Chocolate is an additional fat and cocoa is a drying agent so it is not like you can just take out some ingredients, add chocolate and cocoa and everything will be ok.

It’s a good lesson in adapting recipes, ingredients that do not change the chemistry of the batter are ok to add. But those that do - need a little more work.

Note: There are two mixing methods for madeleines, creaming method and ribbon method. This is a master recipe for the ribbon method.

Once you learn the technique you can be as creative if you want. If you have questions about creating great flavors, please don't hesitate to ask. Shoot me an email at BakingwithColette@gmail.com

Also, the first baker to post a photo of their finished madeleines will win a mini madeleine pan!!!!!

Happy Baking! Colette

Flavor ideas: lemon, lime, orange, rose water, almond, hazelnut, pecan, blueberry, cranberry and orange.

Master Recipe: Madeleines

Equipment: Stand mixer fitted with whisk attachment or hand held mixer fitted with whisk or standard beaters, sauce pan for browning butter, spatula, medium sized bowl, strainer, half sheet tray for supporting the madeleine pan.

Yield: 12 madeleines - large mold  or 24 mini madeleines

Ingredients:

Madeleine Mise en Place. The eggs are in a bowl of hot water so that they warm up a little - 5 minutes and the chill is gone. They will whip up better if they are not ice cold.

Madeleine Mise en Place. The eggs are in a bowl of hot water so that they warm up a little - 5 minutes and the chill is gone. They will whip up better if they are not ice cold.

  • 142g  butter, browned, and strained into the medium sized bowl and set aside.
  • 2 large eggs
  • 99g sugar
  • I teaspoon vanilla bean paste or vanilla extract
  • 28g honey
  • 160g all purpose flour
  • 4g, (1 teaspoon) baking powder
  • 1g, (1/4 teaspoon) salt

Melted butter and extra flour for preparing pan. Brush the madeleine pan, with melted butter and then sprinkle with flour and tap out the excess. You could use pan spray but the melted butter and flour will taste much better and provide a better relaease.


  1. Combine the eggs, sugar and honey in the mixer bowl. Start on medium speed and mix for 1 minute until the ingredients are combined. Then turn off mixer and scrape down the mixer bowl. Increase speed to high and beat for 6-8 minutes until it is pale yellow and thick and holds a 3 second ribbon when the batter falls off the end of the whisk. Only 3 seconds - no longer then that.
Ribboned eggs, sugar, vanilla bean paste (or extract) and honey

Ribboned eggs, sugar, vanilla bean paste (or extract) and honey


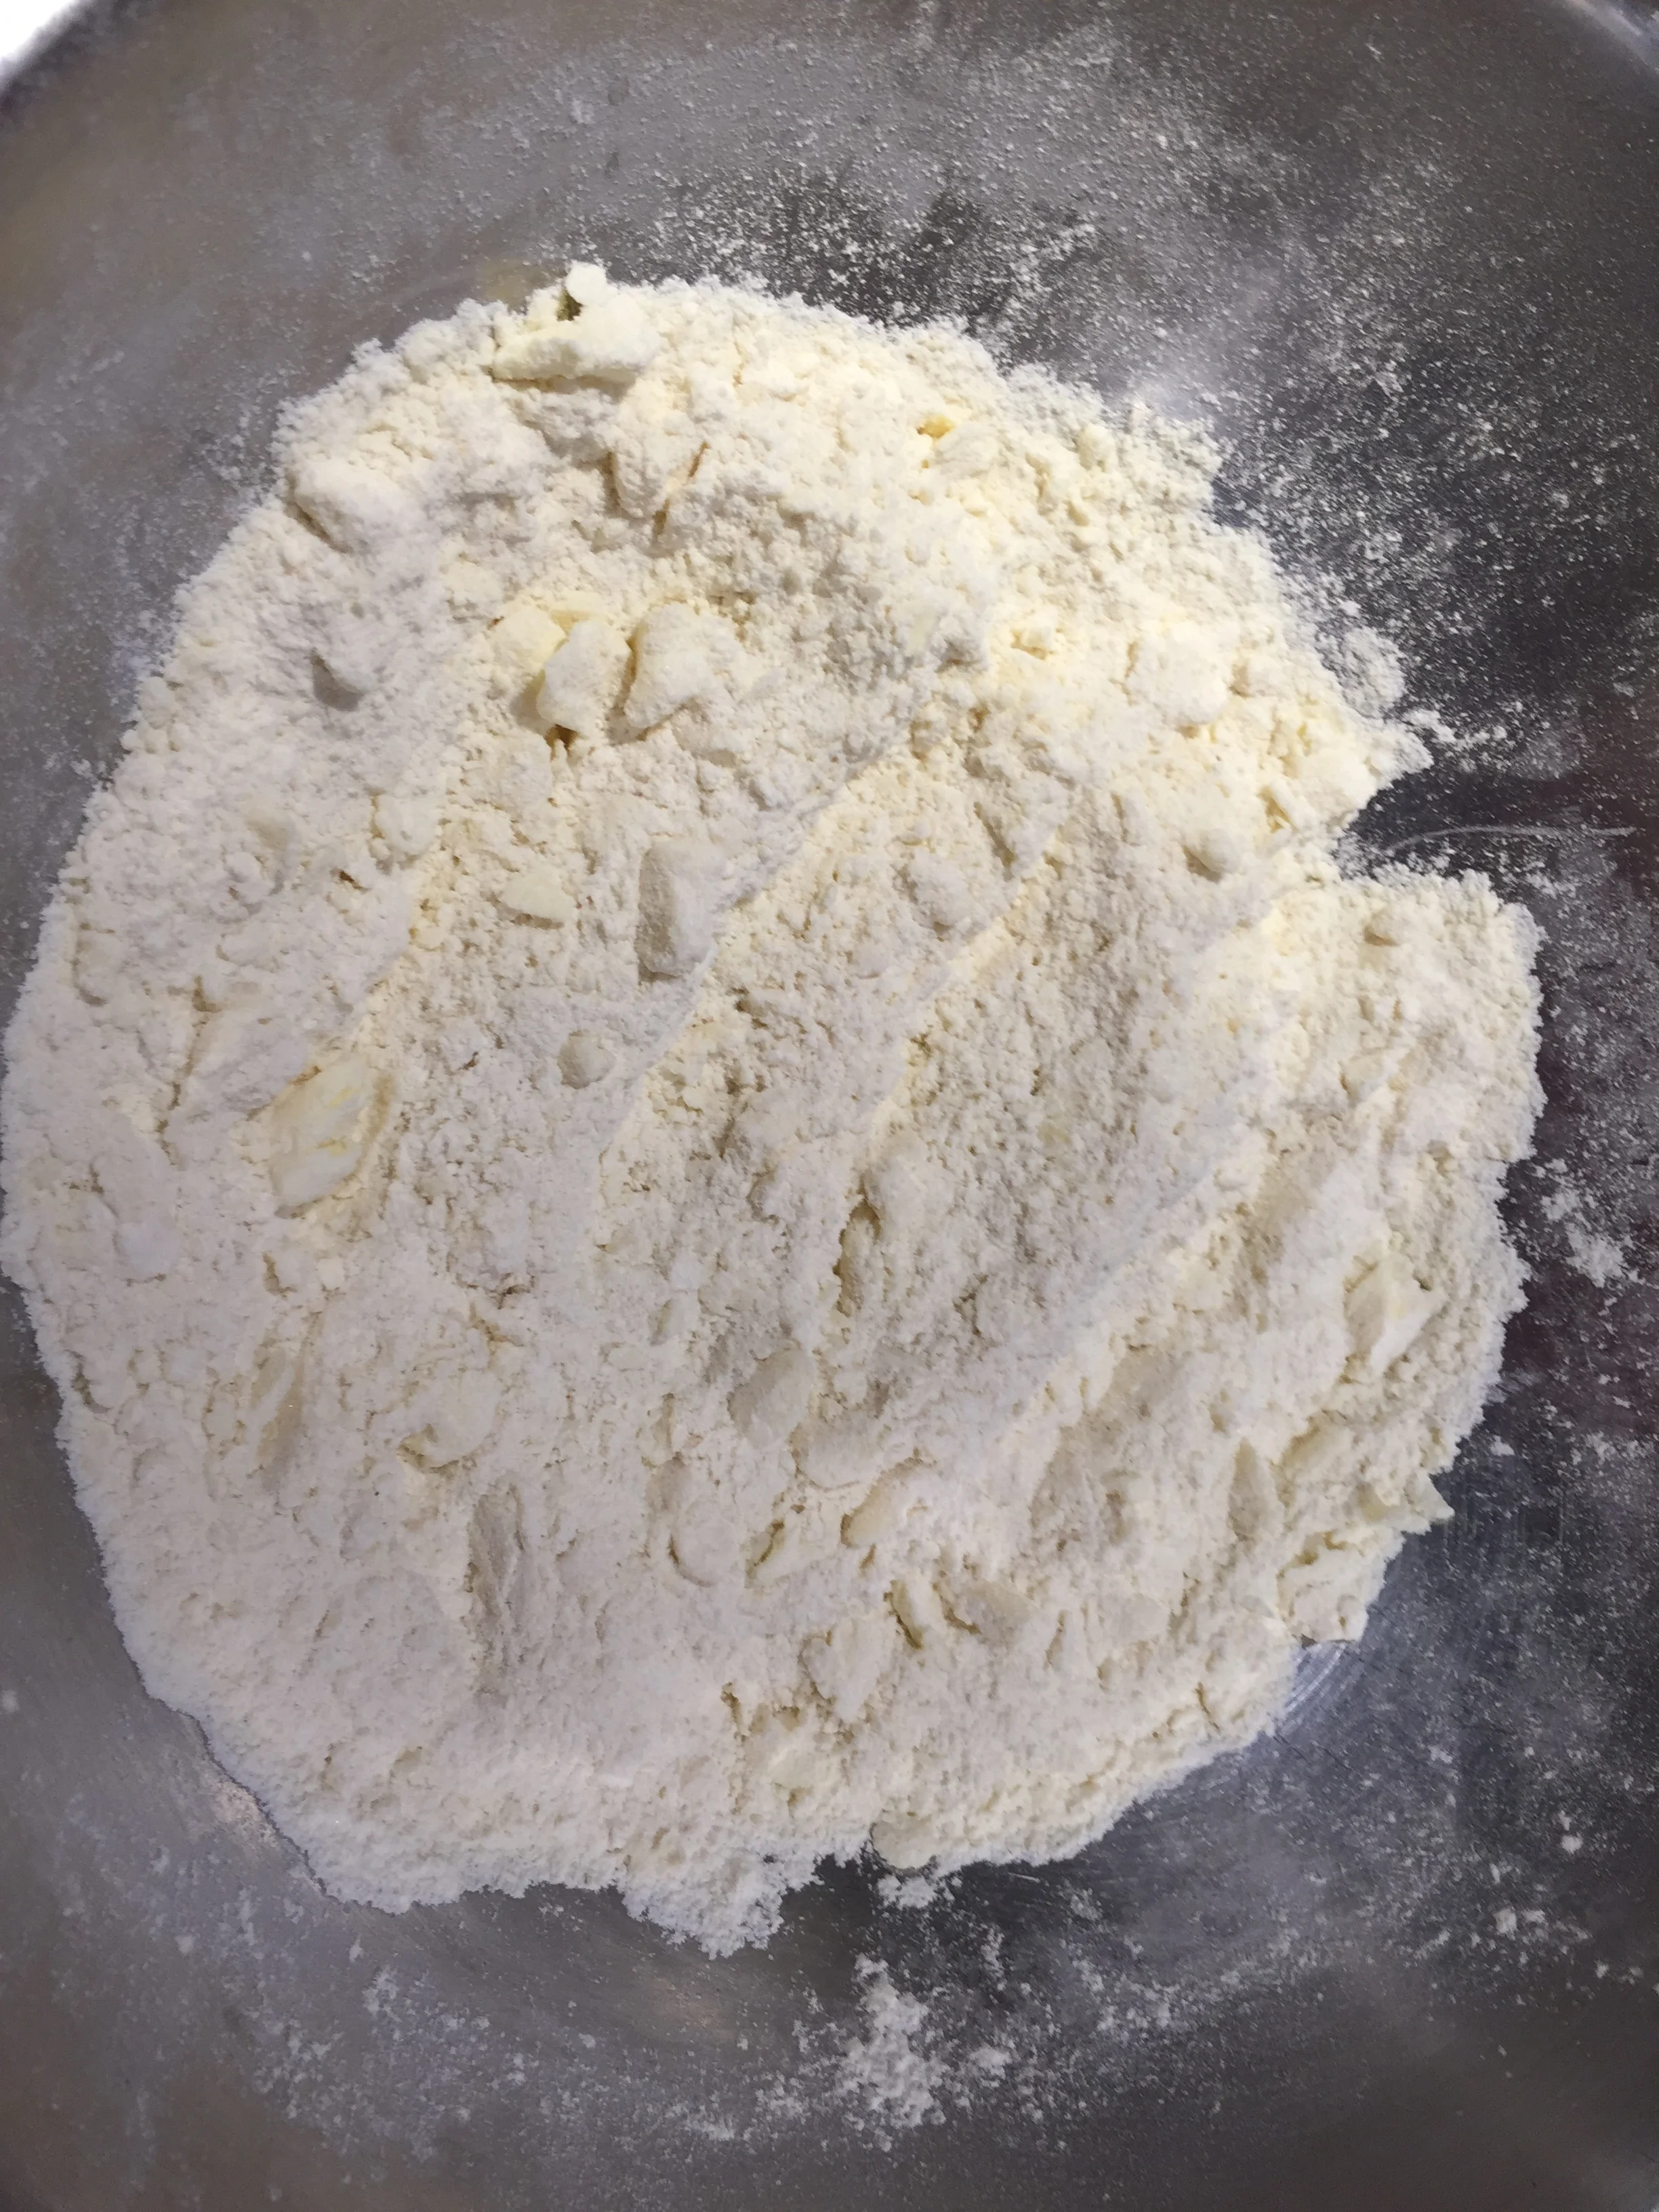
        2. Sift together the flour, baking powder and salt, set aside.


        3. Take about 6 ounces of egg mixture and mix it into the cooled, strained butter. (this lightens the texture of the butter.) 

Ribboned egg and butter mixture

Ribboned egg and butter mixture


        4. Fold the flour mixture into the remaining egg mixture and mix until the flour disappears.

Adding flour...

Adding flour...

1. Fold in the lightened butter mixture.

       5. Pipe into prepared madeleine pan, just to the top of the pan, do not over fill.

       6. Chill for 1 hour in the refrigerator. This helps them get a nice hump.

       7.  While the batter is chilling, preheat the oven to 375 degrees, 350 convection.

       8. Place chilled madeleine pan on half sheet pan before placing in the oven.

       9. Check the madeleines at 15 minutes. They will probably take a few minutes longer. We are looking for                    them to be light golden brown.

     10. Let madeleines cool for 8-10 minutes in the pan before un molding.

     11. Garnish with powdered sugar before serving.

Comment
Date Nut Muffins and a little cream cheese...

Date Nut Muffins and a little cream cheese...

Date Nut Muffins - Companion Recipe to Ingredient Function Friday, Episode 12

January 27, 2018

Hello Bakers,

Here is the companion recipe to today's episode. The only chemical leavener in this recipe is baking soda. It is just three quarters of a teaspoon and the lemon juice in the recipe activates it, helping our muffins rise nice and high.

This is an unusual recipe for muffin recipe. Most muffin recipes have baking powder in them and maybe a little baking soda. But not this one. Date Nut bread is not as popular as it once was. In the days of tearooms, date nut bread spread with cream cheese was a regular menu item.

It is so delicious. To give it an update, I have turned it into a muffin rather then a bread. It's probably better this way because when made into a loaf, it is nearly impossible to eat one slice and if you start with the cream cheese forget it.

Easy too and relatively quick. I used my Texas sized muffin pan but a regular muffin pan will work just fine. A mini loaf snack pan is another option. These freeze well too. 

The prize for the first posted photo of the muffins will win a standard muffin scoop! Yay. We have had three winners in the baking contests already. Congratulations to our bakers. So far I have sent prizes to Ohio, New York and Singapore.

Happy Baking! Colette

Equipment: 12 cup muffin pan, 6 cup muffin pan, liners, or mini loaf snack pan, well greased, saucepan, scale, sifter, spatula, scoop

Dut Nut Muffin Mise en Place

Dut Nut Muffin Mise en Place

Don't forget the lemon juice...(like I did in the mise en place photo)

Don't forget the lemon juice...(like I did in the mise en place photo)

Ingredients

  • 8 ounces water (227g)
  • 6 ounces (170g) dates, pitted and chopped, medium fine
  •  5 ounces brown sugar (142g)
  • 3 ounces (85g) butter, cut up
  • 1 ounce (28g) honey
  • 1/2 ounce (15g) (1 Tablespoon) lemon juice
  • 1 large egg
  • 1 teaspoon vanilla extract
  • 9 ounces (255g) all purpose flour
  • 1 teaspoon baking soda
  • 1/2 teaspoon salt
  • 3 ounces (85g) toasted, chopped walnuts
  • Pinch cinnamon and nutmeg

Cinnamon sugar to sprinkle on top before baking (optional)

  1. Bring water to a boil in saucepan, remove from heat.
  2. Add dates, brown sugar, honey, lemon juice, butter and vanilla. Stir until butter is melted.
  3. Let sit for 15 minutes. Add the egg and mix well. (you can whisk the egg with a fork before adding it to the date mixture.)
  4. Sift the flour, baking soda, salt and pinch of cinnamon and nutmeg.
  5. Pour the date mixture into a medium bowl. Add the dry ingredients. Mix halfway, add walnuts and mix only until combined.
  6. Scoop into prepared muffin tins and sprinkle lightly with cinnamon sugar.
  7. Bake at 350 degrees for 20-25 minutes. The muffins are done when a cake tester or skewer in the center comes out clean.
Here is what the wet mixture should look like...give it a stir before you add the dry ingredients.

Here is what the wet mixture should look like...give it a stir before you add the dry ingredients.


Comment
Biscuits - these are basic - go ahead and have fun making these.

Biscuits - these are basic - go ahead and have fun making these.

Biscuits! Companion recipe to Ingredient Function Friday, Episode 12

January 19, 2018

Hello Bakers,

Here is the companion recipe to today's Ingredient Function Friday, Episode 12. In case you missed it you can click on the IFF tab and check it out.

This recipe is from my Craftsy class, 25 Essential Baking Techniques. These are easy and delicious. 

As I said in the segment, this recipe can be customized to be savory, add cheese, chopped crisp bacon, herbs, scallions - anything you want.  

The first baker who posts a photo of their finished biscuits will receive a container of La Baleine Sea Salt! You can post here or email me at BakingwithColette@gmail.com or on any of my social media platforms. FB, Facebook.com/BakingwithColette, Twitter and Instagram: BakingwColette.

Be creative and have fun. Happy Baking! Colette

Yield: 8 to 10, depending on size of cutter

Equipment • Half sheet pan lined with parchment paper • Large mixing bowl • Bowl scraper • Pastry blender (optional) • Sifter • Rolling pin • Biscuit cutters • Bench scraper or chef’s knife • Pastry brush

Biscuit Mise en Place

Biscuit Mise en Place

Ingredients • 2 cups (9 ounces/255 g) unbleached all-purpose flour • 2 teaspoons baking powder • ½ teaspoon baking soda • 1 tablespoon sugar • ¾ teaspoon salt • 1 stick (4 ounces/113 g) unsalted butter, cubed and chilled • ¾ cup (6 ounces/170 g) buttermilk, store-bought or homemade, plus extra for brushing

 1. Line half sheet tray with parchment paper.

2. Preheat the oven to 375 F (190 C). For convection 350 F (180 C).

3. Sift together dry ingredients in a large bowl.

4. Cut in the butter with a bowl scraper or pastry blender until the butter looks like small flakes.

Cut in butter and flour

Cut in butter and flour

5. Add the buttermilk over the top of the dry ingredients, using the bowl scraper to push and fold the liquid into the flour.

6. If it looks dry add a little more buttermilk (a tablespoon at a time) around the edge the bowl.

7. Continue to mix and fold until all the dry ingredients are incorporated and there is no dry residue on the bottom of the bowl.

8. Turn the dough out onto a very lightly floured surface and fold briefly until smooth. The dough can also be rolled out and turn twice as shown in the video.

9. Roll the dough out into a 6"x 6" square, measure 1 1/2" squares across and down - this will yield 9 square biscuits. Cut the squares with a dough cutter or a chef knife.

6"x 6" Square

6"x 6" Square

10. Place biscuits on a baking tray, 1 inch (2.5 cm) apart and chill in the refrigerator for 20-30 minutes.

11. Brush tops with buttermilk.

12. Bake the biscuits. Start checking in 14 minutes.

Check for doneness by picking one up - it should feel light and be golden brown in color.

13. Usually, more baking time is needed, reduce the oven temperature by 25 F (15 C) and continue to bake, checking in 5-7 minute intervals.

14. Cool for a few minutes on a rack. Serve warm. Note: Leftover biscuits freeze well. Wrap and hold for up to one month. Thaw and refresh in a 350 F (180 C) oven 5-7 minutes before serving.


Comment

Devils Food Cupcakes (cake) with Vanilla Bean Swiss Buttercream

January 16, 2018


Hello Bakers,

Here is the companion recipe to this week's, Ingredient Function Friday. You now have the last chocolate cake recipe you will ever need. It is an old Cordon Bleu recipe that thankfully was placed in the baking and pastry classes. I changed a few things - the original didn't have vanilla and I reduced the cocoa slightly but that's about it.

It is not French but a classic Åmerican cake and like the rice pudding recipe I posted a few weeks ago, it is one of those recipes that has been around for years. You do not need a mixer to make this but you can use your mixer if you have one. 

Sifting is a good idea here. In the latest episode of Ingredient Function Friday I talked about sifting. If you did not see the episode, click on the video tab up top and it is right there, Episode 10.

One last thing and then you can read the recipe and start getting your ingredients and equipment together this recipe does need Dutch process cocoa. Some good brands are Droste, Valrhona and Cacao Barry, extra brute. Hershey's special dark cocoa will work too and it is available in most supermarkets. 

And last last...I iced these with a Vanilla Bean Buttercream - that is not too sweet. The recipe is below. 

Happy Baking!

Colette

Devil's Food Cake

Makes 1 10” cake or a 13"x9" pan or 18 medium sized cupcakes

Grease pan and line bottom with parchment paper, line 2, 12 cup muffin pans with liners

Preheat the oven 350 degrees

Equipment: Stand mixer fitted with the whisk attachment or 1 medium sized mixing bowl and a whisk, scale, spatula

Ingredients:

  • 4 ½ ounces, (128g) eggs
  • 12 ounces, (340g) sugar
  • 2 teaspoons vanilla
  • 2 1/2 ounces, (71g) Dutch process cocoa
  • ? (12g) baking soda
  • ½ teaspoon salt
  • 10.5 ounces, (298g) all purpose flour
  • 7 ounces, (198g) vegetable oil
  • 7 ounces, (198g) buttermilk
  • 8 ounces, (227g) brewed coffee 
  1. Sift together the dry ingredients 2x. Set aside.
  2. In a mixer with the whisk attachment ribbon the eggs, sugar and vanilla together on medium speed until the mixture is light and well combined (about 2 minutes). Don't over mix. This can be done by hand as well.
  3. Whisk the oil, buttermilk and coffee and together. (It is ok if they separate a little). 
  4. Alternate adding the flour mixture and the buttermilk mixture to the ribboned eggs and sugar.
  5. It should go dry, wet, dry, wet and end with dry.
  6. Pour the batter into the pan – it will be quite loose.
  7. Bake the cake at 350 in a still oven.

Start checking in 30 minutes, (cupcakes take about 20) – the cake is done when a skewer inserted in the center comes out clean.

These cupcakes (or cake) freeze very well up to one month.

Not too sweet - VANILLA BEAN SWISS BUTTERCREAM

Equipment: Stand or hand held mixer fitted with whisk attachment, instant read thermometer, scale, whisk, spatula, piping bag and medium star tip to finish. 

Ingredients

  •     57 g egg whites
  •     136g granulated sugar
  •     227g unsalted butter, cut up and refrigerated, Take out the butter when you start cooking your      sugar
  •     8g vanilla bean paste or vanilla extract


  1.          Fill a medium saucepan with 2 to 3 inches (5 to 7.5 cm) of water and bring to a rolling boil, then reduce the heat to maintain a simmer.
  2.        Place the egg whites and sugar in the bowl of a stand mixer tted with the whisk attachment and whisk to combine.
  3.         Place the bowl over the simmering water.
  4.         Whisk gently. Be careful, as the bowl will become hot quickly. Use a towel or oven mitt to steady the bowl.
  5.        Every few minutes, check the temperature of the mixture. Once it reaches 145 F, remove it from the heat and place on the mixer, using the towel or oven mitt as the bowl can be very hot.
  6.        Stand back a little as the mixture is hot. Turn on the mixer to medium speed and then up to high speed.
     
  7.        Whip the mixture until it has cooled to room temperature. It will look thick and like marshmallow creme.
  8.         Reduce the speed to medium-high. Throw in pieces of butter a few at a time. As the butter is incorporated, the mixture will resemble thick, fluffy mayonnaise.
  9.         Remove the whisk and t the mixer with the paddle attachment.
  10.         Add the vanilla bean paste. Mix until combined.

        Buttercream can be stored at room temperature for 24 hours, refrigerated for up to ve days, or frozen for up to one month. Thaw frozen buttercream in the refrigerator. To reconstitute buttercream, mix it with the paddle attachment on medium-high speed until fluffy and spreadable. 

1 Comment
Newer / Older
Back to Top

email: bakingwithcolette@gmail.com