• Home
  • Recipes and Blogposts
  • TheDoughDr Archived Episodes
  • About
  • Ingredient and Baking Videos
Menu

Baking With Colette

Certified Master Baker, Craftsy Instructor, Teaching you to bake your best!
  • Home
  • Recipes and Blogposts
  • TheDoughDr Archived Episodes
  • About
  • Ingredient and Baking Videos

Looking for a perfect bake? Search Recipe and Blogposts below:


Subscribe

Sign up with your email address to receive news and updates.

We respect your privacy.

Thank you!
I am a Craftsy Instructor. www.craftsy.com

I am a Craftsy Instructor. www.craftsy.com

Tweets by BakingwColette

Red Velvet Wedding Cake with Vanilla Bean Buttercream #nakedcake #pastrychef #amoretti #redvelvetcake #baking #laweddings Macaron madness at Art Institute - for Portfolio Show! Rose petal shells with Champagne buttercream and S'mores....#amoretti #macaron #pastrychef #baking
You made it to Friday - indulge with a chocolate chip scone...#5250 #pastrychef #baking #delicious Mini Apple Pies ready for the case at #5250 cafe! Fall baking is in full swing. #baking #fallbaking #apples #applepie #pastrychef #amorettiarmy Croissants fresh out if the oven at 5250 Cafe. #croissant #5250 #amoretti #pastrychef #baking #foodporn Tango Apple Cake with Caramel Icing - new recipe post at BakingwithColette.com. Get inspired for your fall baking today #apples #baking #cake#caramel Cranberry Orange Scones for 5250 Cafe.  Perfect with morning coffee.....Start your day with something sweet. #baking #amorettiarmy #baker #bakery##5250 Chef Rossi competing at Art Institute of Los Angeles - ACF category cold plating desserts :)
Go Chef!!!! #plated desserts There is a theory that Brioche a tete were modeled after Marie Antoinette's breasts -!if true then she was the patron saint of small breasted women. These are so yummy and delicious. #baking#marieantoinette #delicious #brioche#5250 #bread
Olive and Rosemary Foccacia

Olive and Rosemary Foccacia

Snow Day Foccacia

January 04, 2018

Hello Bakers,

My dear bakers - here is the recipe as I promised you yesterday on Instagram. To reward your baking,  - I will gift the first three bakers who bake this foccacia and post a photo of it on Instagram (tag and DM me please so I don't miss it) will get a brand new 1" Ateco pastry brush. Yay! you know you knead a new one.

My Instagram address: BakingwColette. 

Yesterday, news reports were all about the winter storm that is currently pummeling the northeast, the southeast and Florida. Reading about it, I thought back to the innumerable snow days, I experienced in the eight years I spent on the East Coast, I was inspired to put together this foccacia.

Now that I live in California, I no longer experience snow days. For all their inconvenience, there is something magical about them. Snug and warm in the house, it provides the opportunity to bake something wonderful. The catch is that you can only use things on hand - no running to the store...so this is perfect and the kitchen will smell great. 

Once it is lightly mixed - it gets folded every 45 minutes to 60 minutes. In between folds, you can clean a closet or sit by the fire and knit. No kneading, no fuss and so delicious. No mixer - minimal clean up.

If you are not an olive person, you can leave them out and any herbs will do.  Foccacia is about different textures so that's why will will dimple the dough before baking - just in case you were wondering. 

Here is your recipe and tutorial: Have fun and Happy Baking! 

Foccacia: 

Equipment: two mixing bowls, medium sized, dough whisk or wooden spoon, bowl scraper (optional) quarter sheet pan, lined with parchment paper and painted with olive oil, pastry brush, scale, plastic wrap, proofing bag (optional but convenient)
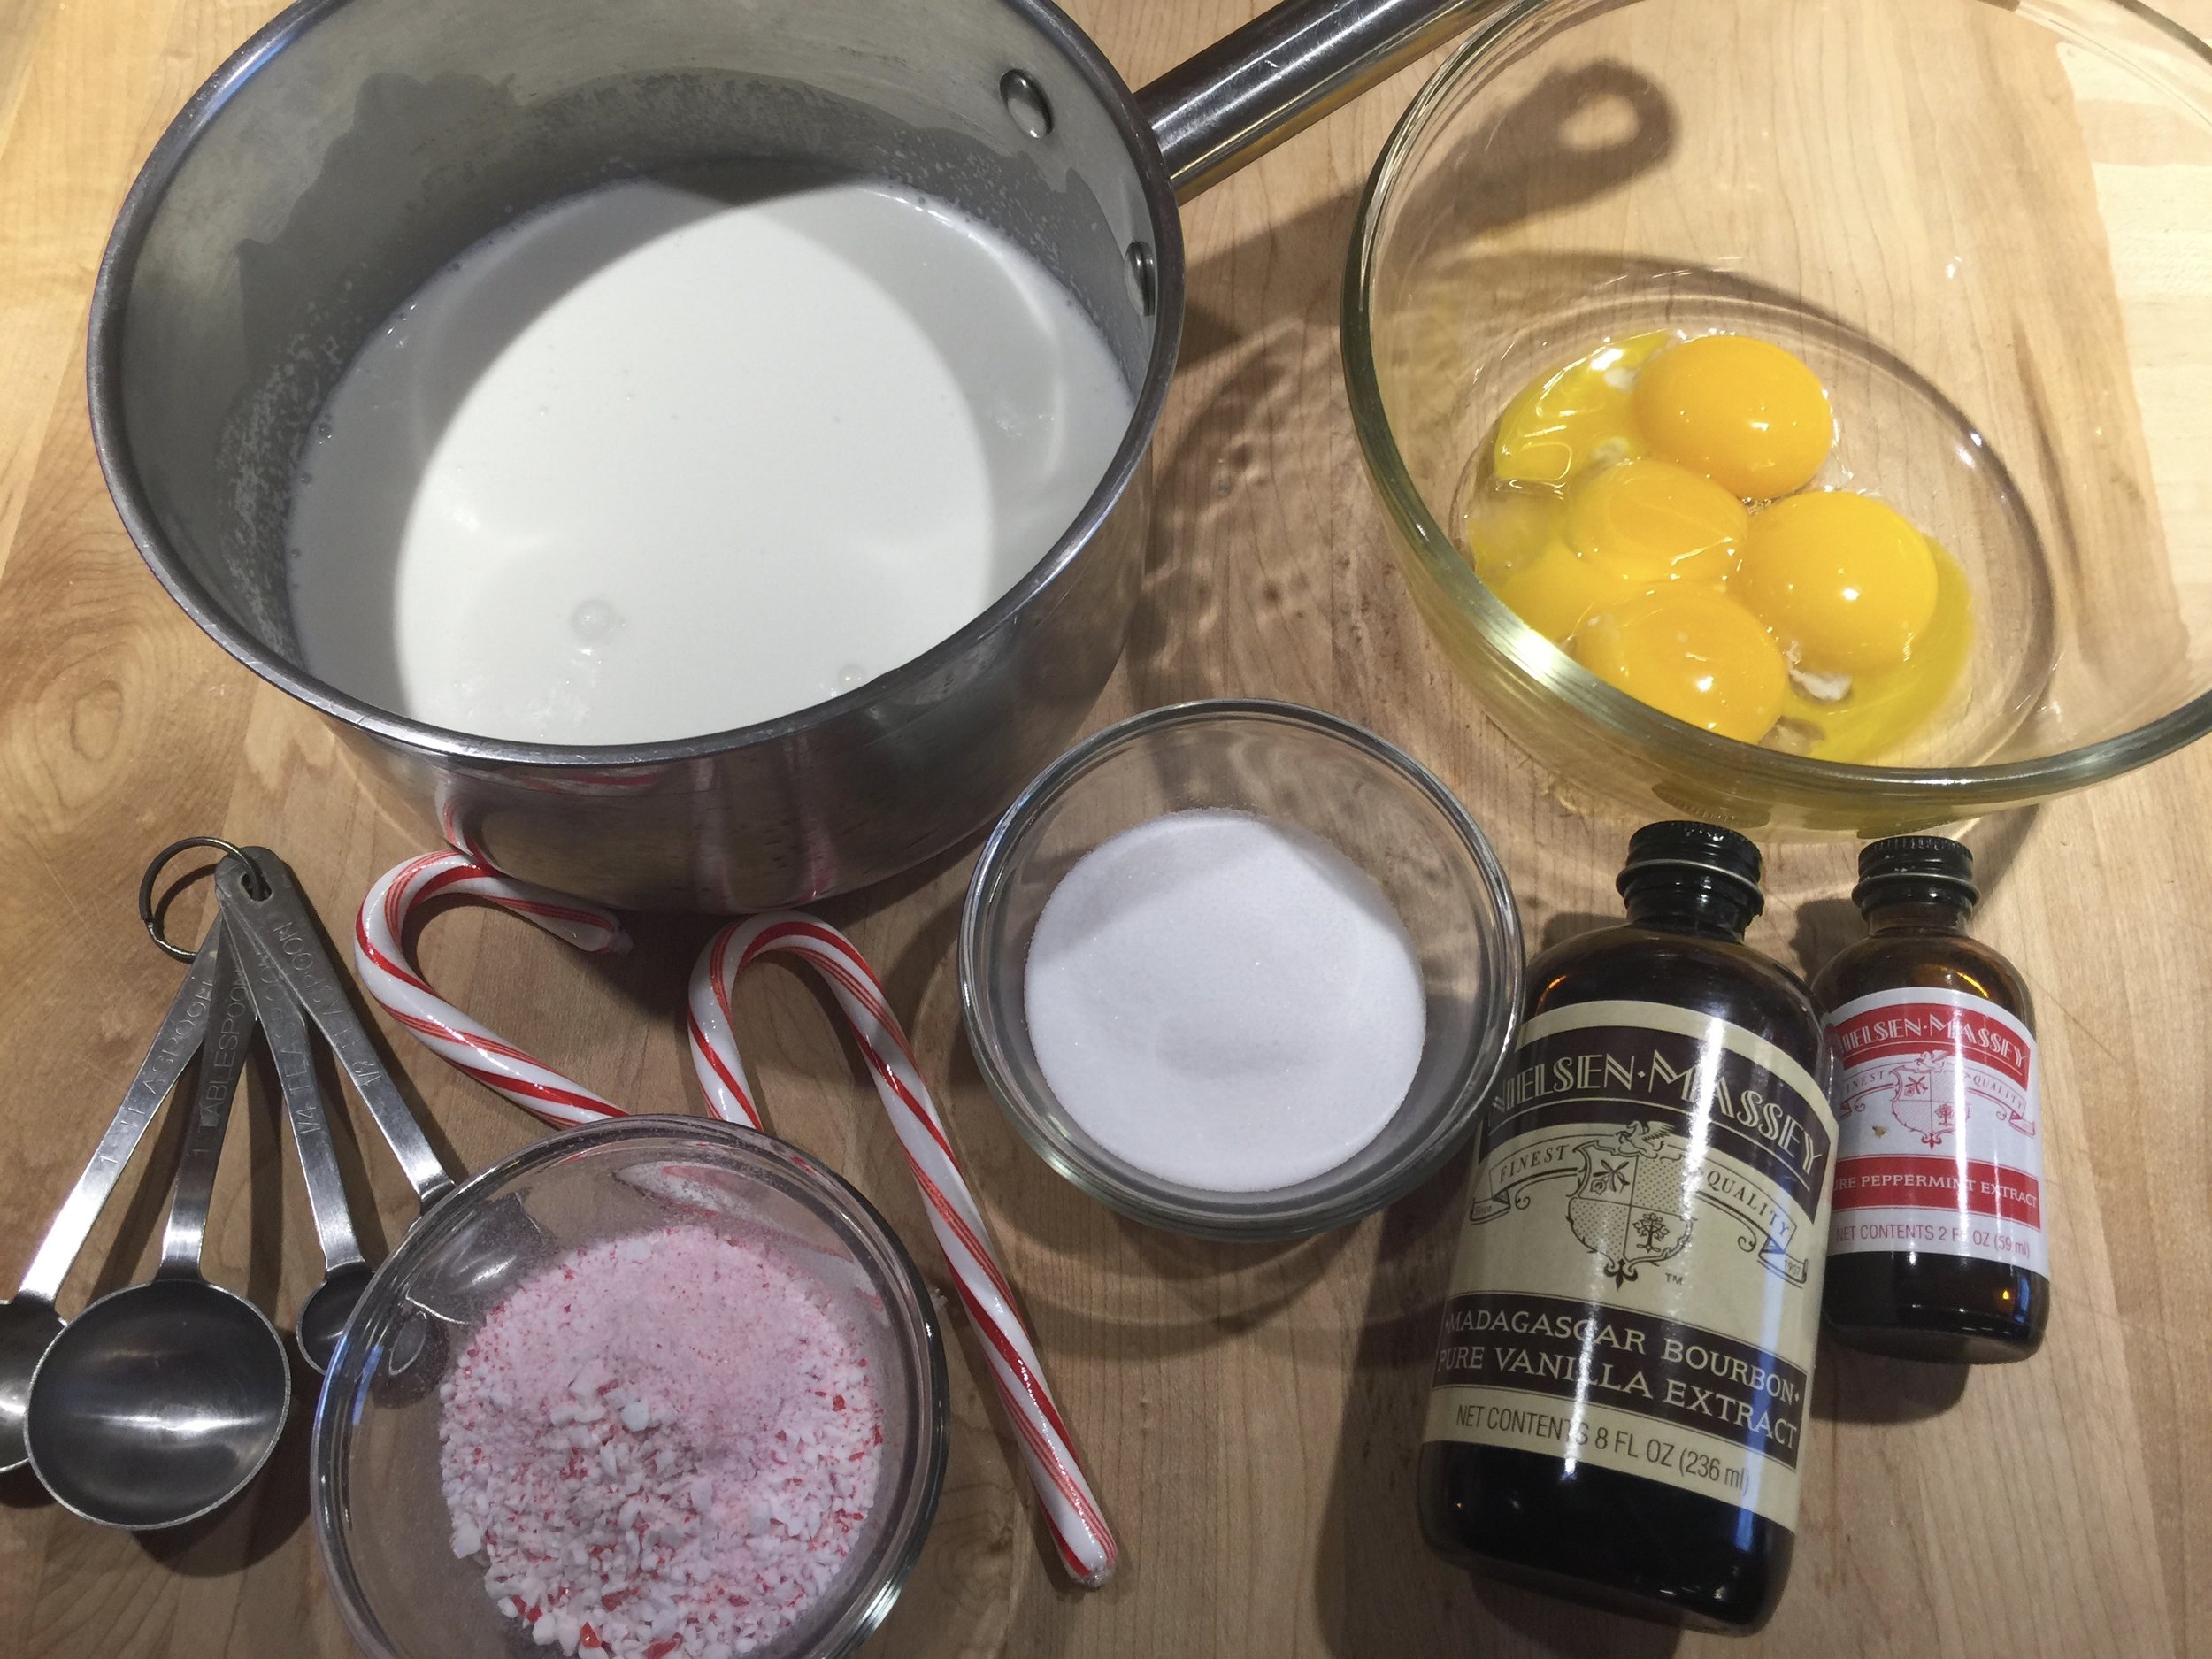
Ingredients

  • 350g water (80 degrees)
  • 2g Instant yeast (5g dry active)
  • 400g Unbleached bread flour
  • 8g salt
  • 28g Extra virgin olive oil + extra for the bowl and brushing the top of the foccacia
  • Olives, herbs, kosher salt, or what ever toppings you want but keep it simple - "foccacia is not pizza" that is in quotes because I have said that hundreds of times in class.
Foccacia Mise en Place

Foccacia Mise en Place

1. Combine water and yeast in mixing bowl whisk to combine. Let sit 2 minutes.

Water and yeast...let sit 2 minutes

Water and yeast...let sit 2 minutes

2. Add flour and salt mix until the dough looks like a lumpy but cohesive mass. Just bring it together and make sure the flour is mixed - 2 minutes (even less) with a dough whisk or wooden spoon.

Right before mixing - salt is on top of the flour.

Right before mixing - salt is on top of the flour.

3. Put the olive oil into the second mixing bowl and set aside.

4. Dump the down into the second bowl which has the olive oil in it. As we complete our folds the olive oil will be incorporated - I heard the olive oil question....Cover and let sit at room temperature for 45-60 minutes.

4. Dump the down into the second bowl which has the olive oil in it. As we complete our folds the olive oil will be incorporated - I heard the olive oil question....Cover and let sit at room temperature for 45-60 minutes.

5. Now give the dough a fold. Here is the technique in the video.


6. Repeat 3 times. This means the dough will get 3 folds 35-60 minutes apart. Folding strengthens gluten. It's the best way to develop a sticky (well hydrated dough like foccacia). Meanwhile set up your baking pan and prep any toppings. 

7. After 3 folds are complete, gently plop dough onto the prepared pan. Gently coax the dough into the corners of the pan. Place it in the proofing bag with a mug or hot water or tent it with plastic wrap. Let it proof for 30-40 minutes. As it relaxes, you can stretch the dough into the corners but be gentle - don't over stretch.

 Dough plopped onto pan.

 Dough plopped onto pan.

In proofing bag with hot water - let sit in there for 40 minutes.

In proofing bag with hot water - let sit in there for 40 minutes.

8. After about 40 minutes the dough will look puffy and fill the pan. Brush the dough lightly with olive oil,  sprinkle the top with a blessing of kosher salt, lay on the sprigs of rosemary and dot with olives. Let sit for 10 minutes to adjust the toppings. Preheat your oven to 400 and use the convection setting if you have it. If not set the dial between 400 and 425. Dimple the dough right before baking - pressing in to it lightly with your fingertips.

Bake for 15 minutes. Reduce temperature to 375 and bake another 8-10 minutes. 

Dimpled dough, ready to bake.

Dimpled dough, ready to bake.

The foccacia should be  an all over golden brown. Brush the edges with olive oil. Let cool a little and tear into it. Leftovers freeze well and make great sandwiches. That's another thing they do in Italy with focaccia - it's used to make mouthwatering sandwiches.


Comment
Rice Pudding - Holiday Comfort Food

Rice Pudding - Holiday Comfort Food

Rice Pudding - Ingredient Function Friday (Saturday) December 23, 2017

December 23, 2017

Hello Bakers,

Today's recipe is an companion to today's Ingredient Function Friday (Saturday) where I am talking about Nutmeg. Most custards respond well to a little hint of nutmeg. That's why you see it in recipes for Quiche Lorraine and old fashioned (oh so yummy) Custard Pies and this delicious rice pudding.

This is not a show stopping holiday dessert. Because I have a feeling that by now you are exhausted and not as interested in show stoppers as you might have been two weeks ago.

Don't worry we will get back to them - but it's too late in the game to bust out meringue mushrooms. Let's take a breath. This rice pudding recipe is perfect to make in between Christmas and New Years. It's real comfort food, no not real it's total comfort food.

In my small family, we make it every time we need recuperate from an exhausting or challenging event. 

Once Christmas day has come and gone...you may want to make this and then settle back with a bowl, throw an afghan over your legs and savor bite after creamy bite. You can think about the diets and the resolutions on New Years Day but not yet. You may need seconds depending on how stressful your holiday has been so far.

I got this recipe from my wonderful boss, Chef Pamela, who got it from one of her bridge partners. Chef Pamela took to bridge at a young age but her bridge partners are up in years.  This recipe is Helen's Grandmother's recipe which means it could easily be 80-85 years old.

What makes this so special...well after the rice is cooked, it all goes in the oven, in a water bath. It is very civilized, no stovetop cooking, no scorched pot and the custard rises like a shelf above a creamy rice layer. I use golden raisins but you could leave them out if you are not a raisin person.

Equipment: double boiler****, medium size mixing bowl, whisk, baking dish (approx. 11"x7") and a larger pan (9"x13") or larger for the water bath, tea strainer or small sifter for dusting the nutmeg and cinnamon on top. 

I bought these especially to make this pudding.

I bought these especially to make this pudding.

I have never made it in individual custard cups but I suppose you could. Just shorten the baking time.  Preheat your oven to 325 degrees (no convection).

Ingredients:

  •  1 quart whole milk + 2 ounces additional, only if you are cooking your rice in the milk
  • 1/3 cup long grain rice (75g)
  • 4 eggs
  • 2 teaspoons vanilla extract or vanilla bean paste
  • 4 ounces sugar
  • 1/2 cup golden raisins - (about 2.7 ounces) you could up this to 3 ounces and no one will complain
  • Cinnamon and nutmeg 
  • just a little butter for the dish.
Rice Pudding Mise en Place

Rice Pudding Mise en Place

  1. Set up the double boiler, add 1 quart milk and 1/2 up rice and cook over simmering water until the rice is cooked (about 30 minutes) ****Important notes: you can cook the rice over direct heat but leave the flame low and stir often. Also leftover cooked rice (unseasoned, like takeout rice) can also be used. Heat the milk and leftover rice together before proceeding with the recipe.
  2. In the mixing bowl combine the eggs, sugar and vanilla extract. Mix in the rice and milk mixture (let it cool a little first so that it does not cook the eggs, 2 additional ounces of milk (the milk does evaporate a little when you cook the rice) and raisins.
  3. Lightly butter the 11"x7" pan and pour in the prepared pan. Sprinkle the top with a dusting of cinnamon and nutmeg. dig out the nutmeg grater and the knob of nutmeg for this if you have one hanging around your pantry. If not already ground will work too. How much? After dusting with cinnamon then sprinkle or grate a little nutmeg over the cinnamon. Don't overdo on either.
  4. Nestle the small pan into the big one and fill it up 1/2 way with hot tap water. Place carefully in the oven and bake for about 1 hour. I check at 45 minutes. It should "jiggle like jello, not ripple like soup". Another test is to stick a knife almost in the center and it should come out clean - I like the jiggle method better but I felt I should mention the knife test too. 
  5. Carefully remove the pudding from the hot water bath. Place on a rack and let cool for 15 minutes. Wrap with plastic wrap, poke small holes in the plastic wrap (helps prevent condensation) and refrigerate for 4 hours or overnight. 
Ready to bake....

Ready to bake....

1 Comment
Peppermint Ice Cream

Peppermint Ice Cream

Peppermint Ice Cream!

December 17, 2017

Hello Bakers,

Happy Holiday Baking! 

Today's recipe is the companion recipe to yesterday's Ingredient Function Friday - the topic was peppermint. We'll be using peppermint extract and crushed candy canes to create a classic peppermint ice cream.

When I was a little, we always had peppermint ice cream for dessert on Christmas Eve, which we bought at Marshall Field's - the legendary Chicago department store that had the most wonderful food hall. It was magic! And this ice cream...I looked forward to it from Thanksgiving on.

So, in this post we will make our own peppermint ice cream. I plan on using it in a tutorial on how to make Macaron Ice Cream sandwiches - that will dazzle your holiday guest. Hint: they can and should be made a day or two in advance.

A few notes on equipment. Ice cream makers - any and all will work for this recipe. If you are using the type of ice cream maker that requires the bowl insert canister to be frozen. Put it in the freezer now. It has to be in there for 24 hours. If you have questions about ice cream makers, please don't hesitate to ask. After years of working at both Sur La Table and Williams Sonoma - I have demoed all of them. You could also use liquid nitrogen if you have one of those containers that hold it. The containers are pricey, the liquid nitrogen is pretty inexpensive.

This ice cream is made with creme anglaise flavored with peppermint extract and crushed candy canes. You could call it Candy Cane Ice Cream if you like.

I hope you enjoy making this ice cream - watch for the Macaron Ice Cream Sandwich tutorial later in the week.

Happy Holiday Baking! Colette

Peppermint Ice Cream

Equipment: Ice cream maker, medium size saucepan, 3 bowls (one large enough be an ice bath), spatula, whisk, strainer, wooden spoon, container for finished ice cream put in freezer until ready to use.

Peppermint Ice Cream Mise en Place

Peppermint Ice Cream Mise en Place

Ingredients:

  • 8 ounces, (227g) milk
  • 8 ounces (227g) heavy cream
  • 2 1/2 ounces (71g) sugar
  • 4 egg yolks
  • 2 teaspoons peppermint extract
  • 1/2 teaspoon vanilla extract
  • 8 candy canes - chopped fine (I used a food processor) it came out to 3 ounces - divide this in half. Half the candy will go into the ice cream base right before freezing and the rest will go in at the end.
  1. Heat milk to a low boil.
  2. Combine egg yolks and sugar.
  3. Pour half the milk into the egg yolks and sugar, quickly whisk to combine. Pour back into pot.
  4. Over low heat until it reaches 180 degrees and coats the back of a wooden spoon or spatula. Do not boil.
  5. Strain into a clean bowl and set over ice bath to cool.  Add peppermint and vanilla extracts. Stir every so often.
  6. When the mixture is cold, add the first increment of crushed candy canes and pour into ice cream maker. Following the manufacturers instructions for using your ice cream machine, freeze the ice cream to soft serve consistency. Do not over churn or the mixture will break and small pieces of frozen fat globules will be visible.
  7. Add remaining crushed candy canes. Scrape into chilled container and freeze for 2-3 hours before serving. Ice cream will keep for five days in the freezer.
Whisked egg yolks and sugar

Whisked egg yolks and sugar

Adding half the milk (tempering)

Adding half the milk (tempering)

Two clues that it is ready are...the foam created by whisking subsides and steam wafts off the surface - also it looks thicker - less watery

Two clues that it is ready are...the foam created by whisking subsides and steam wafts off the surface - also it looks thicker - less watery

1 Comment
Cinnamon Pecan Icebox Cookies - Ready for gifting

Cinnamon Pecan Icebox Cookies - Ready for gifting

Cookie Swap Perfection! Cinnamon Pecan Icebox Cookies

December 02, 2017

Hello Bakers,

Here is the companion recipe to Ingredient Function Friday, Episode 8 - All about cinnamon.  These cookies melt in your mouth. They are great keepers if stored in an airtight container. And if you like to send cookies to friends in faraway places - these are perfect.

Now, while these cookies are not terribly fancy as holiday cookies go, they are quick to make and delicious. I am not so sure any of us have the time to make those fancy cookies. I dream about making fancy intricate cookies with lots of royal icing...but the reality is there is no time. That's why recipes like these are just great - try them.

Equipment

  • Scale, Stand Mixer, Spatula, ruler (preferably a yardstick cut in half), 2 -1/2 sheet pans lined with parchment, chef knife, cutting board

Ingredients

Cinnamon Pecan Cookie Mise en Place

Cinnamon Pecan Cookie Mise en Place

  • 234g (8 1/2 ounces) all purpose flour
  • 1/2 teaspoon salt (2g)
  • 1 teaspoon cinnamon (4g)
  • 5 ounces (170g) unsalted butter, softened (let sit out for about 20 minutes or cut up into small pieces if straight from the refrigerator.)
  • 227g (8 ounces) sugar
  • 133g (4.7 ounces) powdered sugar
  • 2 egg yolks (reserve one egg white for finishing)
  • 6g vanilla (1 teaspoon)
  • 85g (3 ounces) toasted, finely chopped pecans

Finishing: Cinnamon sugar (7 ounces, 1 cup sugar + 1 ounce (2 Tablespoons cinnamon) and 1 reserved egg white beaten with 2 teaspoons of water until smooth.

  1. Make space in the refrigerator or freezer to chill your cookie dough roll.
  2. In a mixer fitted with a paddle attachment, cream the butter,  both sugars and vanilla on low speed until the ingredients come together - the mixture will still look shaggy.
  3. Turn the mixer off, scrape down and then mix on medium speed for one minute, this dough should not be over mixed. 
IMG_2945.jpg

Egg yolks are added and butter, sugars and vanilla mixture is not over mixed. Too much air and the cookies will spread.

     4. Add the 2 egg yolks, mix on low speed for 20 seconds. Turn off mixer, scrape down and then mix on medium speed for 25 seconds. Scrape down.

    5. Sift together, flour, salt and cinnamon and add to butter and egg mixture. Mix on low speed for 30 seconds. 

    6. Add nuts. Mix until just combined.

Flour and creamed mixture - this is how it should look before the nuts go in. Mix halfway and then finish after adding the nuts - this way the dough will not be over mixed.

Flour and creamed mixture - this is how it should look before the nuts go in. Mix halfway and then finish after adding the nuts - this way the dough will not be over mixed.

    7. Dump dough out onto a piece of parchment paper. If you only half have sheets of parchment paper, divide the dough in half and shape one half at a time.

Dough log on paper - ready to shape - the goal is 18"

Dough log on paper - ready to shape - the goal is 18"

    8. Shape the dough into an 18" log (9" if you have half sheets of parchment, make 2.

Next bring the bottom edge of the parchment paper up and over the dough, then wedge the ruler in the fold between the dough and the paper and grab the top edge of the bottom parchment paper. Pull hard and the dough forms into a nice tight cylinder. Roll up in the parchment paper and twist the ends. Wrap in plastic wrap for longer storage. Dough can be frozen for one month. If using right away chill for one hour, minimum.

Baking. 

  1. Preheat oven to 325.
  2. Remove log from refrigerator and brush with beaten egg white. If the dough has been frozen, let soften at room temperature for 20 minutes or thaw overnight in the refrigerator.
  3. Brush dough with beaten egg white wash and roll in cinnamon sugar. Using a shard chef's knife cut slices 1/2" thick. Place on sheet pan. They do not spread much so that can be 1" apart.
  4. Place in the oven and check in 12 minutes. The cookies should not take on color but should look opaque.  I did double pan at 12 minutes and they took 18 minutes to bake - but remember everyone's oven is different. I cannot tell exactly what temperature my oven is at and it tends to run hot. 
Dough rolled in cinnamon sugar

Dough rolled in cinnamon sugar

Ready to bake....

Ready to bake....


2 Comments
Newer / Older
Back to Top

email: bakingwithcolette@gmail.com