• Home
  • Recipes and Blogposts
  • TheDoughDr Archived Episodes
  • About
  • Ingredient and Baking Videos
Menu

Baking With Colette

Certified Master Baker, Craftsy Instructor, Teaching you to bake your best!
  • Home
  • Recipes and Blogposts
  • TheDoughDr Archived Episodes
  • About
  • Ingredient and Baking Videos

Looking for a perfect bake? Search Recipe and Blogposts below:


Subscribe

Sign up with your email address to receive news and updates.

We respect your privacy.

Thank you!
I am a Craftsy Instructor. www.craftsy.com

I am a Craftsy Instructor. www.craftsy.com

Tweets by BakingwColette

Red Velvet Wedding Cake with Vanilla Bean Buttercream #nakedcake #pastrychef #amoretti #redvelvetcake #baking #laweddings Macaron madness at Art Institute - for Portfolio Show! Rose petal shells with Champagne buttercream and S'mores....#amoretti #macaron #pastrychef #baking
You made it to Friday - indulge with a chocolate chip scone...#5250 #pastrychef #baking #delicious Mini Apple Pies ready for the case at #5250 cafe! Fall baking is in full swing. #baking #fallbaking #apples #applepie #pastrychef #amorettiarmy Croissants fresh out if the oven at 5250 Cafe. #croissant #5250 #amoretti #pastrychef #baking #foodporn Tango Apple Cake with Caramel Icing - new recipe post at BakingwithColette.com. Get inspired for your fall baking today #apples #baking #cake#caramel Cranberry Orange Scones for 5250 Cafe.  Perfect with morning coffee.....Start your day with something sweet. #baking #amorettiarmy #baker #bakery##5250 Chef Rossi competing at Art Institute of Los Angeles - ACF category cold plating desserts :)
Go Chef!!!! #plated desserts There is a theory that Brioche a tete were modeled after Marie Antoinette's breasts -!if true then she was the patron saint of small breasted women. These are so yummy and delicious. #baking#marieantoinette #delicious #brioche#5250 #bread

Pumpkin Apple Hand Pies

November 20, 2023

Hello Bakers,

On Saturday’s show, we made Thanksgiving pie dough - here is the link to the show and the demo: Saturday's Show with Demo . With my dough, I decided to make these pumpkin apple hand pies. The combination of apple and pumpkin are delicious. Give it a try - a perfect bake if you have pie dough, extra apples and an extra 100g of pumpkin puree in the refrigerator.
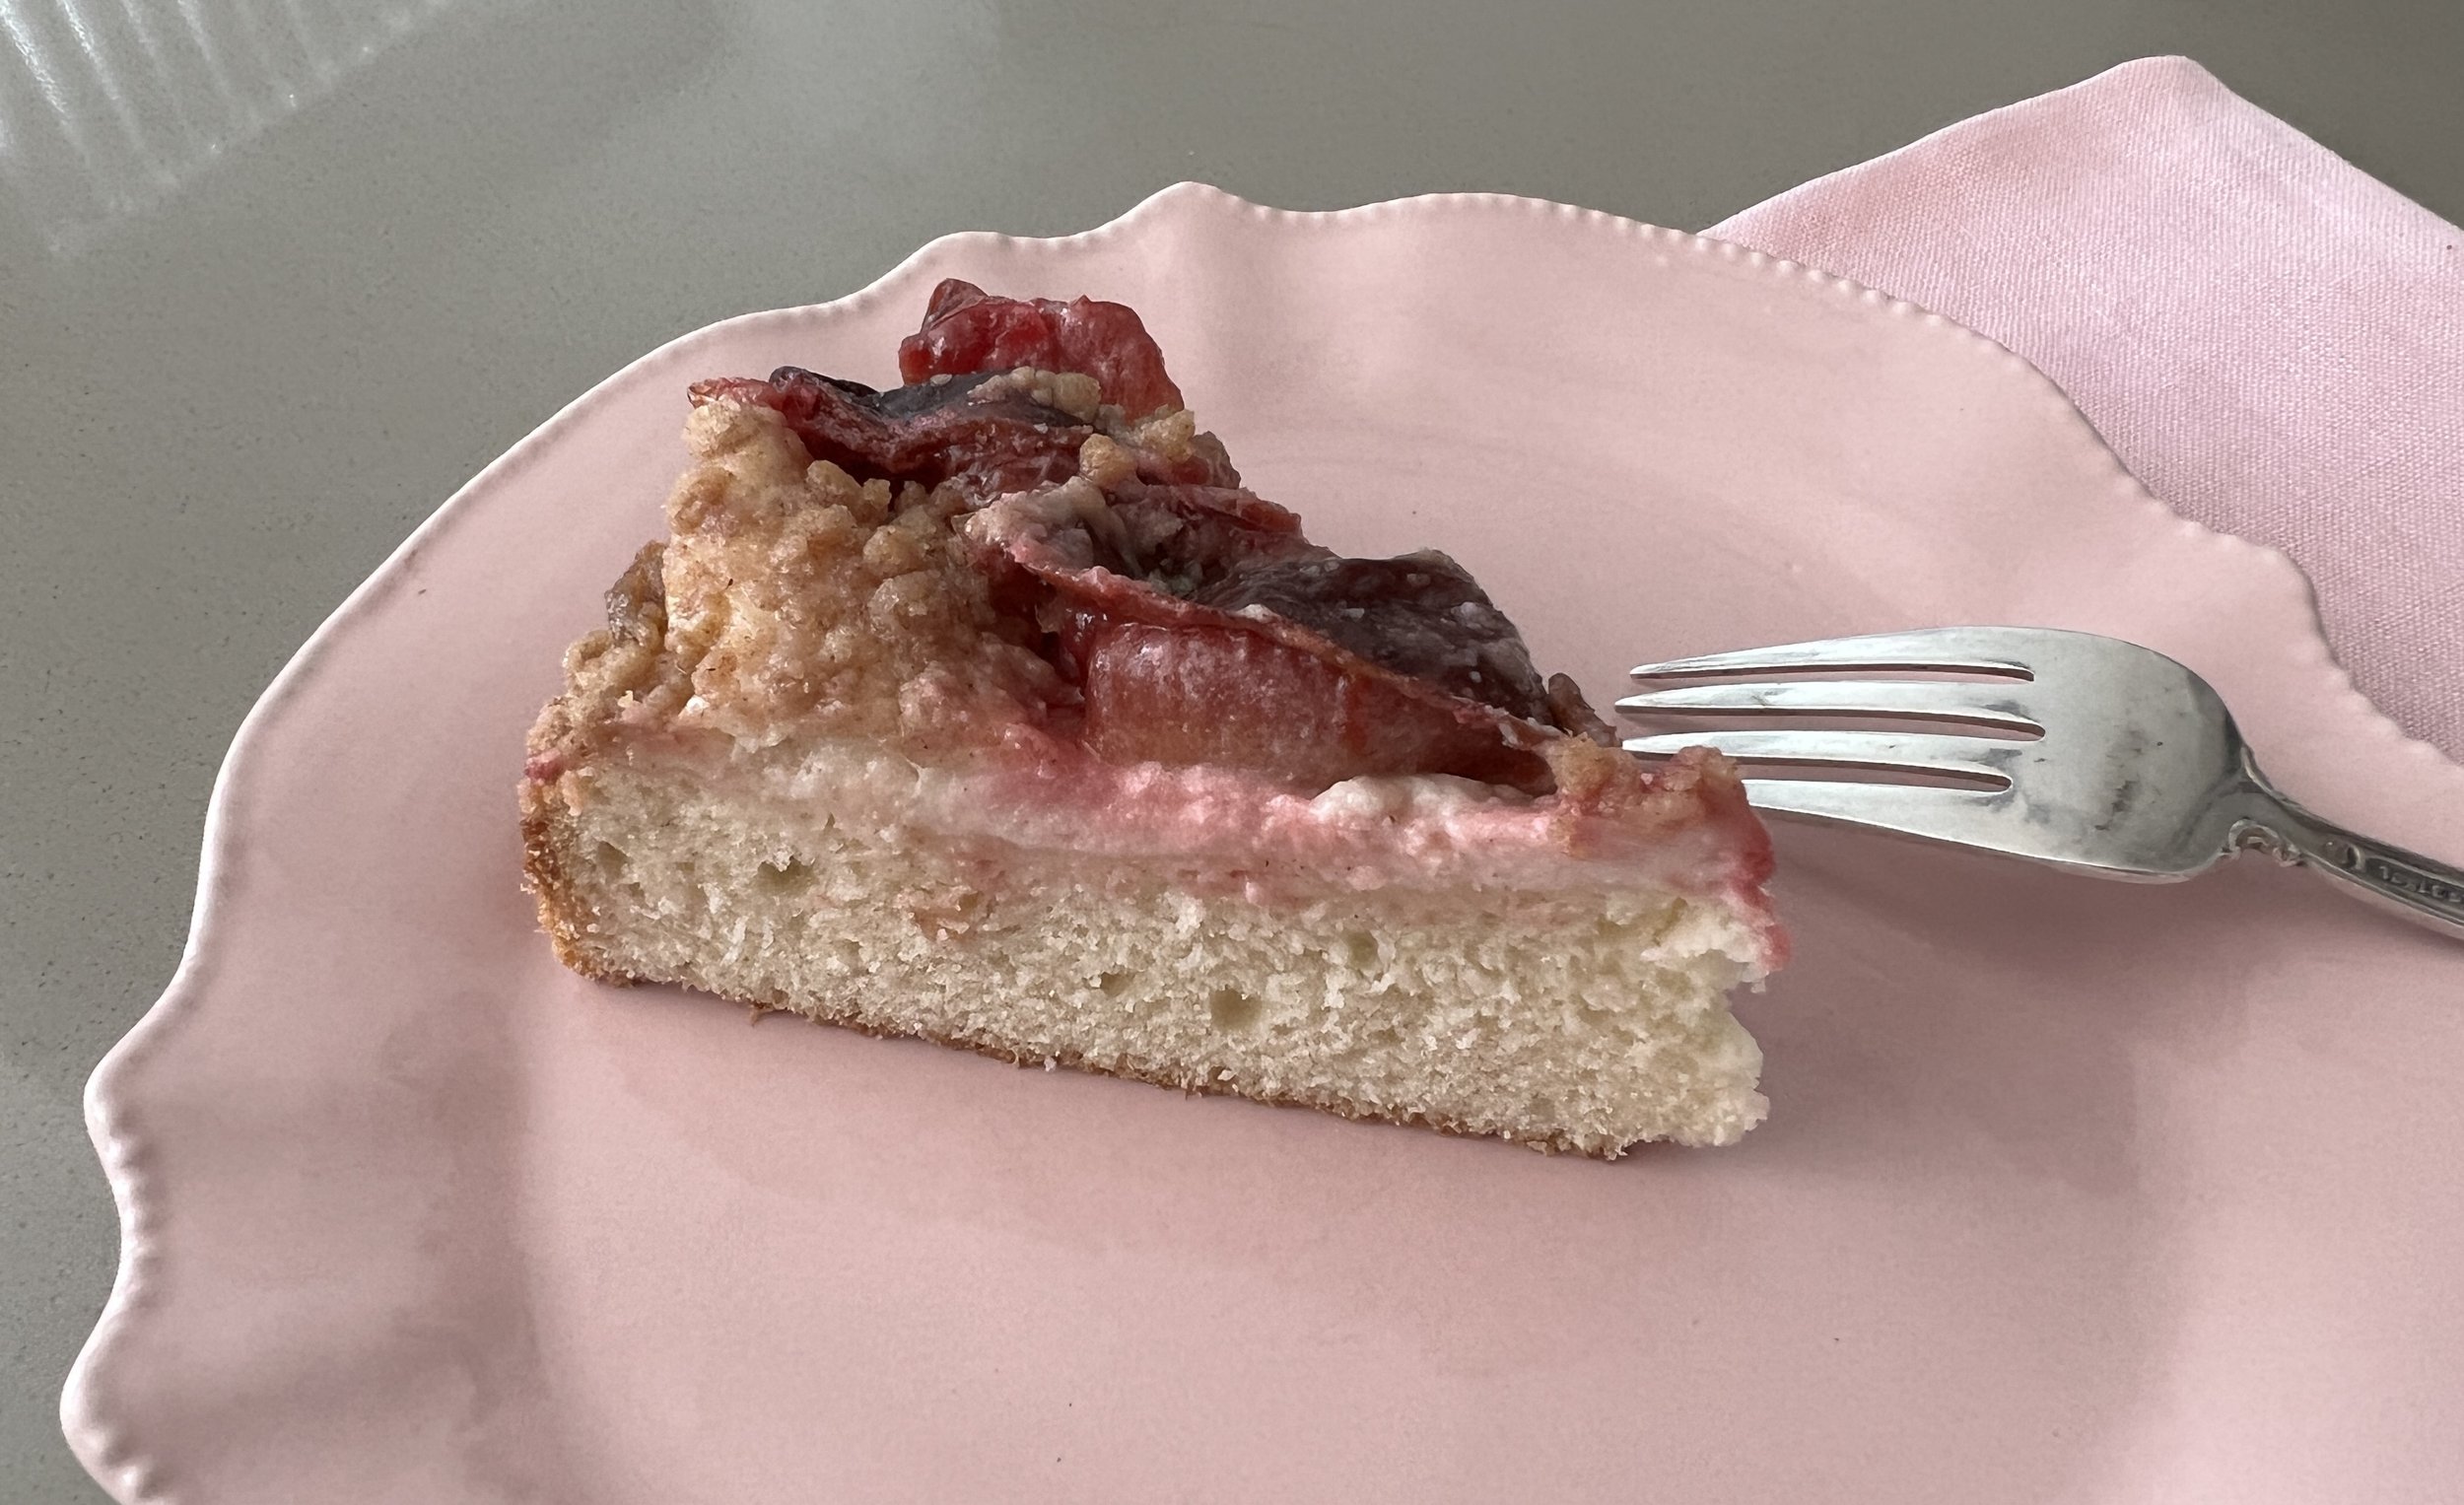
Hand pies are delicious all year round - and the pumpkin apple is a perfect fall filling.

Happy Baking!
Colette

Yield: 6 Hand pies

Equipment
Rolling pin, pastry brush, saute pan, knife, scale

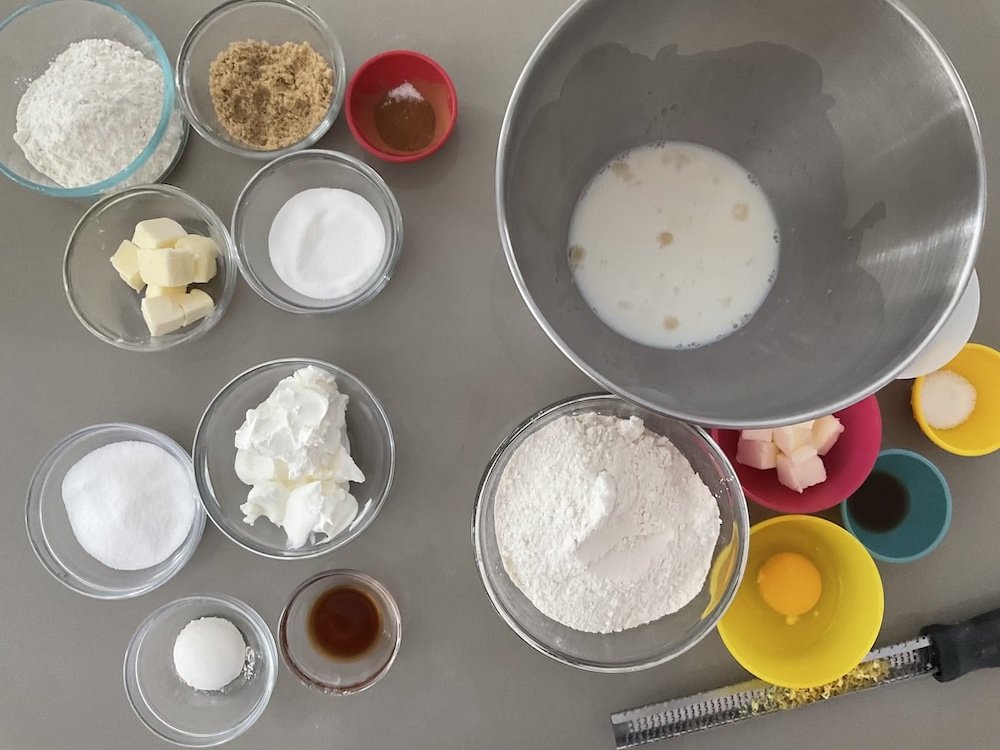
Apple Pumpkin Hand Pie Assembly MEP

Ingredients:
250g peeled, small dice apples
28g butter
42g granulated sugar
42 brown sugar
1/2 teaspoon cinnamon
scant 1/4 teaspoon nutmeg
pinch salt
15g lemon juice
15g cornstarch
30g cold water
100g pumpkin puree

  1. In a large saute pan melt butter over medium high heat

  2. Add apples and cook for 2-3 minutes

  3. Add sugars, cinnamon, nutmeg, lemon juice and salt.

  4. Reduce heat, cook for 2 minutes

  5. Combine cornstarch and water until smooth and add to apple mixture and cook for about a minute until it thickens a little.

  6. Add pumpkin puree and stir until well combined.

  7. Pour onto a plastic wrapped baking tray and allow to cool for 15 minutes.

  8. Cover with plastic wrap, cover and refrigerate until read to use.
    Can be made a day ahead and refrigerated.

On Saturday’s DoughDr Episode we made pie dough as a group - here is the recipe and the video.

Pie Dough

340g, (2 ¾ cups + 1 Tablespoon) All Purpose Flour - unbleached
14g, (1 Tablespoon) Sugar
3g, (½ teaspoon) Salt
128g (1 stick + 1 Tablespoon) chilled unsalted Butter
76g vegetable Shortening - frozen, (⅓ cup)
4g, (1 teaspoon) Apple Cider Vinegar
113g, ( ½ cup) Ice water - pour off ice

Method: 

!. In a large bowl, sift dry ingredients.

2. Cut in butter, thenthe  shortening with a pastry blender or bowl scraper.

3. Add vinegar and water - mix until it’s a cohesive mass - keep in bowl until dough forms.

4. Flatten, wrap and chill for 1 day and freeze for up to 1 month.

Hand Pie Assembly

Preheat over to 375
Line a sheet pan with parchment paper

Egg wash (1 egg whisked vigorously with a pinch of salt)
or water - cinnamon sugar for garnish

Roll out the dough to 1/8”
Cut the dough into 4” x 3 “ rectangles (I made a paper template from an index card)
Place the rectangles on prepared pan, spoon pumpkin apple filling in the center of the dough - roll the tops out just a little larger and place on top of the filling.
Brush with water, garnish with cinnamon sugar.
Bake at 375 degrees for 22-25 minutes until golden brown.

Comment

Plum Cake - it’s that sweet sour cream layer that makes this so special.

Plum Cake with Streusel - This Small Batch Cake Serves Eight

October 03, 2023

Hello Bakers,

So after decluttering my cookbooks, I actually started using the ones I kept more, especially my bread books. I have a series of Bread books by Beth Hensberger, a very talented and prolific cookbook author from the late eighties and into the aughts. I looked her up and found that she had died in 2021. Well, that made me very sad becuse if you have any of her books and she went well beyond bread - she was very talented.

You can kind them still on Amazon and most are on Kindle too

This small batch plum cake was inspired by one of her recipes. I scaled it down, put it in grams and modernized it a little. Beyond plums it can be made with peaches, nectarines, blueberries and canned pears, well drained. Or you could use poached pears if you like.

What takes it to the next level is the sour cream that is spread on the top of the cake before the fruit and streusel are arranged on top. It’s so good.

Give this a try, bakers it’s a cross between a brioche and a baba savarin. It goes together quickly as it does not bulk ferment only proofs.

Plum Crumb Cake:

Yield 1 8 cake - serves 6-8

Components: Yeasted Kuchen Dough, Easy Crumb Topping, Pitted and sliced plums

Start to Finish:

Yeasted Dough:

Equipment: Stand Mixer Fitted with dough hook, bowl scraper or spatula, 8” springform or regular cake pan - well greased with softened butter, spatula

250g bread flour
43g sugar
4g yeast
4g salt
143g milk, 80 degrees
1 large egg (50g)
43g unsalted butter, softened
4g vanilla extract

Mise en place - milk and yeast hydrating in the mixer bowl


Combine milk and yeast in the bowl of a stand mixer. Let sit for 5 minutes.

Add egg, sugar, vanilla, lemon zest,  flour and salt and mix for 2 minutes on speed 2.

Add softened butter and mix on speed one for 2 minutes and then finish with a 2 minute mix on speed 2. You are looking for the dough to be smooth and silky. Mix for an additional minute on speed 1 if it is not smooth.

Place dough in the prepared pan. Press the dough into the bottom and sides of the pan.

Cover and let sit at room temperature for 1 hour.

In the meanwhile, prepare the crumb topping and the sour cream layer
Crumb Topping

75g AP flour 
30g sugar
30g brown sugar
Pinch salt
1 teaspoon cinnamon
43g unsalted butter, melted

Place all ingredients except melted butter in a medium sized bowl, stir well, add butter and mix until the dry ingredients are combined and the mixed gets crumbly.

Sour cream topping
120g sour cream
38g sugar
11g flour
4g vanilla extract

Combine all ingredients in a medium sized bowl and whisk until smooth

4 plums, pitted and sliced

Plum Cake Assembly
Preheat oven to 375 degrees

Before baking - try not to overcrowd the top with plums

Equipment: baking tray for underneath cake pan, offset spatula, spatula
Place cake on baking tray, pour sour cream topping over batter, spread evenly on surface, fan sliced plums on the top of the cake - starting with the outside edge.
Top with crumb topping.
Bake at 375 for 35 minutes. Let cool for 20 minutes before removing from the pan.

Comment

Blueberry Bagels - make you own!

Blueberry Bagels! America's #1 Flavor

September 15, 2023

Hello Bakers!

Did you know that America’s #1 favorite bagel flavor is blueberry. I know - kind of shocking with all that everything seasoning out there.
And I know that I post a lot of bagel recipes but this is the one you are going to make!

Now there is no negotiation on the blueberries - they have to be dried - fresh or frozen will yield a hot mess of extra moisture and bleeding berries.

Here is the recipe - the tutorial in full - is on my You Tube channel which I a trying to grow so please check out the channel “Ask the DoughDr” You Tube Channel and please subscribe - I appreciate it. Here is the step by step Blueberry Bagel Tutorial: Blueberry Bagel Tutorial

Here is the recipe for the Blueberry Bagels - the smear of choice - honey cream cheese - recipe below. Any questions - let me know and please tag me when you post your beautiful bakes.

Here

Equipment:

Stand mixer fitted with the dough hook, scale, bowl scraper, half sheet tray, parchment paper or silpat, veg oil or pan spray, medium to large pot for boiling the bagels, spider, slotted spoon or skimmer.

Blueberry MEP

Yield 6 bagels

244g water (80 degrees)

4g (1 teaspoon) Instant yeast or active dry

8g (2 teaspoons) vegetable oil

20 (1 Tablespoon + 2 Teaspoons) honey

420g bread flour

8g salt

85g dried blueberries

Boiling Liquid

2 quarts water

50g honey or brown sugar

16g baking soda (optional) - it helps with caramelization

   Make space in your refrigerator for the tray of shaped bagels.

  1. Combine water and yeast in the bowl of a stand mixer, fitted with the dough hook. Let stand for 5 minutes.

  2. Add oil, honey, bread flour and salt.

  3. Mix on speed 2 for 3 to 4 minutes

  4. Change to speed 1 and mix for 3 more minutes. The dough will be tough and not sticky.

  5. Add the dried blueberries and mix for one more minute or until they are evenly incorporated.

  6. Let rise, covered, at room temperature for 1 hour to 1 hour and 15 minutes.

  7. Divide the dough into 113 g portions. Depending on how you are shaping them, preshape into a short cylinder shape or a round cover and let sit for 7-8 minutes and then final  shape. Shape into bagels and place on a lightly sprayed parchment lined tray.

  8. Cover and let proof at room temperature for 15 minutes.

  9. Move to the refrigerator for 2 hours - no longer than 8. This chilling retards the bagels, slowing down the yeast and making sure the bagels don’t overproof when boiled.

  10. Preheat the oven to 450 degrees

  11. Bring water, honey or brown sugar and baking soda to a boil in a large saucepan.

  12. Boil the bagels for 30 seconds on each side, flipping halfway through.

  13. Remove, drain and return to the sprayed parchment paper lined baking tray.

  14. Top with sesame seeds, poppy seeds or everything seasoning.

  15. Bake for 17 - 20 minutes until the crust is shiny and a deep golden brown. Bake on the middle rack and spin the bagels halfway through if necessary.

  16. Bagels freeze for up to one month.

    Honey Cream Cheese:

    4 ounces (113g) cream cheese - softened
    2 Tablespoons of honey

    1. Using a spatula, combine ingredients in a small bowl and mix well until smooth. Store leftovers in the refrigerator.

Learn more


Comment

Strawberry Tiramisu

Strawberry Tiramisu - La vie en Rose...with Mascarpone

August 23, 2023

Hello Bakers,

Here is the recipe for the Strawberry Tiramisu I posted on Instagram the other day. It all started with these pink lady fingers, Le Biscuit Rose, from Monsieur Marcel in The Original Farmers Market. Fun to make or maybe just take inspiration - once we had learned the technique of a recipe we can get creative and customize it.

The yield depends on the size of the glasses you are serving it in. I was able to get three using my pretty pink glasses. The recipe can always be doubled.

These are the biscuits, but you could make a batch of ladyfingers and tint the batter pink with pink gel food color. Please tag me on IG when you make this version or any version of tiramisu @bakingwcolette.
Happy Baking!

Components
Le biscuit rose or ladyfingers
1 pint fresh strawberries
Tiramisu mousse

Equipment: Stand mixer fitted with whisk attachment, small saucepan, spatula, small food processor or stick blender, piping bag with plain tip.

Ingredients:
Strawberry Syrup

4 ounces (113g) water
1/2 cup (99g) sugar
Zest of one orange
130g of fresh strawberries (about 7) - cleaned and hulled

In a small saucepan combine the water and sugar. bring the mixture to a low bowl and whisk gently until the sugar dissolves. Remove from heat, add zest and let cool.

Place the strawberries in the work bowl of the food processor with syrup. Process until smooth. Pour into a small bowl - big enough to dip the ladyfingers in.

Cover and refrigerate if not using right away.

Tiramisu mousse
135g heavy cream
112g mascarpone cheese
54g egg yolks (3 each)
56g sugar
4g Vanilla Extract

Next - make the sabayon (French) or zabligione (Italian)

Using a small saucepan set up a double boiler with about an "1” - 1 1/2” of water, bring to a boil.
Combine the egg yolks and sugar in the bowl of the stand mixer and whick until smooth. Put the bowl over the hot water and continue to whisk until the mixture reaches 150 degrees. Using oven mitts, move the bowl to the mixer, attach the whisk attachment, add the vanilla and mix on medium speed for 1 minute, then increase the speed to high and mix for 3 additional timed minutes - it will be very light and fluffy.

Stop the mixer and add the cheese and the cream - whick on medium speed for one minute and then increase the speed to medium high and mix until the cream thickens - the mixture will look like this:

To assemble the Tiramisu: See video.
Place half of a strawberry in the bottom of the dish.
Dip the ladyfingers in the strawberry syrup and place them along the sides of the dish. (I dipped 3/4 of the biscuits because I wanted the sugary tops to be visible on the outside of the glass.
Place the tiramisu in a piping bag fitted with a plain tip and fill the glass or serving dish with the mousse. Smooth the top and chill for a few hours before serving.
Garnish with berries.

Note: The mousse is soft if you want it firmer it will have to be stabilized with gelatin.

Comment
Newer / Older
Back to Top

email: bakingwithcolette@gmail.com