• Home
  • Recipes and Blogposts
  • TheDoughDr Archived Episodes
  • About
  • Ingredient and Baking Videos
Menu

Baking With Colette

Certified Master Baker, Craftsy Instructor, Teaching you to bake your best!
  • Home
  • Recipes and Blogposts
  • TheDoughDr Archived Episodes
  • About
  • Ingredient and Baking Videos

Looking for a perfect bake? Search Recipe and Blogposts below:


Subscribe

Sign up with your email address to receive news and updates.

We respect your privacy.

Thank you!
I am a Craftsy Instructor. www.craftsy.com

I am a Craftsy Instructor. www.craftsy.com

Tweets by BakingwColette

Red Velvet Wedding Cake with Vanilla Bean Buttercream #nakedcake #pastrychef #amoretti #redvelvetcake #baking #laweddings Macaron madness at Art Institute - for Portfolio Show! Rose petal shells with Champagne buttercream and S'mores....#amoretti #macaron #pastrychef #baking
You made it to Friday - indulge with a chocolate chip scone...#5250 #pastrychef #baking #delicious Mini Apple Pies ready for the case at #5250 cafe! Fall baking is in full swing. #baking #fallbaking #apples #applepie #pastrychef #amorettiarmy Croissants fresh out if the oven at 5250 Cafe. #croissant #5250 #amoretti #pastrychef #baking #foodporn Tango Apple Cake with Caramel Icing - new recipe post at BakingwithColette.com. Get inspired for your fall baking today #apples #baking #cake#caramel Cranberry Orange Scones for 5250 Cafe.  Perfect with morning coffee.....Start your day with something sweet. #baking #amorettiarmy #baker #bakery##5250 Chef Rossi competing at Art Institute of Los Angeles - ACF category cold plating desserts :)
Go Chef!!!! #plated desserts There is a theory that Brioche a tete were modeled after Marie Antoinette's breasts -!if true then she was the patron saint of small breasted women. These are so yummy and delicious. #baking#marieantoinette #delicious #brioche#5250 #bread

Blueberry Bagels - make you own!

Blueberry Bagels! America's #1 Flavor

September 15, 2023

Hello Bakers!

Did you know that America’s #1 favorite bagel flavor is blueberry. I know - kind of shocking with all that everything seasoning out there.
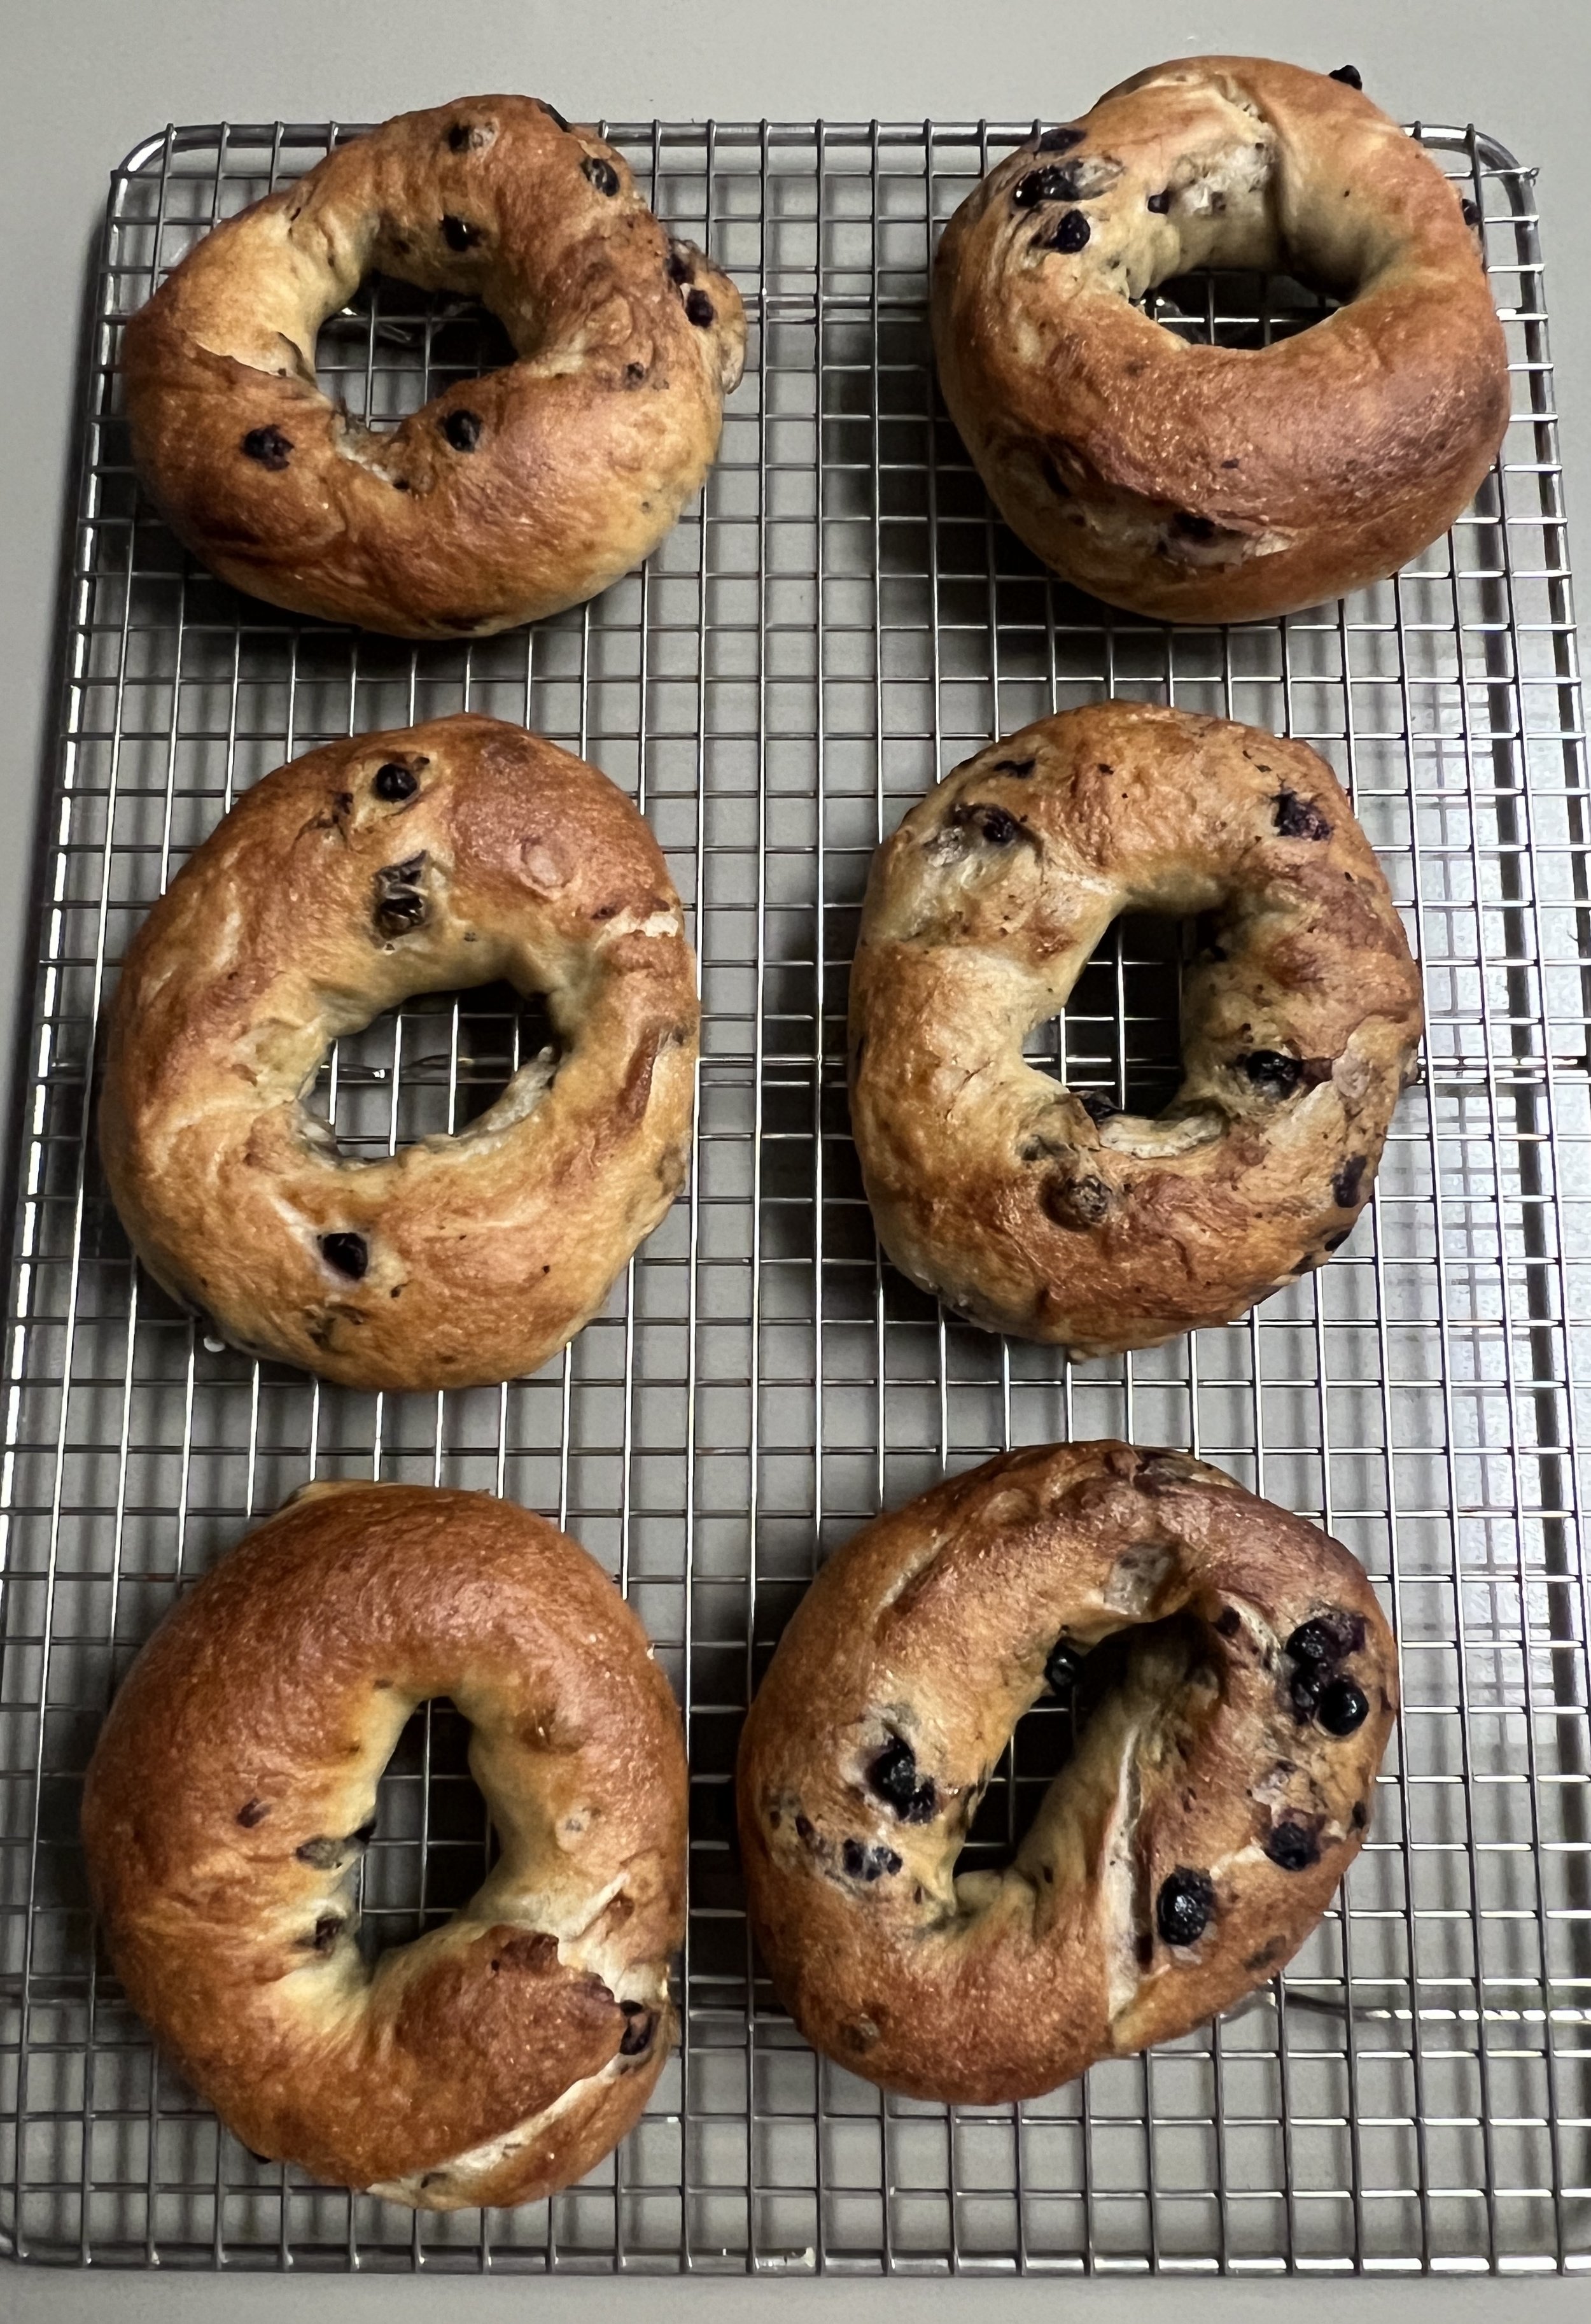
And I know that I post a lot of bagel recipes but this is the one you are going to make!

Now there is no negotiation on the blueberries - they have to be dried - fresh or frozen will yield a hot mess of extra moisture and bleeding berries.

Here is the recipe - the tutorial in full - is on my You Tube channel which I a trying to grow so please check out the channel “Ask the DoughDr” You Tube Channel and please subscribe - I appreciate it. Here is the step by step Blueberry Bagel Tutorial: Blueberry Bagel Tutorial

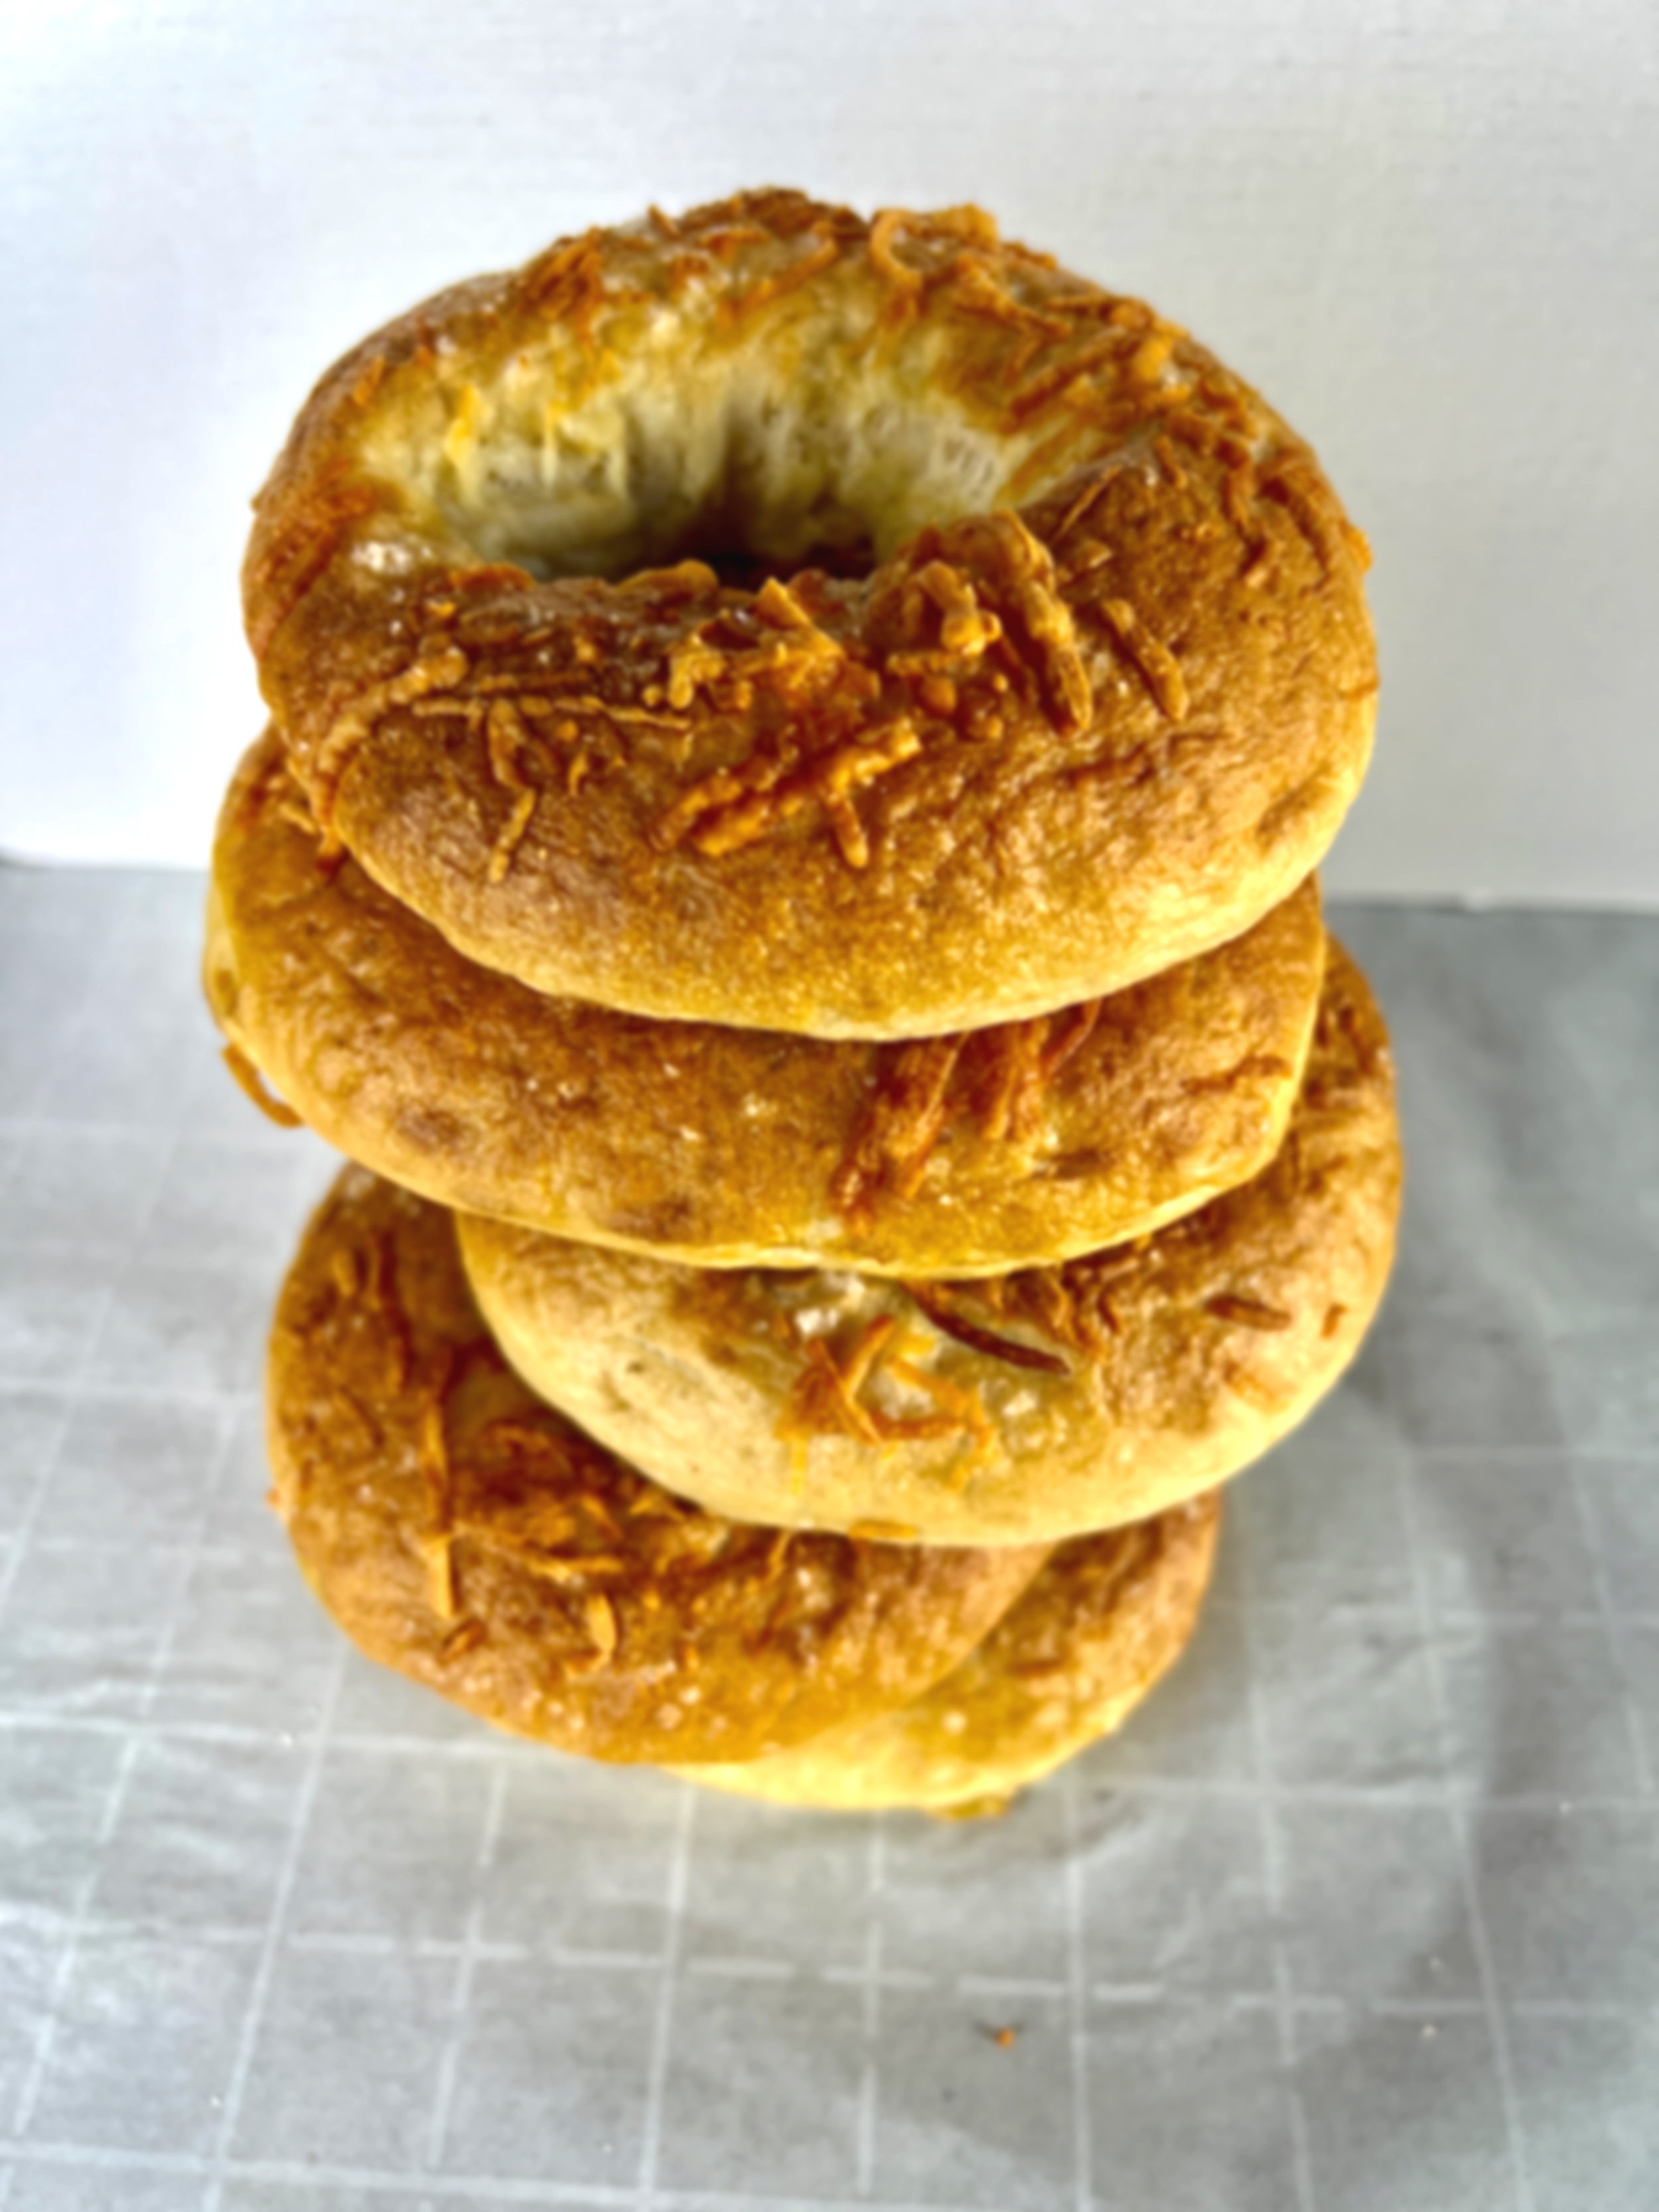
Here is the recipe for the Blueberry Bagels - the smear of choice - honey cream cheese - recipe below. Any questions - let me know and please tag me when you post your beautiful bakes.

Here

Equipment:

Stand mixer fitted with the dough hook, scale, bowl scraper, half sheet tray, parchment paper or silpat, veg oil or pan spray, medium to large pot for boiling the bagels, spider, slotted spoon or skimmer.

Blueberry MEP

Yield 6 bagels

244g water (80 degrees)

4g (1 teaspoon) Instant yeast or active dry

8g (2 teaspoons) vegetable oil

20 (1 Tablespoon + 2 Teaspoons) honey

420g bread flour

8g salt

85g dried blueberries

Boiling Liquid

2 quarts water

50g honey or brown sugar

16g baking soda (optional) - it helps with caramelization

   Make space in your refrigerator for the tray of shaped bagels.

  1. Combine water and yeast in the bowl of a stand mixer, fitted with the dough hook. Let stand for 5 minutes.

  2. Add oil, honey, bread flour and salt.

  3. Mix on speed 2 for 3 to 4 minutes

  4. Change to speed 1 and mix for 3 more minutes. The dough will be tough and not sticky.

  5. Add the dried blueberries and mix for one more minute or until they are evenly incorporated.

  6. Let rise, covered, at room temperature for 1 hour to 1 hour and 15 minutes.

  7. Divide the dough into 113 g portions. Depending on how you are shaping them, preshape into a short cylinder shape or a round cover and let sit for 7-8 minutes and then final  shape. Shape into bagels and place on a lightly sprayed parchment lined tray.

  8. Cover and let proof at room temperature for 15 minutes.

  9. Move to the refrigerator for 2 hours - no longer than 8. This chilling retards the bagels, slowing down the yeast and making sure the bagels don’t overproof when boiled.

  10. Preheat the oven to 450 degrees

  11. Bring water, honey or brown sugar and baking soda to a boil in a large saucepan.

  12. Boil the bagels for 30 seconds on each side, flipping halfway through.

  13. Remove, drain and return to the sprayed parchment paper lined baking tray.

  14. Top with sesame seeds, poppy seeds or everything seasoning.

  15. Bake for 17 - 20 minutes until the crust is shiny and a deep golden brown. Bake on the middle rack and spin the bagels halfway through if necessary.

  16. Bagels freeze for up to one month.

    Honey Cream Cheese:

    4 ounces (113g) cream cheese - softened
    2 Tablespoons of honey

    1. Using a spatula, combine ingredients in a small bowl and mix well until smooth. Store leftovers in the refrigerator.

Learn more


Comment

Strawberry Tiramisu

Strawberry Tiramisu - La vie en Rose...with Mascarpone

August 23, 2023

Hello Bakers,

Here is the recipe for the Strawberry Tiramisu I posted on Instagram the other day. It all started with these pink lady fingers, Le Biscuit Rose, from Monsieur Marcel in The Original Farmers Market. Fun to make or maybe just take inspiration - once we had learned the technique of a recipe we can get creative and customize it.

The yield depends on the size of the glasses you are serving it in. I was able to get three using my pretty pink glasses. The recipe can always be doubled.

These are the biscuits, but you could make a batch of ladyfingers and tint the batter pink with pink gel food color. Please tag me on IG when you make this version or any version of tiramisu @bakingwcolette.
Happy Baking!

Components
Le biscuit rose or ladyfingers
1 pint fresh strawberries
Tiramisu mousse

Equipment: Stand mixer fitted with whisk attachment, small saucepan, spatula, small food processor or stick blender, piping bag with plain tip.

Ingredients:
Strawberry Syrup

4 ounces (113g) water
1/2 cup (99g) sugar
Zest of one orange
130g of fresh strawberries (about 7) - cleaned and hulled

In a small saucepan combine the water and sugar. bring the mixture to a low bowl and whisk gently until the sugar dissolves. Remove from heat, add zest and let cool.

Place the strawberries in the work bowl of the food processor with syrup. Process until smooth. Pour into a small bowl - big enough to dip the ladyfingers in.

Cover and refrigerate if not using right away.

Tiramisu mousse
135g heavy cream
112g mascarpone cheese
54g egg yolks (3 each)
56g sugar
4g Vanilla Extract

Next - make the sabayon (French) or zabligione (Italian)

Using a small saucepan set up a double boiler with about an "1” - 1 1/2” of water, bring to a boil.
Combine the egg yolks and sugar in the bowl of the stand mixer and whick until smooth. Put the bowl over the hot water and continue to whisk until the mixture reaches 150 degrees. Using oven mitts, move the bowl to the mixer, attach the whisk attachment, add the vanilla and mix on medium speed for 1 minute, then increase the speed to high and mix for 3 additional timed minutes - it will be very light and fluffy.

Stop the mixer and add the cheese and the cream - whick on medium speed for one minute and then increase the speed to medium high and mix until the cream thickens - the mixture will look like this:

To assemble the Tiramisu: See video.
Place half of a strawberry in the bottom of the dish.
Dip the ladyfingers in the strawberry syrup and place them along the sides of the dish. (I dipped 3/4 of the biscuits because I wanted the sugary tops to be visible on the outside of the glass.
Place the tiramisu in a piping bag fitted with a plain tip and fill the glass or serving dish with the mousse. Smooth the top and chill for a few hours before serving.
Garnish with berries.

Note: The mousse is soft if you want it firmer it will have to be stabilized with gelatin.

Comment

Cacio e Pepe Bagels

Cacio e Pepe Bagels - inspiration from Eataly's Bread Bar

August 07, 2023

Hello Bakers,

A few weeks ago, I was in Eataly in Century City - Eataly is an amazing Italian Food Hall. The bread bar is beautiful and every visit I sample something new.
Last visit I tried a slab of cacio e pepe focaccia and thought - wow this topping would make a great bagel topping. And it does - these are delicious.

This is a relatively quick bake - I know it’s quite hot and it be unbearable to think of turning on the oven but (in their delicious defense) these take 17 minutes to bake.

Let me know if you have any questions and please tag me in your beautiful bakes on IG @bakingwcolette.

Equipment:
Stand mixer fitted with the dough hook, scale, half sheet tray (13X18”) lined with parchment paper or a silpat liner, bowl scraper, bench scraper, 4 qt or larger pot, slotted skimmer, whisk

Ingredients:
232g water (80 degrees)
7g instant yeast
12g oil
12g honey
400g bread flour
8g salt

Garnishes: Shredded parmesan cheese, Sea Salt, Fresh ground black pepper

Water for boiling: 2 quarts water, 50g honey, malt syrup or brown sugar and 12g of baking soda. Once ingredients are in the pot - whick to combine.

Oven: 450 - Bake Time: 17 minutes Proof and chilling time 2-3 hours, 15 minutes

  1. In the bowl of a stand mixer, fitted with the paddle attachment, combine the water and yeast and let sit 5 minutes.

  2. Add oil, honey, flour and salt.

  3. Mix on speed 2 for 5 minutes and then speed 1 for 4 minutes. Stop and scrape down the bowl if necessary.

  4. Cover the bowl with plastic wrap and let the dough bulk ferment for one hour at room temperature.

  5. Move the dough to the work surface and divide into 111g portions.

  6. Round gently and cover with plastic wrap for 5-7 minutes - alternatively the dough can be rolled in to a short strand.

  7. To form the bagels using the round shape. Flour your ring finger and stick it in the center of the bagel pushing all the way to the work surface. Roll the bagel around a few if your fingers to form the hole.

  8. To form the bagels using the strand method. Roll the strand out into a 12” strand, cross the ends over and seal by rolling the ends on the counter.

  9. Place the bagels on the prepared baking sheet, cover and let proof at room temperature for 15 minutes.

  10. Move the bagels to the refrigerator for 2-3 hours.

  11. Set up water bath, place water bath into a minimum 4 qt pot and bring to a low boil.

  12. Boil the bagels for 30 seconds on each side. Use a slotted spoon to move to the prepared pan.

  13. Garnish with salt, parmesan cheese and several generous grinds of fresh ground black pepper on each.

  14. Bake at 450 degrees for 17 minutes or until a rich golden brown.

    Leftover bagels freeze, well wrapped, up to one month.

Comment

Heirloom Tomato Tart - Ready to Serve

Heirloom Tomato Tart with Pesto - The DoughDr Archive 7/29/23

July 31, 2023

Hello Bakers,

Here is the recipe and tutorial for the Heirloom Tomato Tart we made on Saturday’s show. Here is the link: Saturday's Show

We are using the quick puff pastry that we made last week. The quick puff pastry recipe is detailed in the previous post.

We put the pastry together very quickly and learned that quick puff pastry works well when you want all the buttery flaky goodness of puff pastry but you aren’t looking for it to have a lot of height and volume.

Equipment: Baking tray lined with parchment or silpat, rolling pin, pastry rulers (a yardstick cut in half works great), bench flour, pastry brush, 9” cardboard round, small of bowl of water for sealing crust, fork.

Ingredients: Completed puff pastry, pesto, prepared or homemade, 3-4 ripe tomatoes, grated parmesan cheese, salt and pepper.

Heirloom Tomato Tart MEP

  1. Divide the dough in half, place the other half back in the refrigerator while rolling the first. It is important to keep the dough cold.

  2. Roll the dough into a 10” x 10” square. Cut 3 strips off the sides - 3/4” thick, set aside. Using the cardboard round as a guide, cut a 9” round and move to the prepared baking tray. Dock the pastry with a fork so that it bakes evenly. Press the edges lightly with water and place the strips on the edge to build the rim.

Quick Puff Pastry partial bake before topping.

Quick Puff Pastry Tart topped before final bake

3. Preheat the oven to 400 degrees. Chill the pastry while the oven preheats.

4.Partially bake the tart for 15-20 minutes - if the crust rises at all poke it with the fork.

5. Brush the bottom with a thin layer of pesto. Arrange a layer of the sliced tomatoes on top. Season with salt and pepper. Sprinkle with parmesan cheese.

6. Place the tart in the oven and immediately turn the oven down to 375 degrees. Bake for 12-15 minutes until the cheese has melted and the crust is a deeper golden brown.

7. Cut into thin wedges and serve warm out of the oven.

Comment
Newer / Older
Back to Top

email: bakingwithcolette@gmail.com