• Home
  • Recipes and Blogposts
  • TheDoughDr Archived Episodes
  • About
  • Ingredient and Baking Videos
Menu

Baking With Colette

Certified Master Baker, Craftsy Instructor, Teaching you to bake your best!
  • Home
  • Recipes and Blogposts
  • TheDoughDr Archived Episodes
  • About
  • Ingredient and Baking Videos

Looking for a perfect bake? Search Recipe and Blogposts below:


Subscribe

Sign up with your email address to receive news and updates.

We respect your privacy.

Thank you!
I am a Craftsy Instructor. www.craftsy.com

I am a Craftsy Instructor. www.craftsy.com

Tweets by BakingwColette

Red Velvet Wedding Cake with Vanilla Bean Buttercream #nakedcake #pastrychef #amoretti #redvelvetcake #baking #laweddings Macaron madness at Art Institute - for Portfolio Show! Rose petal shells with Champagne buttercream and S'mores....#amoretti #macaron #pastrychef #baking
You made it to Friday - indulge with a chocolate chip scone...#5250 #pastrychef #baking #delicious Mini Apple Pies ready for the case at #5250 cafe! Fall baking is in full swing. #baking #fallbaking #apples #applepie #pastrychef #amorettiarmy Croissants fresh out if the oven at 5250 Cafe. #croissant #5250 #amoretti #pastrychef #baking #foodporn Tango Apple Cake with Caramel Icing - new recipe post at BakingwithColette.com. Get inspired for your fall baking today #apples #baking #cake#caramel Cranberry Orange Scones for 5250 Cafe.  Perfect with morning coffee.....Start your day with something sweet. #baking #amorettiarmy #baker #bakery##5250 Chef Rossi competing at Art Institute of Los Angeles - ACF category cold plating desserts :)
Go Chef!!!! #plated desserts There is a theory that Brioche a tete were modeled after Marie Antoinette's breasts -!if true then she was the patron saint of small breasted women. These are so yummy and delicious. #baking#marieantoinette #delicious #brioche#5250 #bread

Wrapped Sea Salt Caramels

Sea Salt Caramels - The Dough Dr DIY Holiday Gift Giving - Week 2

December 05, 2022

Hello Bakers,

Here is the recipe to match this weekend’s Dough Dr Episode. You aregoing to love this because it’s so easy to put together. The most important thing is to be organized. Have your pan prepared and your ingredients all set to go.
Also, be careful when you are working with hot sugar - it’s best to clear the kitchen so that you can focus on your caramel hitting the right temperature - this is critical - too low and the caramel will be too soft - too high and it will hard (like toffee) and not chewy.

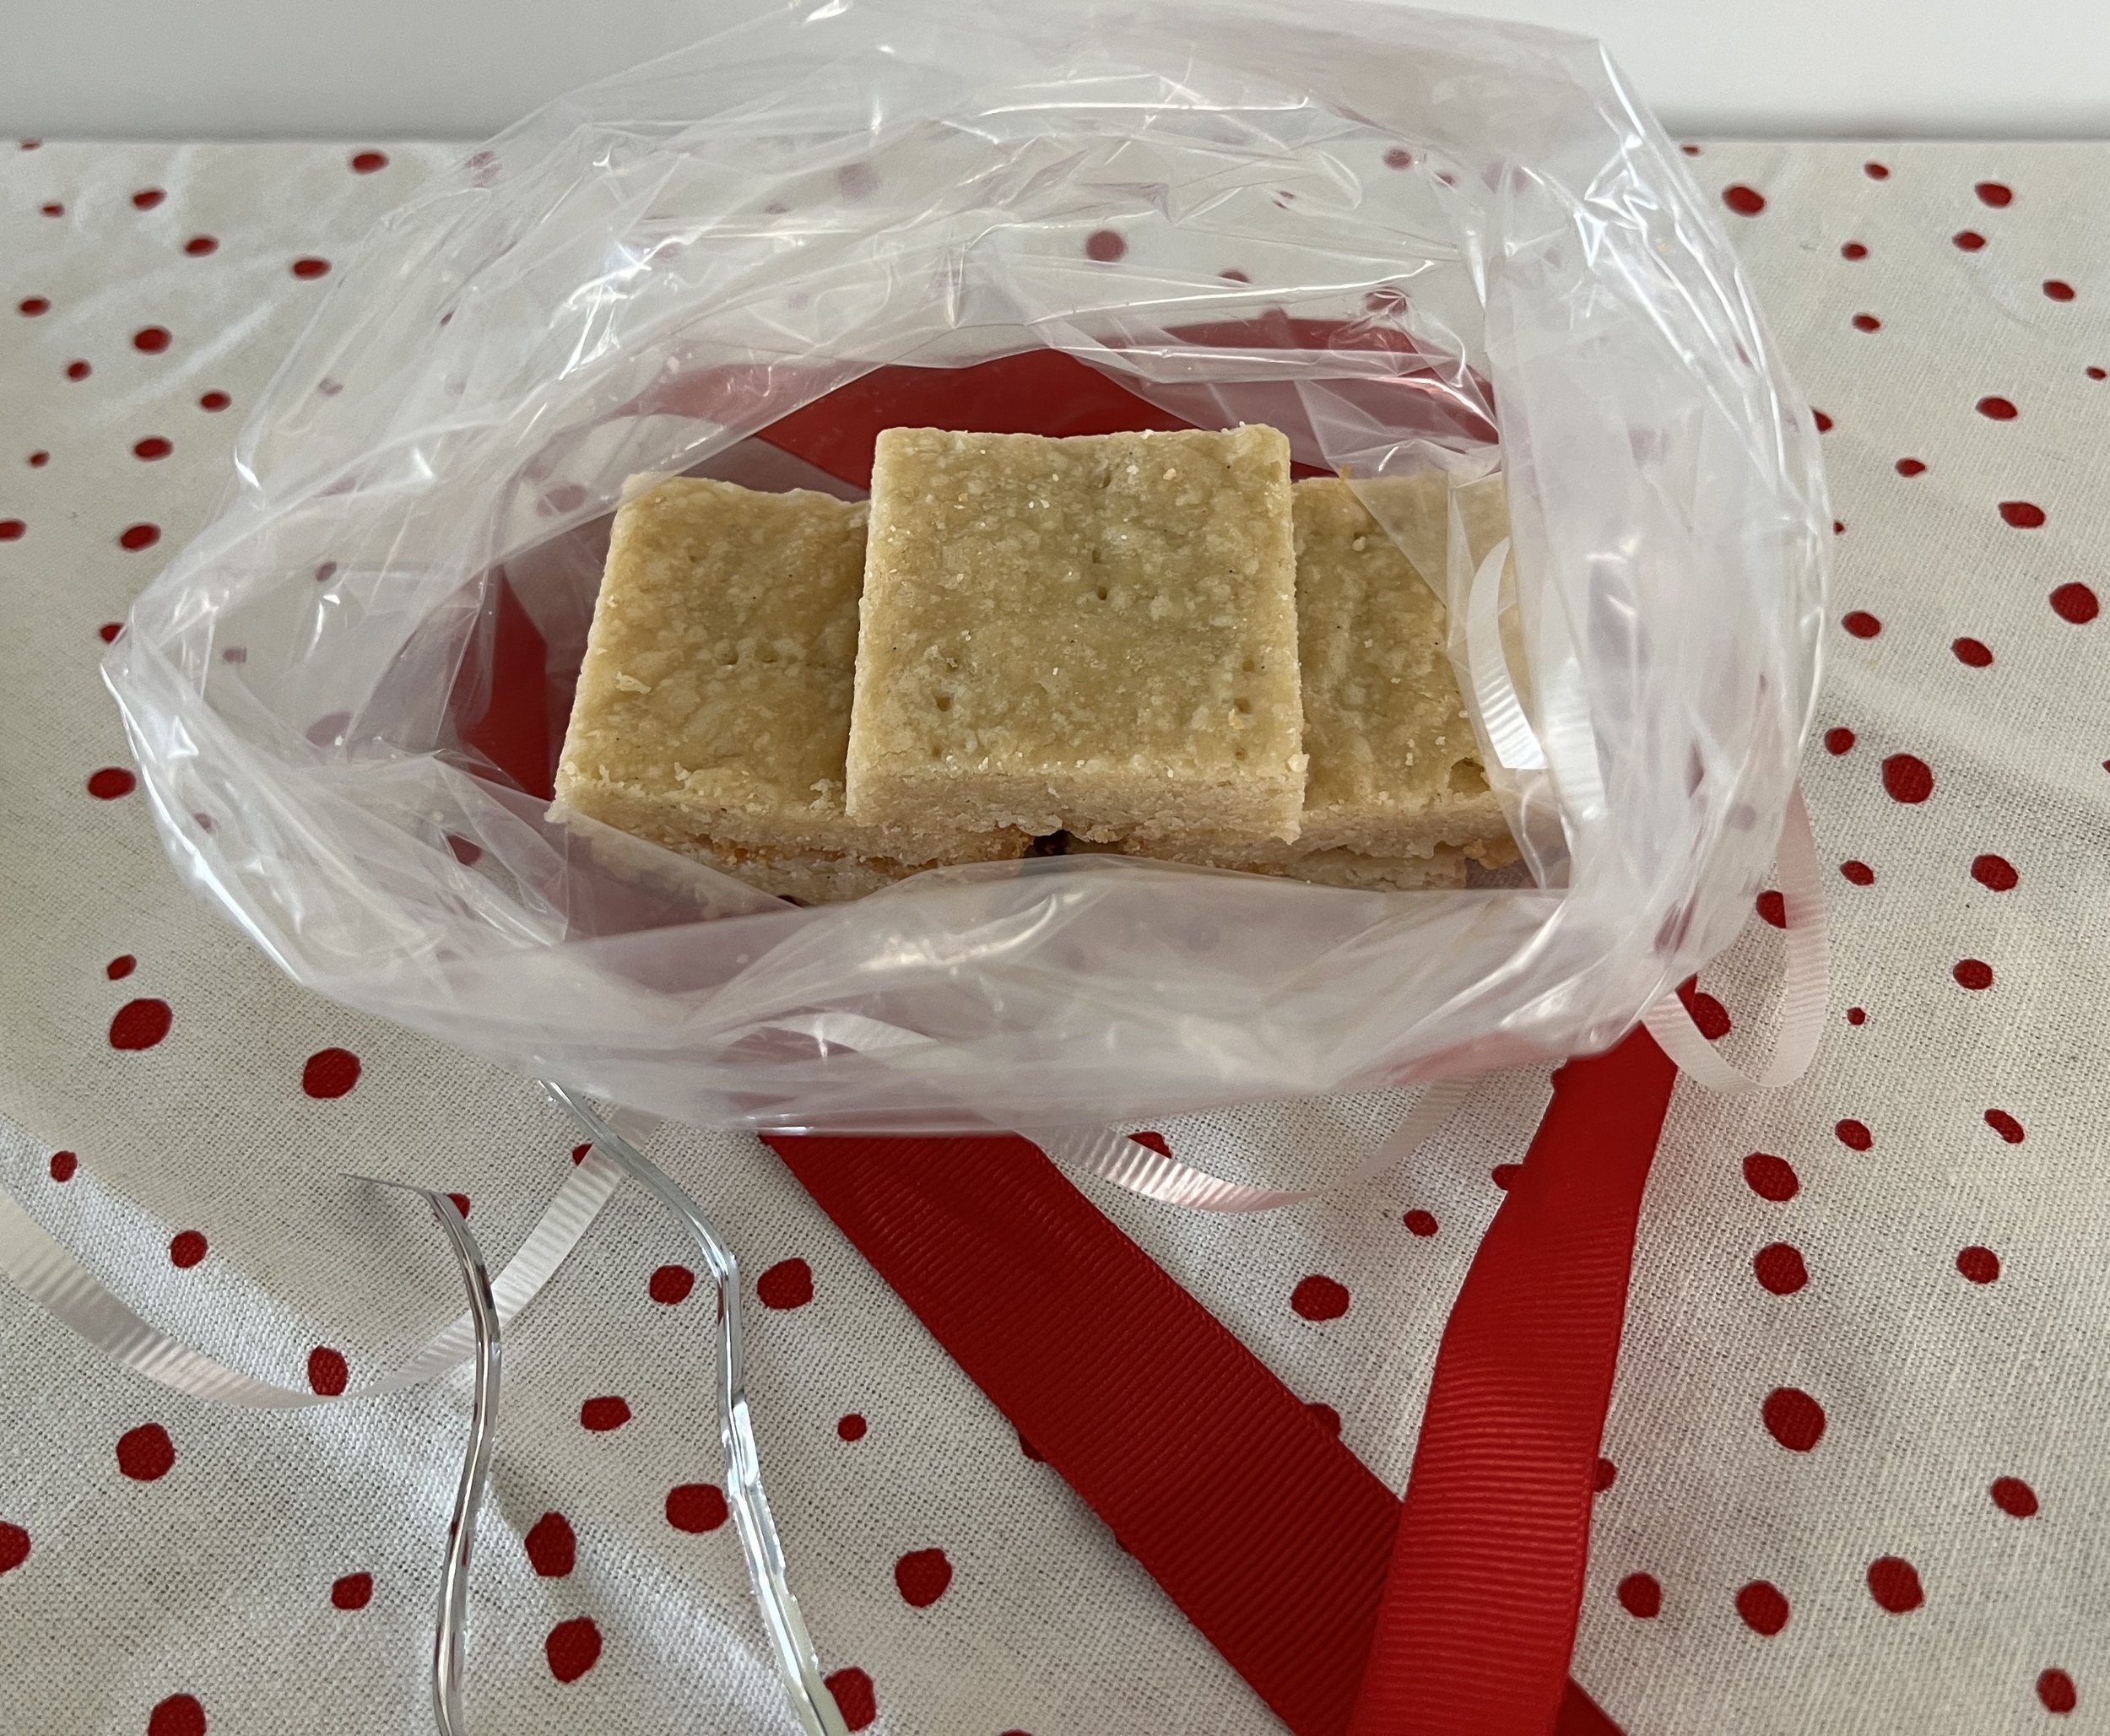
Wax paper works best for wrapping up your individual caramels. You can also dip them in tempered chocolate if you are feeling ambitious.

Have fun with these - another quick and easy gift from your kitchen.
Happy Baking! Colette

Equipment

8” x 8” pan

Parchment paper 

Scissors

Reliable candy thermometer

Tall Medium saucepan (for cooking sugar)

Caramel Mise en Place
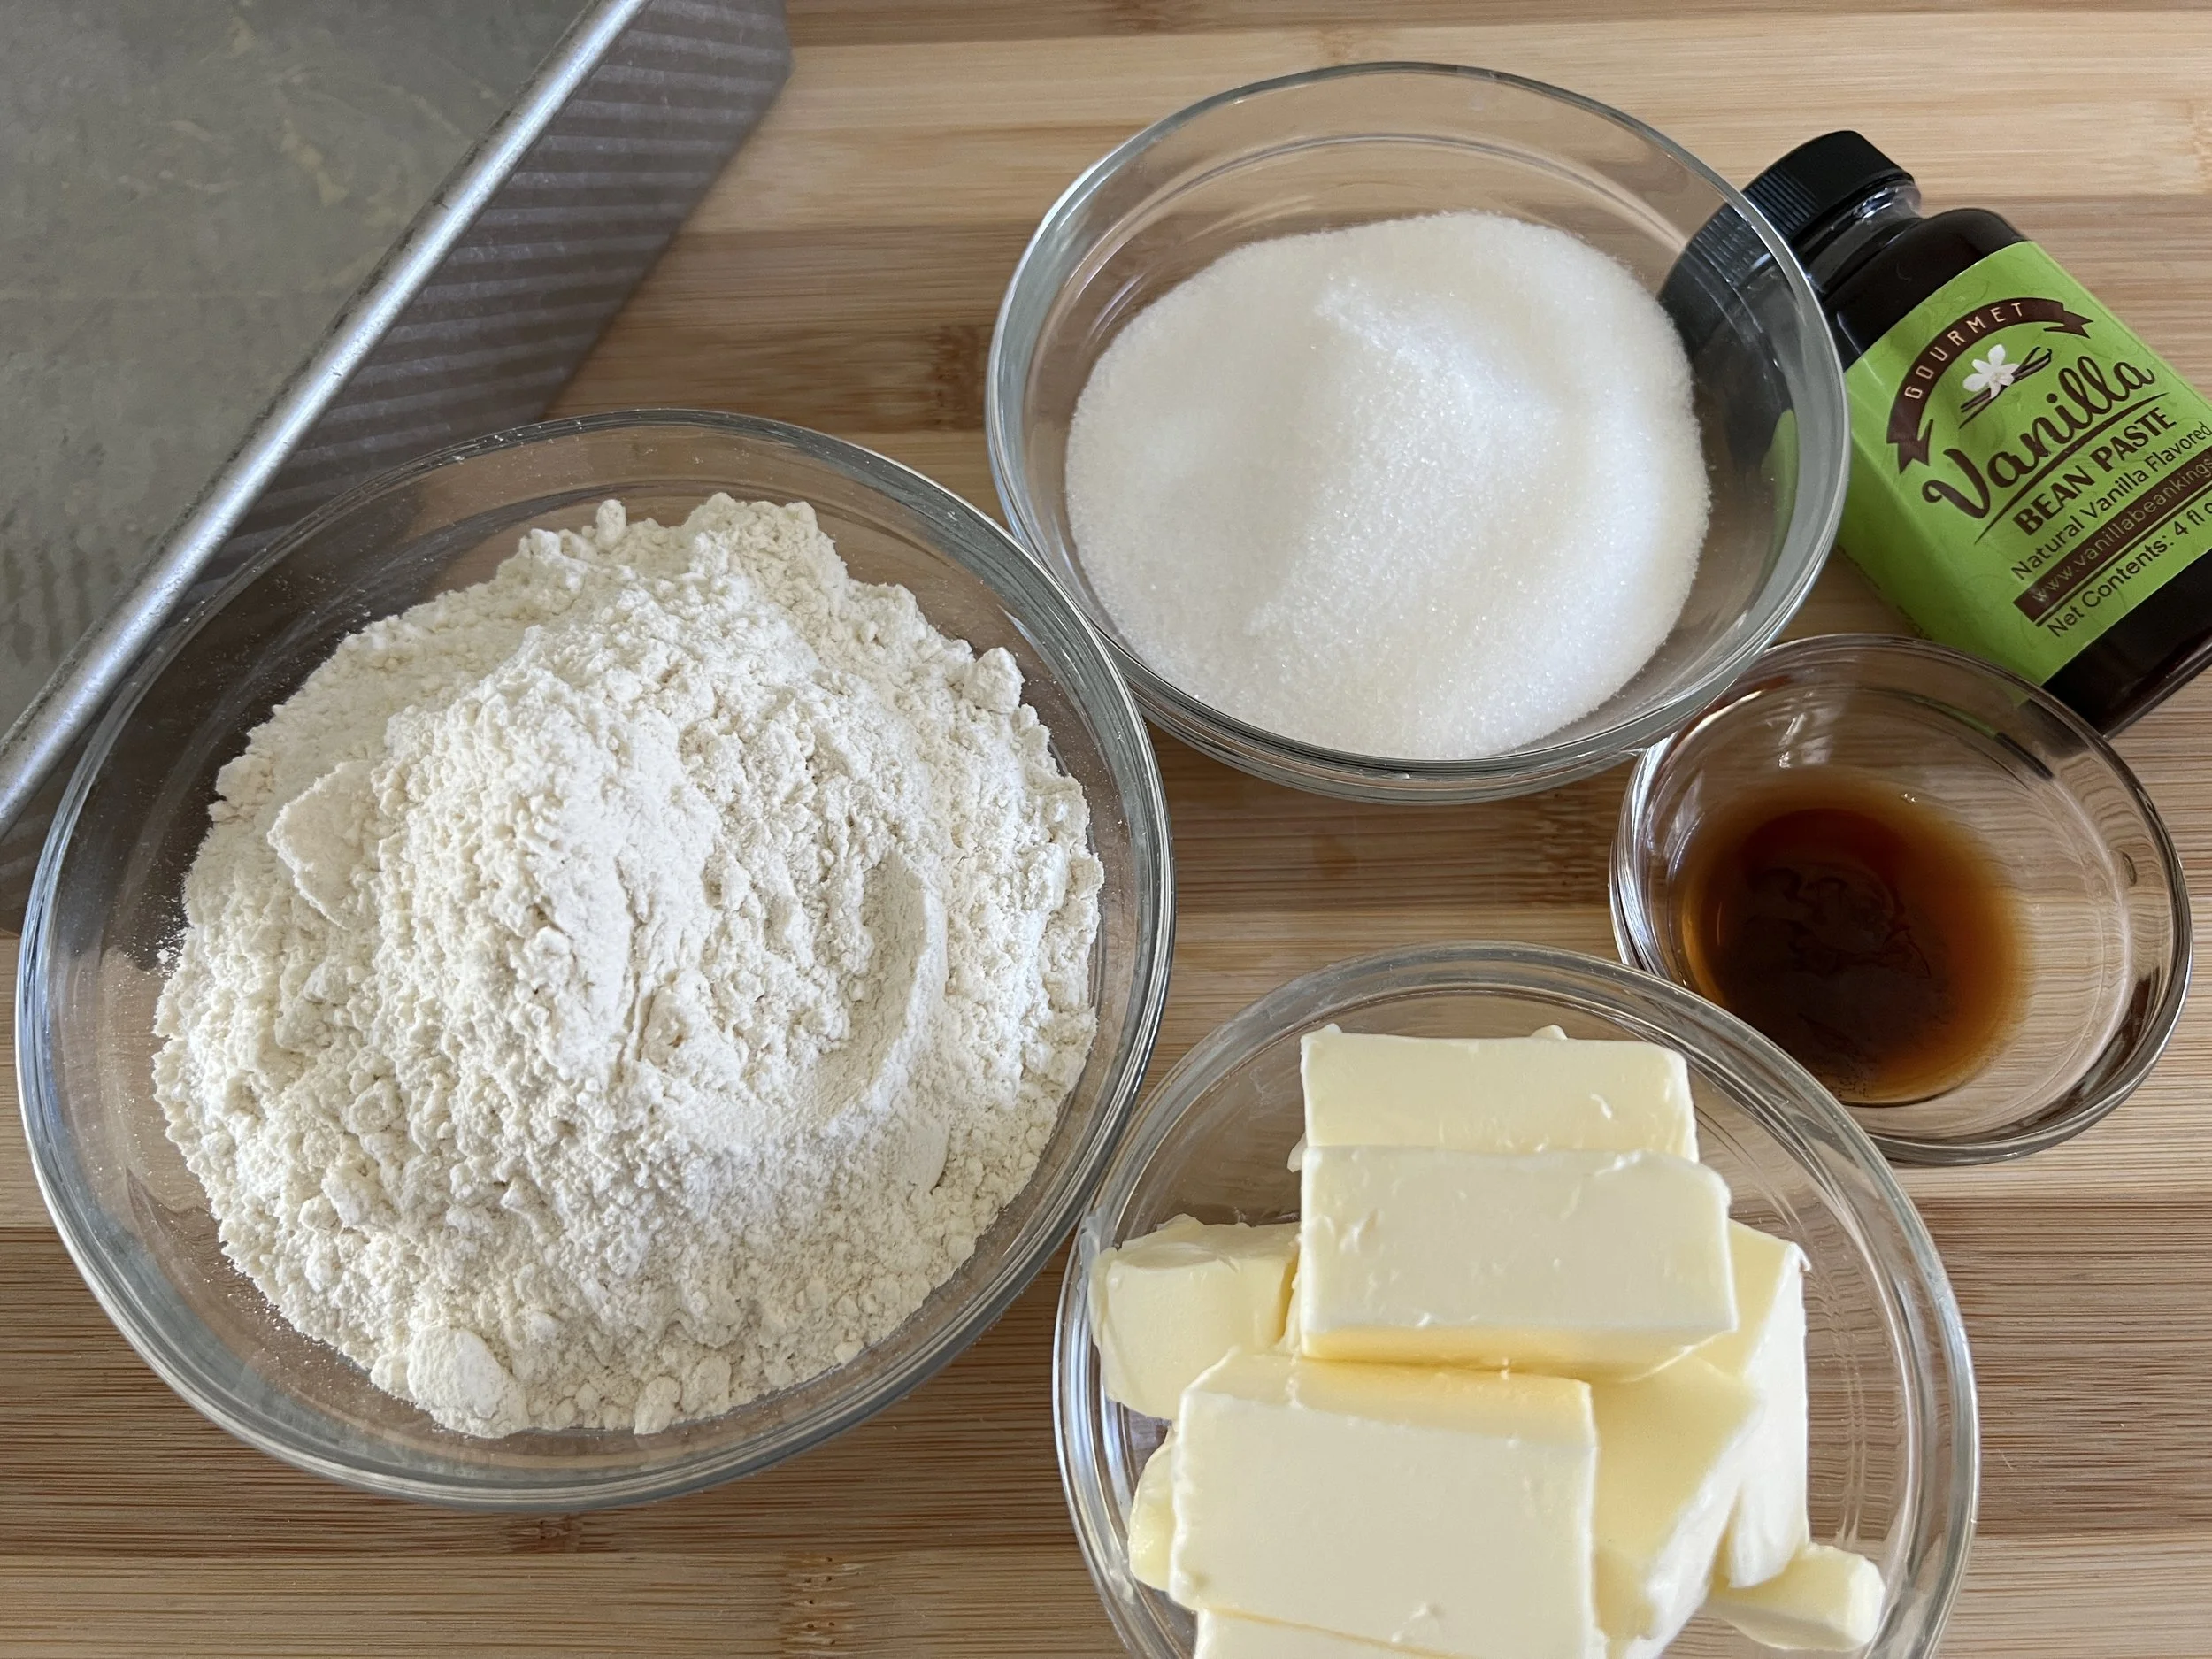
Ingredients

142g milk
142g heavy cream
142g butter - cubed
248g sugar
200g brown sugar
193g light corn syrup
3g salt
Later: 6g vanilla extract ( 1 and 1/2 teaspoons)

Garnish: Maldon Salt, any large flake salt can be used, cocoa nibs, crushed pretzels

Flaked salt like Maldon for finishing - other large flake salts can be used

Line a 8” x 8” pan with parchment paper or aluminum foil. Grease with butter. A butter wrapper works well. You can also spray lightly with pan spray.
In a tall medium saucepan (it must be at least 4-5” tall) because the sugar can boil over in a shallow pan, combine all the ingredients except the vanilla. Over medium heat bring everything to a boil - you can stir it a little because the fat insulates the sugar molecules and inhibits crystallization. Once it’s gently boiling, reduce the heat and let it boil.
Cook until it is 245 degrees and is golden brown in color. You can also check the caramel by dropping it into a container of cold water. If you can pinch it into a ball and it is close to the consistency (between soft and firm) that you are looking for then you are ready to pan it up.
Pour the caramel into the prepared pan.
Let the caramel sit at room temperature until firm - several hours or overnight.
Once set, remove the candy from the pan and place on the cutting board.
Cut into small pieces with a sharp chef knife.
Sprinkle each piece with flaked salt or any of the other garnishes listed above.
Wrap in wax paper. The pieces of wax paper will need to measure about 4” x 6”. Package it up and gift away.
Store in an airtight container for up to 2 weeks.


Score and cut caramels…garnish as desired

Comment

Wrapping and Ready to Gift

Shortbread - The DoughDr DIY Holiday Gifts from your Kitchen Part 1

November 28, 2022

Hello Bakers,

We are done with rolls and turkey (for a while) and are now barreling toward the gift giving holidays. There is a lot of stress these days about rising costs and inflation - its depressing and exhausting. So let’s just retreat into our kitchens pull out out favorite equipment and make our own holiday gifts. This month that’s what our demos will be focused on. Our families and friends know that we are the reigning baking champs in our circles so let’s show off, save money and spread some delicious holday cheer.

A note on packaging.
As a DIY gift giver since the dawn of time - I can say that packaging for our treats has never been more available. Amazon has pages and pages of holiday food wrapping options, start here. Holiday Food Wrapping and don’t forget the big box craft stores, Michaels, Joann’s and Hobby Lobby. Keep your eyes open and buy it when you see it - the inventories are never extensive.

These shortbread cookies are delicious - they were born of my desire to use my Nordic Ware shortbread pan and my delight at TV character, Ted Lasso’s shortbread making.
Shortbread is sturdy - keeps amazingly well, and can be sent, with ease if properly packaged. This is where butter is the star of the show - while any good unsalted butter will do - but if you are feeling posh - bring on the Kerrygold.

Equipment: Stand mixer with paddle attachment - (can also be mixed by hand), scale, spatula, bowl scraper, 8” or 9” square pan or Nordic ware shortbread pan. Nordic Ware Shortbread pan Snowflake Shortbread Pan

Shortbread Mise en Place

Thicker Shortbread (8x8" pan)

200g All Purpose Flour
3g Salt
4g Vanilla Extract (1 teaspoon)
4g Vanilla Powder (1 teaspoon) optional
160g Unsalted Butter at a cool room temperature
126g Sugar

Thinner Shortbread (9x9"pan)

255g All purpose flour
3g Salt
5g Vanilla extract (1 1/4 teaspoons)

5g Vanilla powder (1 1/4 teaspoons)
204g Unsalted butter, at a cool room temperature
161g Sugar

Make space in the refrigerator to chill the shortbread before baking.
Sift together the flour, salt and optional vanilla powder.
Using the paddle attachment cream the butter, sugar and vanilla extract together for 2 minutes on medium speed. The ingredients will be combined but the butter will still be slightly yellow in color - not quite to light and fluffy but mixed well.
Add the flour mixture to the creamed mixture. Mixing on medium low speed until the the ingredients are well combined and the dough is a cohesive mass. Do not over work.
Make sure all the ingredients are well combined with a spatula or by hand before shaping the dough into the pan.
Flatten the dough in the pan using plastic wrap - try to get the dough as flat as possible.
Chill for 1 hour.
Preheat the oven - 350 degrees.
Bake the shortbread for 22-25 minutes (depends on your oven) until the edges are lightly browned and the dough is completely opaque in the center.
Let cool on a rack for 20-25 minutes.
Unmold and cut carefully.
Shortbread will keep for 3 weeks in an airtight container. If you like to send cookies to friends and family - this is will arrive undiminished.

Shortbread dough - ready to bake in Nordic Ware Pan

8” x 8” Finished Shortbread - teaching moment - watch parchment paper - trim close to shortbread so you can lift it out but the paper doesn’t fold over while baking.


Comment

Thanksgiving Soft Rolls - Part 2 Questions Answered - Braids and Variations....

November 20, 2022

Hello Bakers,

In our last blog post and 11/5 DoughDr episode we had questions about how to make our Thanksgiving soft rolls ahead. Could the dough be frozen and if so at what stage? Could the rolls be par baked? Can they be fully baked ahead and frozen? How to refresh? Was there a whole wheat variation? And could they be made plant based? What about other shapes?

So here are my findings…
Yes, the dough can be frozen for up to one week. Mix the dough as directed and let rise in a warm place (76-80) degrees until doubled in volume - bulk fermentation. Gently degas the dough and place it in a lightly buttered gallon sized ziploc type bag. Expel some but not all of the air in case the dough expands a little. Label, date and freeze.
To thaw, move the dough to the refrigerator and let thaw overnight. The next day, let the dough sit, wrapped, for one hour at room temperature to warm up a little, then shape, proof and bake.

Par baking: This did not work well in my home kitchen - I baked the rolls for 17 minutes until set and still pale. Then I cooled, wrapped and refrigerated them. I finished the bake the next day - baking them for an additional 12 minutes and the texture was not quite right - the companies who par bake must have magic chemicals and quick chilling machines or something to make this process work - that we just don’t have available to us at home.

Fully Baked: This works very well, especially since most of our ovens are tied up with turkey and sides. Bake the rolls 2-3 days ahead when you can focus on the process and enjoy your baking. Let them cool and then wrap. I like old fashioned food storage bags with twisty-ties for freezing breads and rolls as we want to expel excess air but a ziploc style bag will work too. On the big day, thaw the rolls for several hours at room temperature without unwrapping (unwrapping and thawing in the open air encourages condensation) then place them on a baking tray and refresh in a 350 degree oven for 5-6 minutes.

For a Whole Wheat Variation - remove one quarter of the bread flour and replace with whole wheat flour. Replace sugar with honey.

Plant based: Use your favorite vegan butter in place of the butter and your favorite plant based milk in place of the cow’s milk.

Other Shapes: A simple braid is always impressive - check out my video below on how to make a faux braided roll that will impress your family and friends.

I am reprinting the recipe below so that you don’t have to hunt for it. Any questions, please let me know. And these rolls can be made all year long - weighed out to 113g wet dough weight before shaping, they make great, really great sandwich buns.
Have a safe and very happy Thanksgiving.
Happy Baking! XO Colette

Ingredients - weighed in grams for accuracy
158g water (80 degrees)
7g yeast (use instant or 1 package active dry)
85g milk - 80 degrees
380g flour
30g butter
15g sugar
8g salt

Total dough weight: 683g yield 12 rolls (55g wet dough weight)

  1. Fit the bowl with the dough hook, combine the water and yeast in the mixer bowl, stir for 5 seconds, and let sit for 5 minutes

  2. Add milk , flour, butter, sugar and salt to the water and yeast.

  3. Mix on speed 2 for 2 minutes, reduce speed to low and mix for 2 minutes. Stop the mixer, scrape down, mix on speed 2 for 1 minute.

  4. Dump the dough out on the work surface and knead for 1 minute to smooth out.

  5. Place dough in medium sized bowl, greased with butter and let bulk ferment for 60-75 minutes.

  6. Divide dough into 12 equal pieces about 55 -56g each. Round each piece and place in a well buttered 13X9” pan.

  7. Cover and proof the rolls until they have expanded and have a marshmallow like texture. When the sides are gently squeezed the finger imprint should stay and not spring back. Proofing takes at least an hour - unless the kitchen is very warm.

  8. Rolls can be dusted with flour before baking. They can also be egg washed before baking or bushed with melted butter after baking.

  9. Preheat the oven to 375 degrees. Check in 22/24 minutes - the rolls should be a beautiful golden brown and an instant read thermometer should register 205 - 210 on an instant read thermometer. They may need more time - return to oven and check at 5 minute intervals.

    Rolls can be made ahead and frozen, thaw at room temperature and then refresh in a 350 degree oven for 5 minutes.


Comment

Finished Rolls

Soft Dinner Rolls for Thanksgiving...easy and effortless

November 07, 2022

Hello Bakers,
Here is the recipe from Saturday’s DoughDr - the soft rolls for Thanksgiving. I recommend practicing them before the big week. And I am working on freezing the dough ahead of time and par baking at home - it will be short term - but maybe it can be done. I will keep you posted. The demo is in this week’s show - here is the link. DoughDr Archive
Equipment
Mixing by hand: large mixing bowl, hard plastic bowl scraper, wooden spoon, plastic wrap, scale, baking pan - 9X13” pan or 1/4 sheet pan or 10” cake pan - greased
Mixing by mixer: stand mixer fitted with the dough hook, hard plastic bowl scraper, plastic wrap, scale, baking pan - 9X13” pan or 1/4 sheet pan or 10” cake pan - greased

Ingredients - weighed in grams for accuracy
158g water (80 degrees)
7g yeast (use instant or 1 package active dry)
85g milk - 80 degrees
380g flour
30g butter
15g sugar
8g salt

Total dough weight: 683g yield 12 rolls (55g wet dough weight)

  1. Fit the bowl with the dough hook, combine the water and yeast in the mixer bowl, stir for 5 seconds, and let sit for 5 minutes

  2. Add milk , flour, butter, sugar and salt to the water and yeast.

  3. Mix on speed 2 for 2 minutes, reduce speed to low and mix for 2 minutes. Stop the mixer, scrape down, mix on speed 2 for 1 minute.

  4. Dump the dough out on the work surface and knead for 1 minute to smooth out.

  5. Place dough in medium sized bowl, greased with butter and let bulk ferment for 60-75 minutes.

  6. Divide dough into 12 equal pieces about 55 -56g each. Round each piece and place in a well buttered 13X9” pan.

  7. Cover and proof the rolls until they have expanded and have a marshmallow like texture. When the sides are gently squeezed the finger imprint should stay and not spring back. Proofing takes at least an hour - unless the kitchen is very warm.

  8. Rolls can be dusted with flour before baking. They can also be egg washed before baking or bushed with melted butter after baking.

  9. Preheat the oven to 375 degrees. Check in 22/24 minutes - the rolls should be a beautiful golden brown and an instant read thermometer should register 205 - 210 on an instant read thermometer. They may need more time - return to oven and check at 5 minute intervals.

    Rolls can be made ahead and frozen, thaw at room temperature and then refresh in a 350 degree oven for 5 minutes.

Rolls shaped before proofing.

Rolls proofed and ready to bake

Comment
Newer / Older
Back to Top

email: bakingwithcolette@gmail.com