Hello Bakers,
In the past few episodes of The DoughDr, I have been talking about working on a Ukrainian Nut Roll Recipe.
One of our bakers mentioned she had a problem with her nut roll cracking. It led me to think that a good nut roll recipe and good proofing instructions (that’s why it cracked - under proofing) would be something many of you might be interested in.
Last week I closed the show by saying that when we bake the recipes of other cultures and countries - not only do we increase our knowledge as bakers and add more delicious recipes to our repertoires - we also tell their story. And I feel while it doesn’t directly help indirectly I am hoping it does.
Nut rolls are made throughout Eastern Europe - in Poland they are called Potica, in Hungary, Dios Beigli or Kalacs and in Ukraine Volos'kyy Horikh Zavyvanets.
They are all a thinly rolled sweet yeast dough filled with walnuts, jam or poppyseed.
They can be rolled and baked on a parchment lined sheet pan or they can be placed in a bundt or tube pan (12 cup capacity). The dough goes together easily and is flexible - resting it overnight in the refrigerator is not a problem. The filling is very traditional, jam or poppyseed filling work well too.
Baking is a very important activity in Ukraine and the war has upended it - for now we will have to bake for them.
Any questions - let me know. If you bake one of these please tag me on IG: bakingwcolette
Happy Baking! Colette
Equipment: Stand mixer fitted with the dough hook, quarter sheet pan or 13” X 9” cake pan (for resting dough),
9” X 5” x 3” Loaf Pan for baking, rolling pin.
Ingredients:
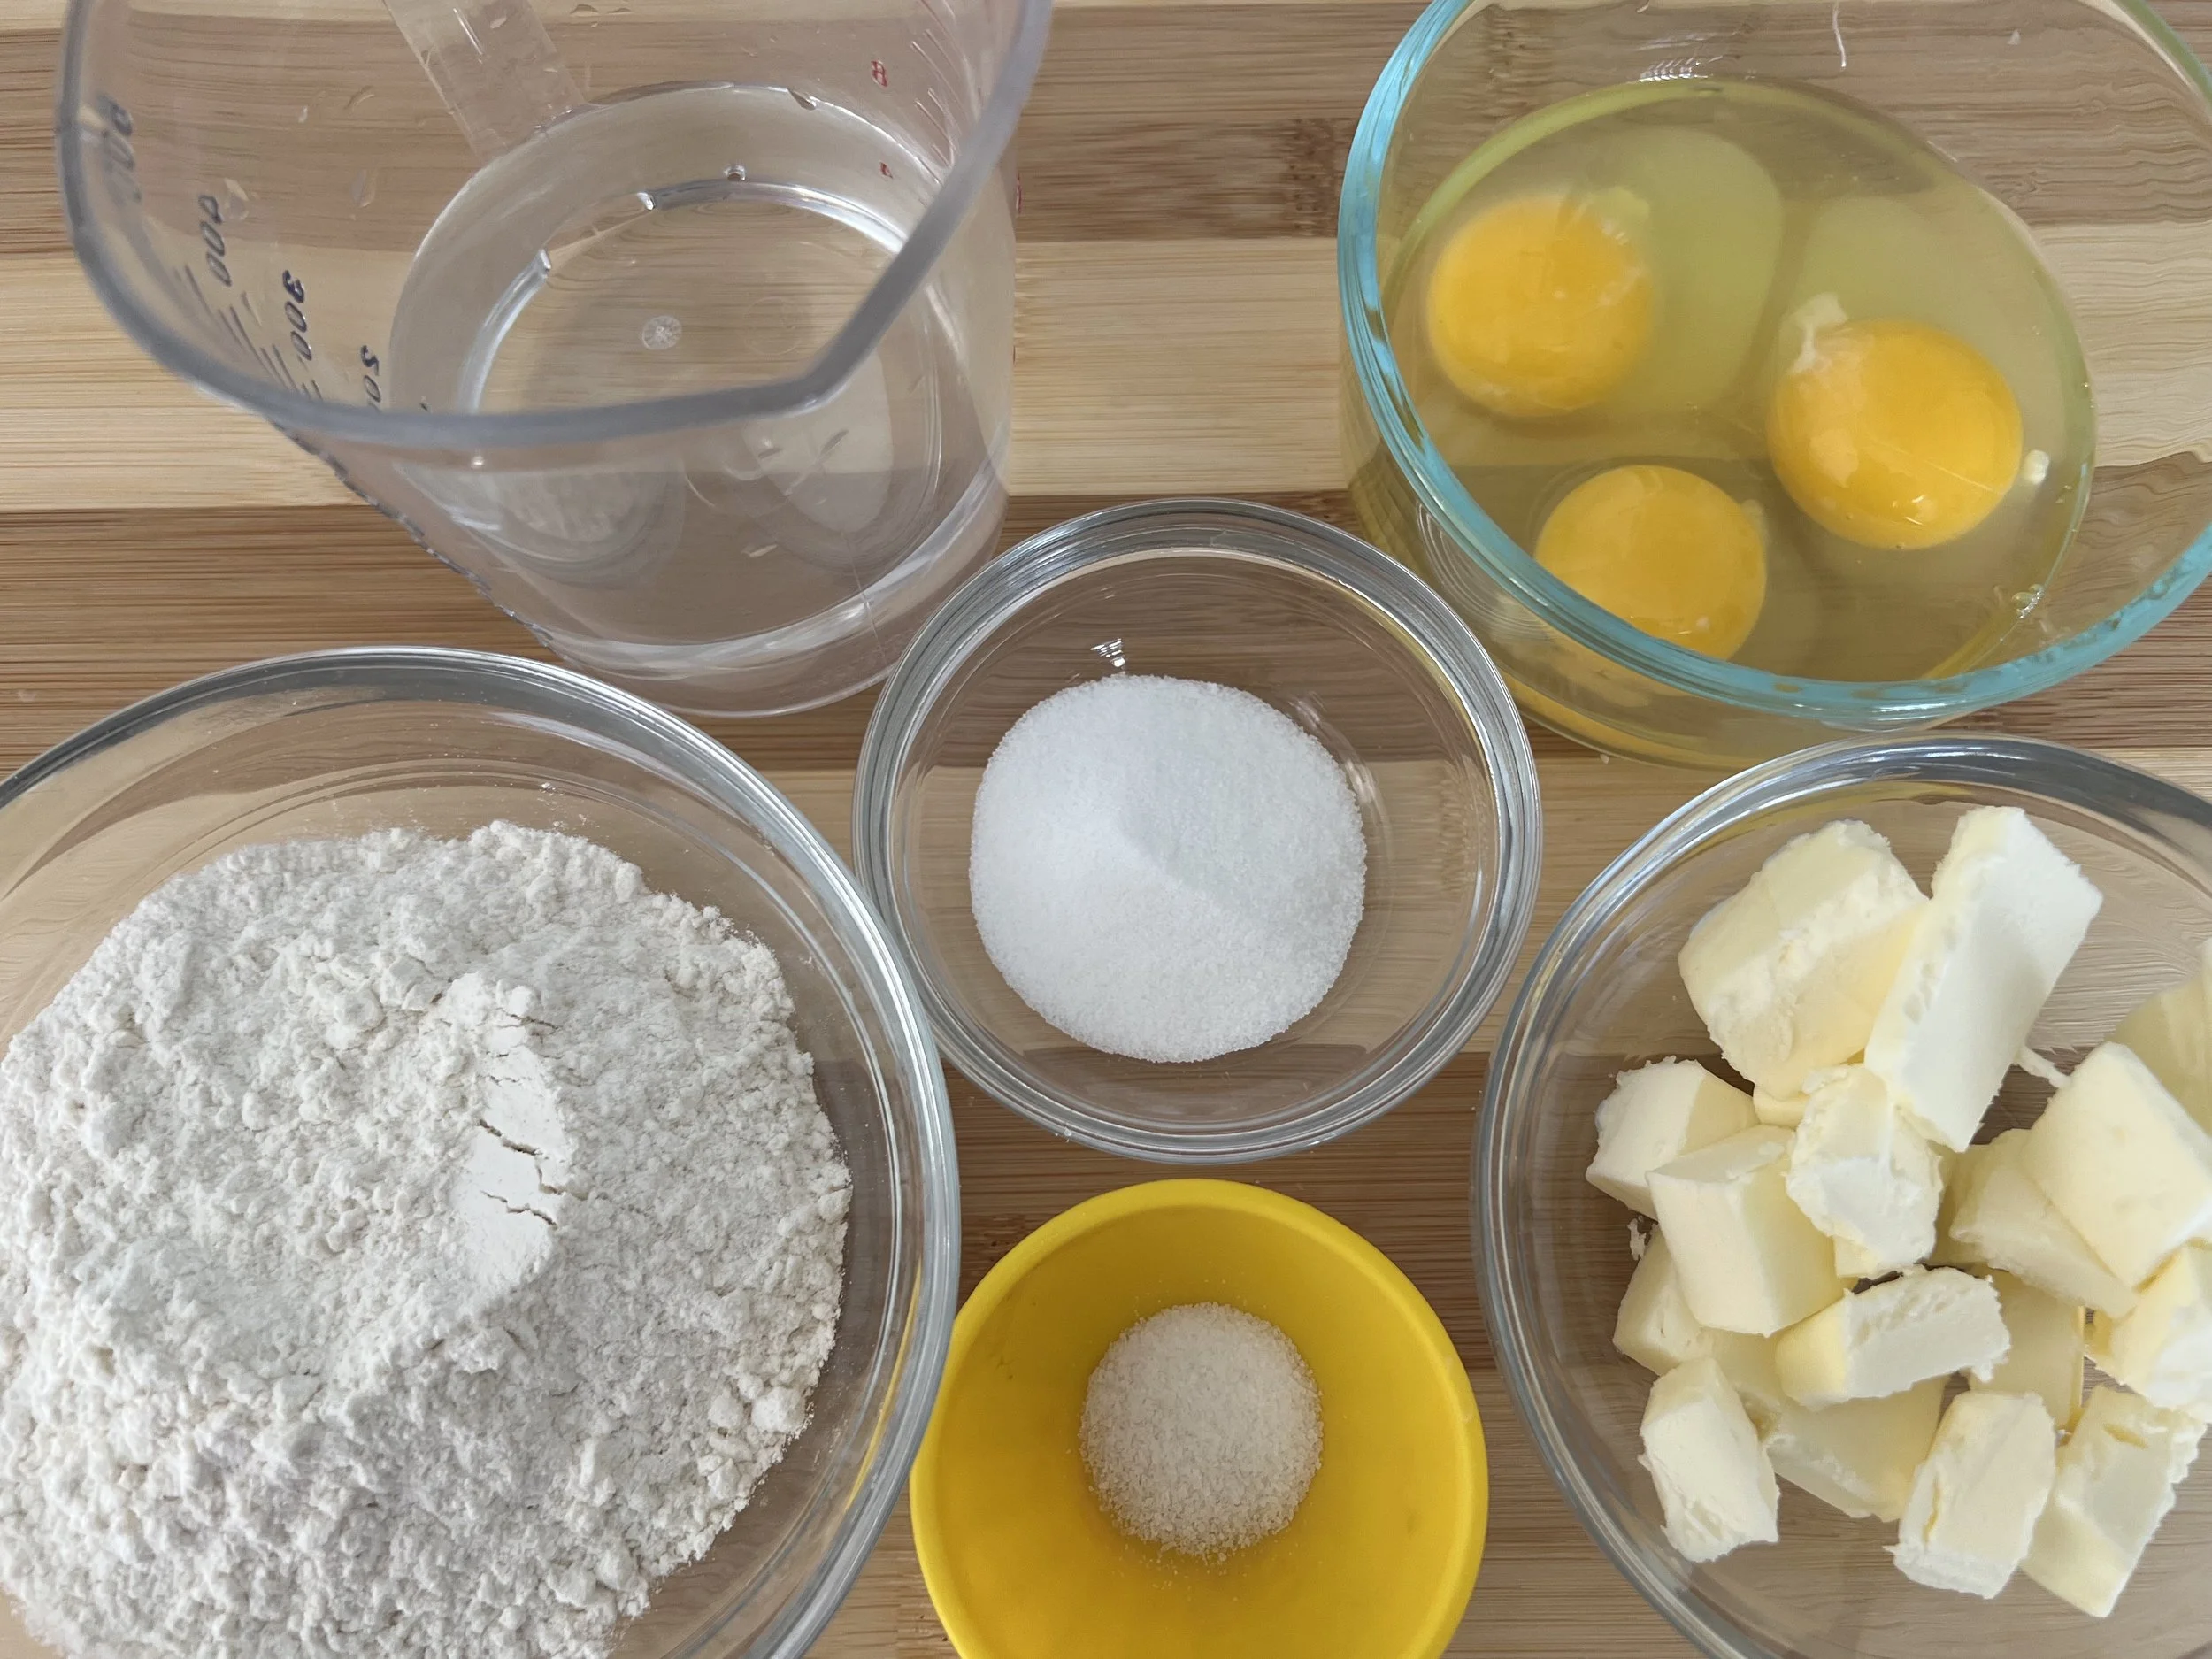
Dough
10g instant yeast
227g milk - 80 degrees
50g egg (1 lg egg)
1 tsp vanilla extract (4g)
74g sugar
405g unbleached all purpose flour
85g unsalted butter - room temperature
8g salt
In the bowl of a stand mixer fitted with the dough hook, combine the yeast and the milk in the bowl of a stand mixer and let sit for 5 minutes.
Add the egg, vanilla extract, flour, sugar and salt.
Mix on low speed for 4 minutes.
Add the butter and mix for 4 additional minutes on speed 2.

Dough shaped into an 8” x 9” rectangle - ready for bulk fermentation
Remove from mixer - shape into a rectangle approximately 8” x 9”.
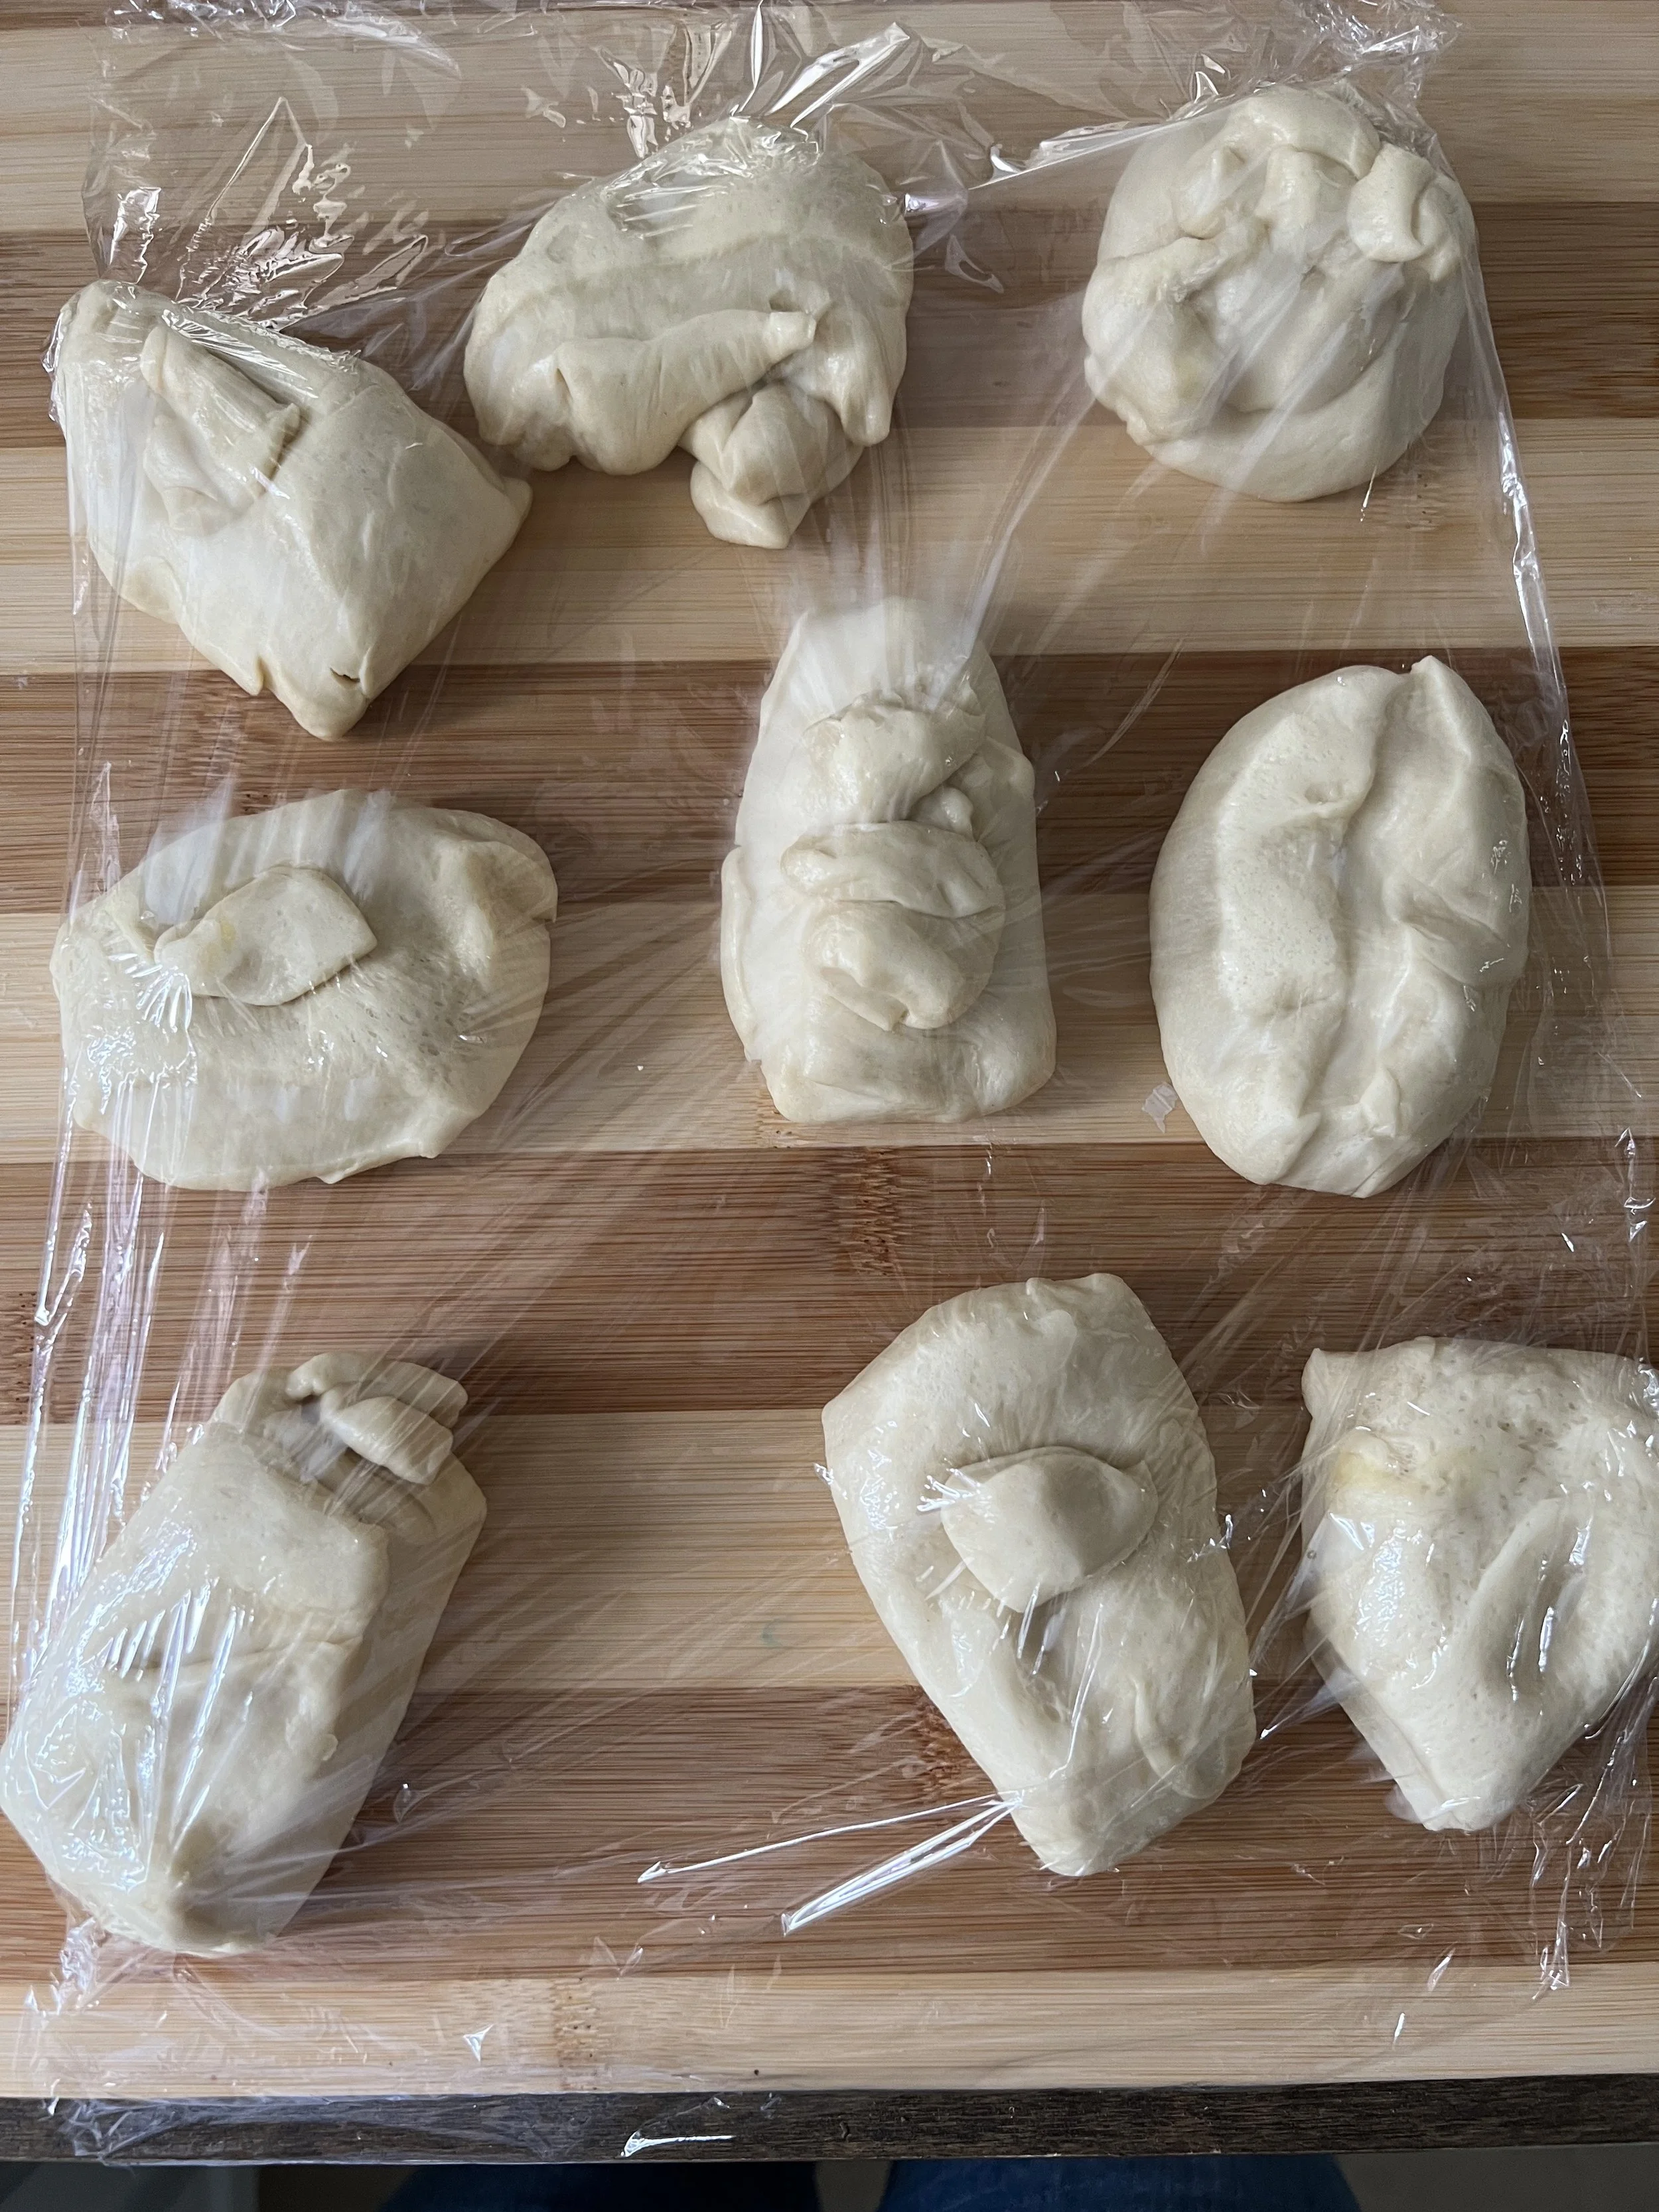
Cover with a piece of plastic wrap and let bulk ferment at room temperature for 1 hour (it will not double - it may lift a little but it doesn’t need to double in size.
Chill for 1 hour before shaping.
Make walnut filling. Recipe is below.
Roll out into a rectangle that measures approx - 11” x 14”
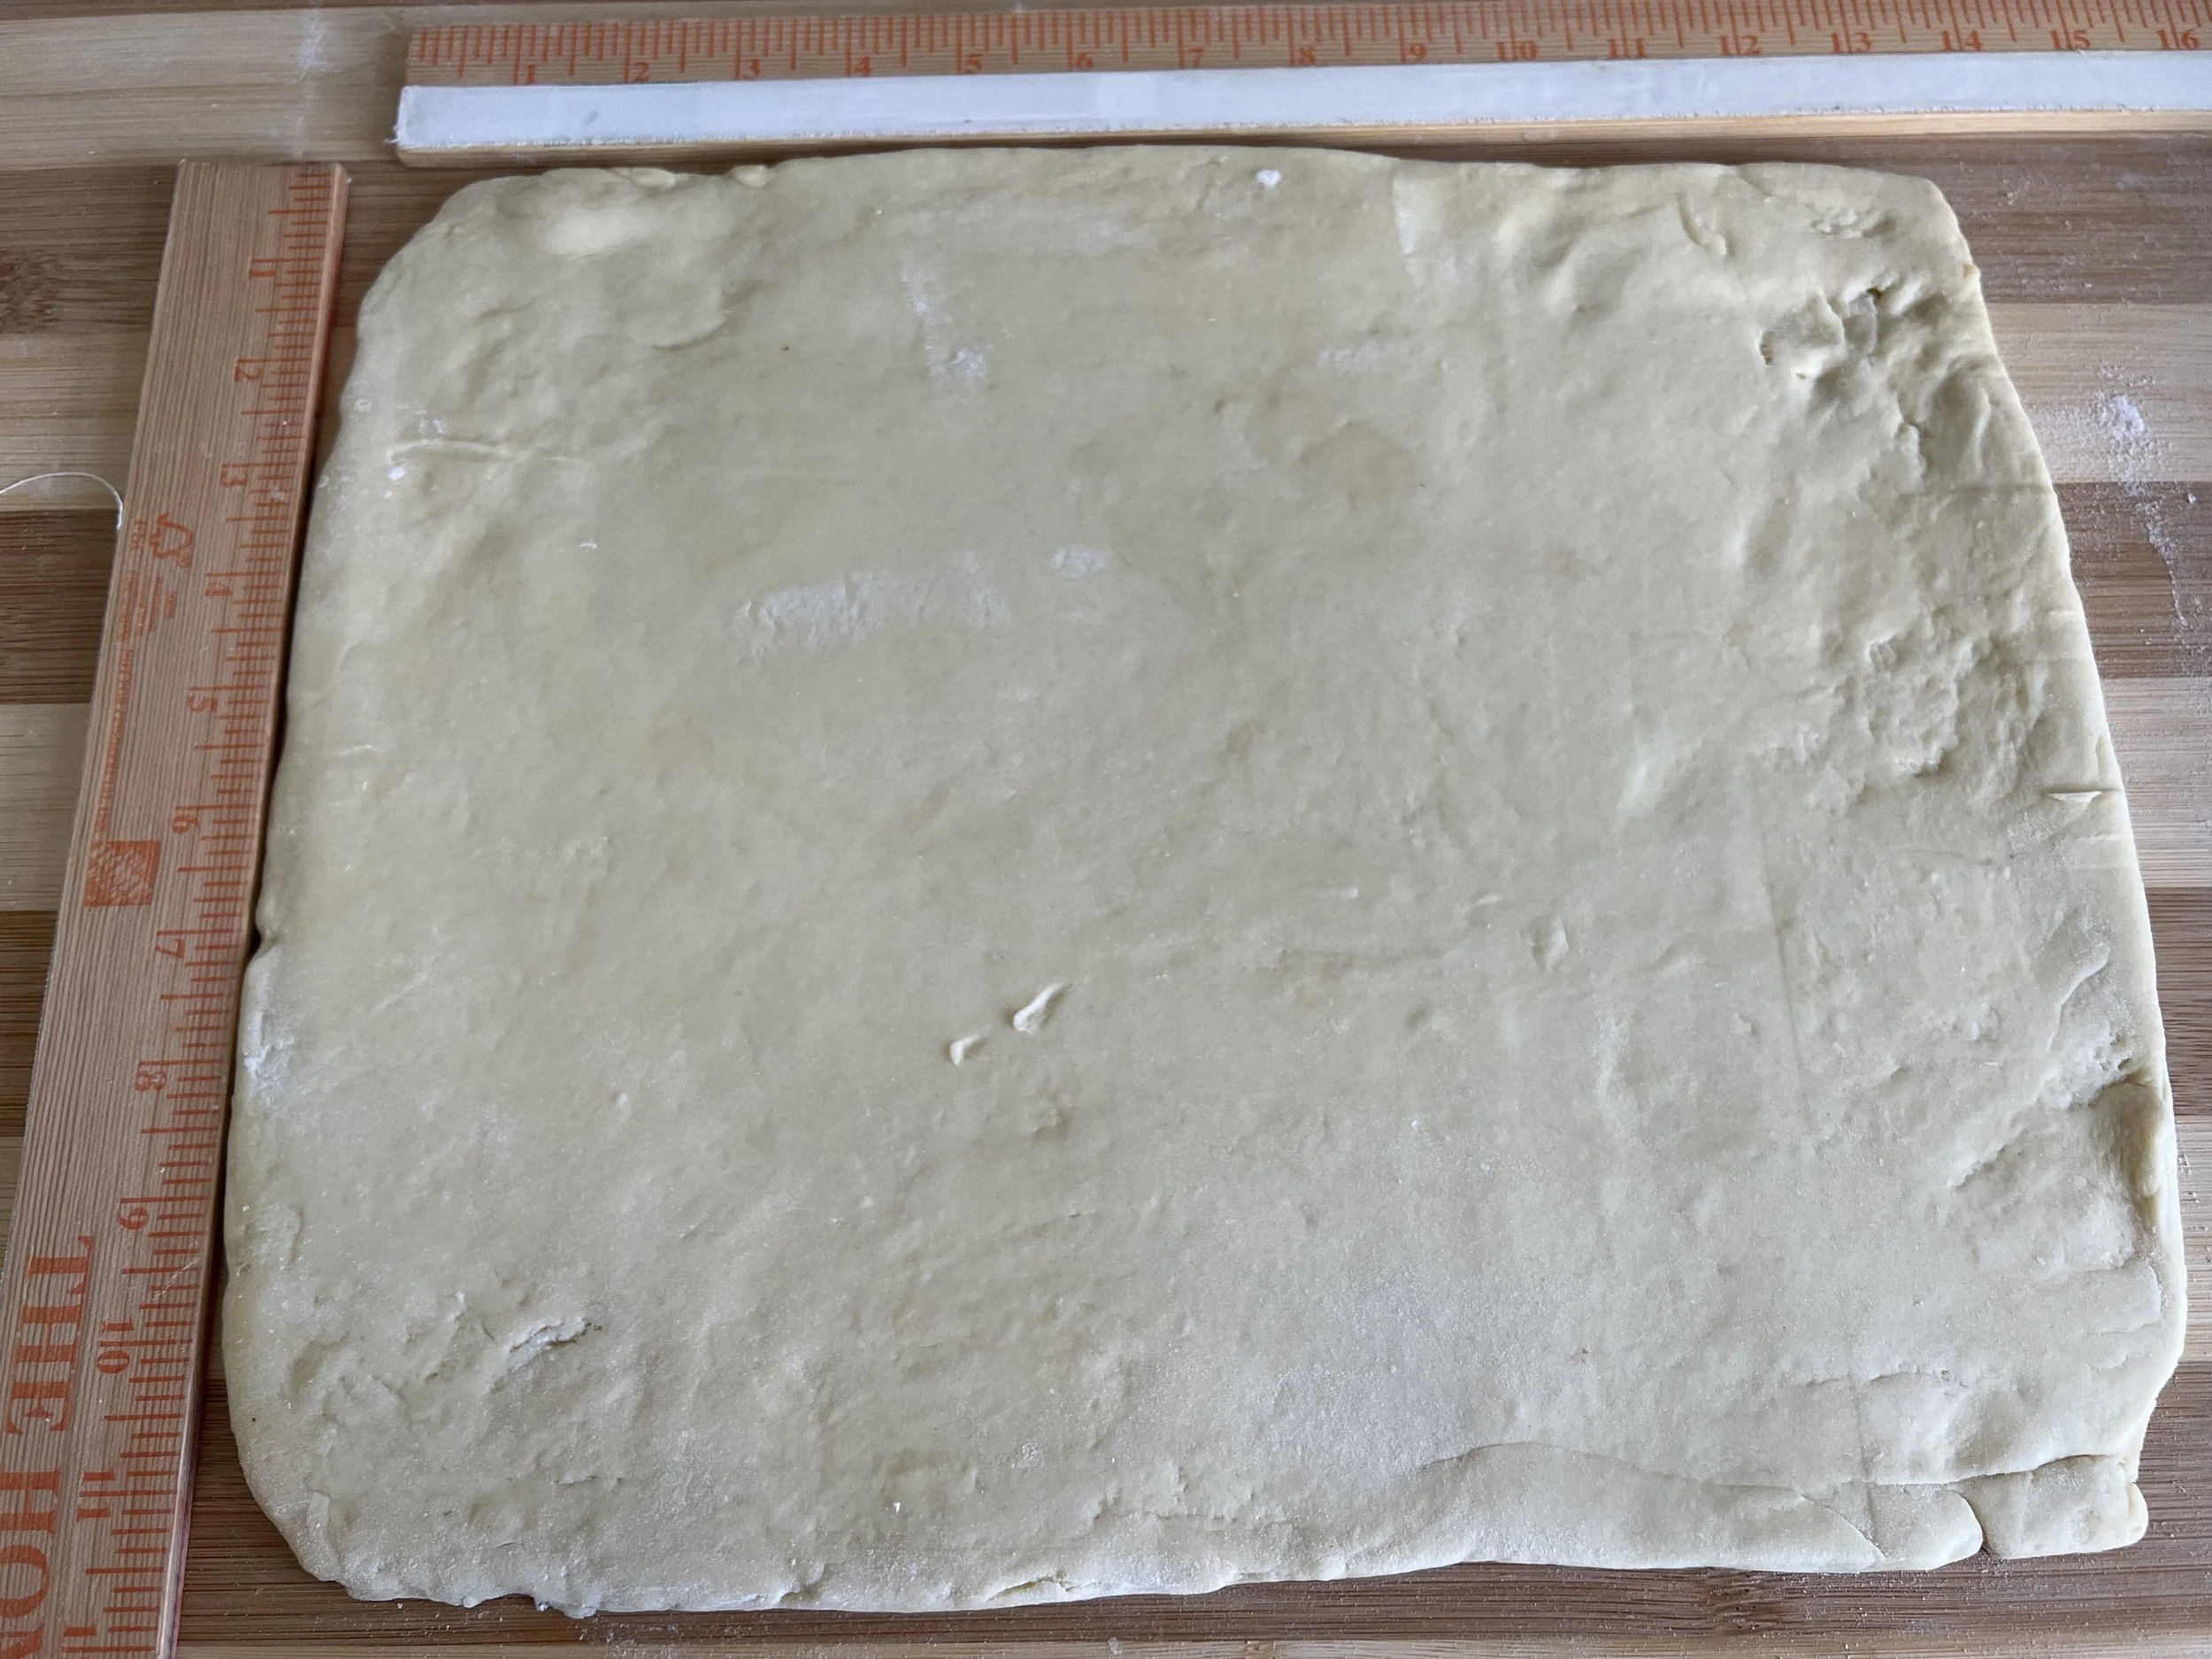
Dough rolled out to 11” x 14”

Filling spread on dough.
Dough placed in greased pan

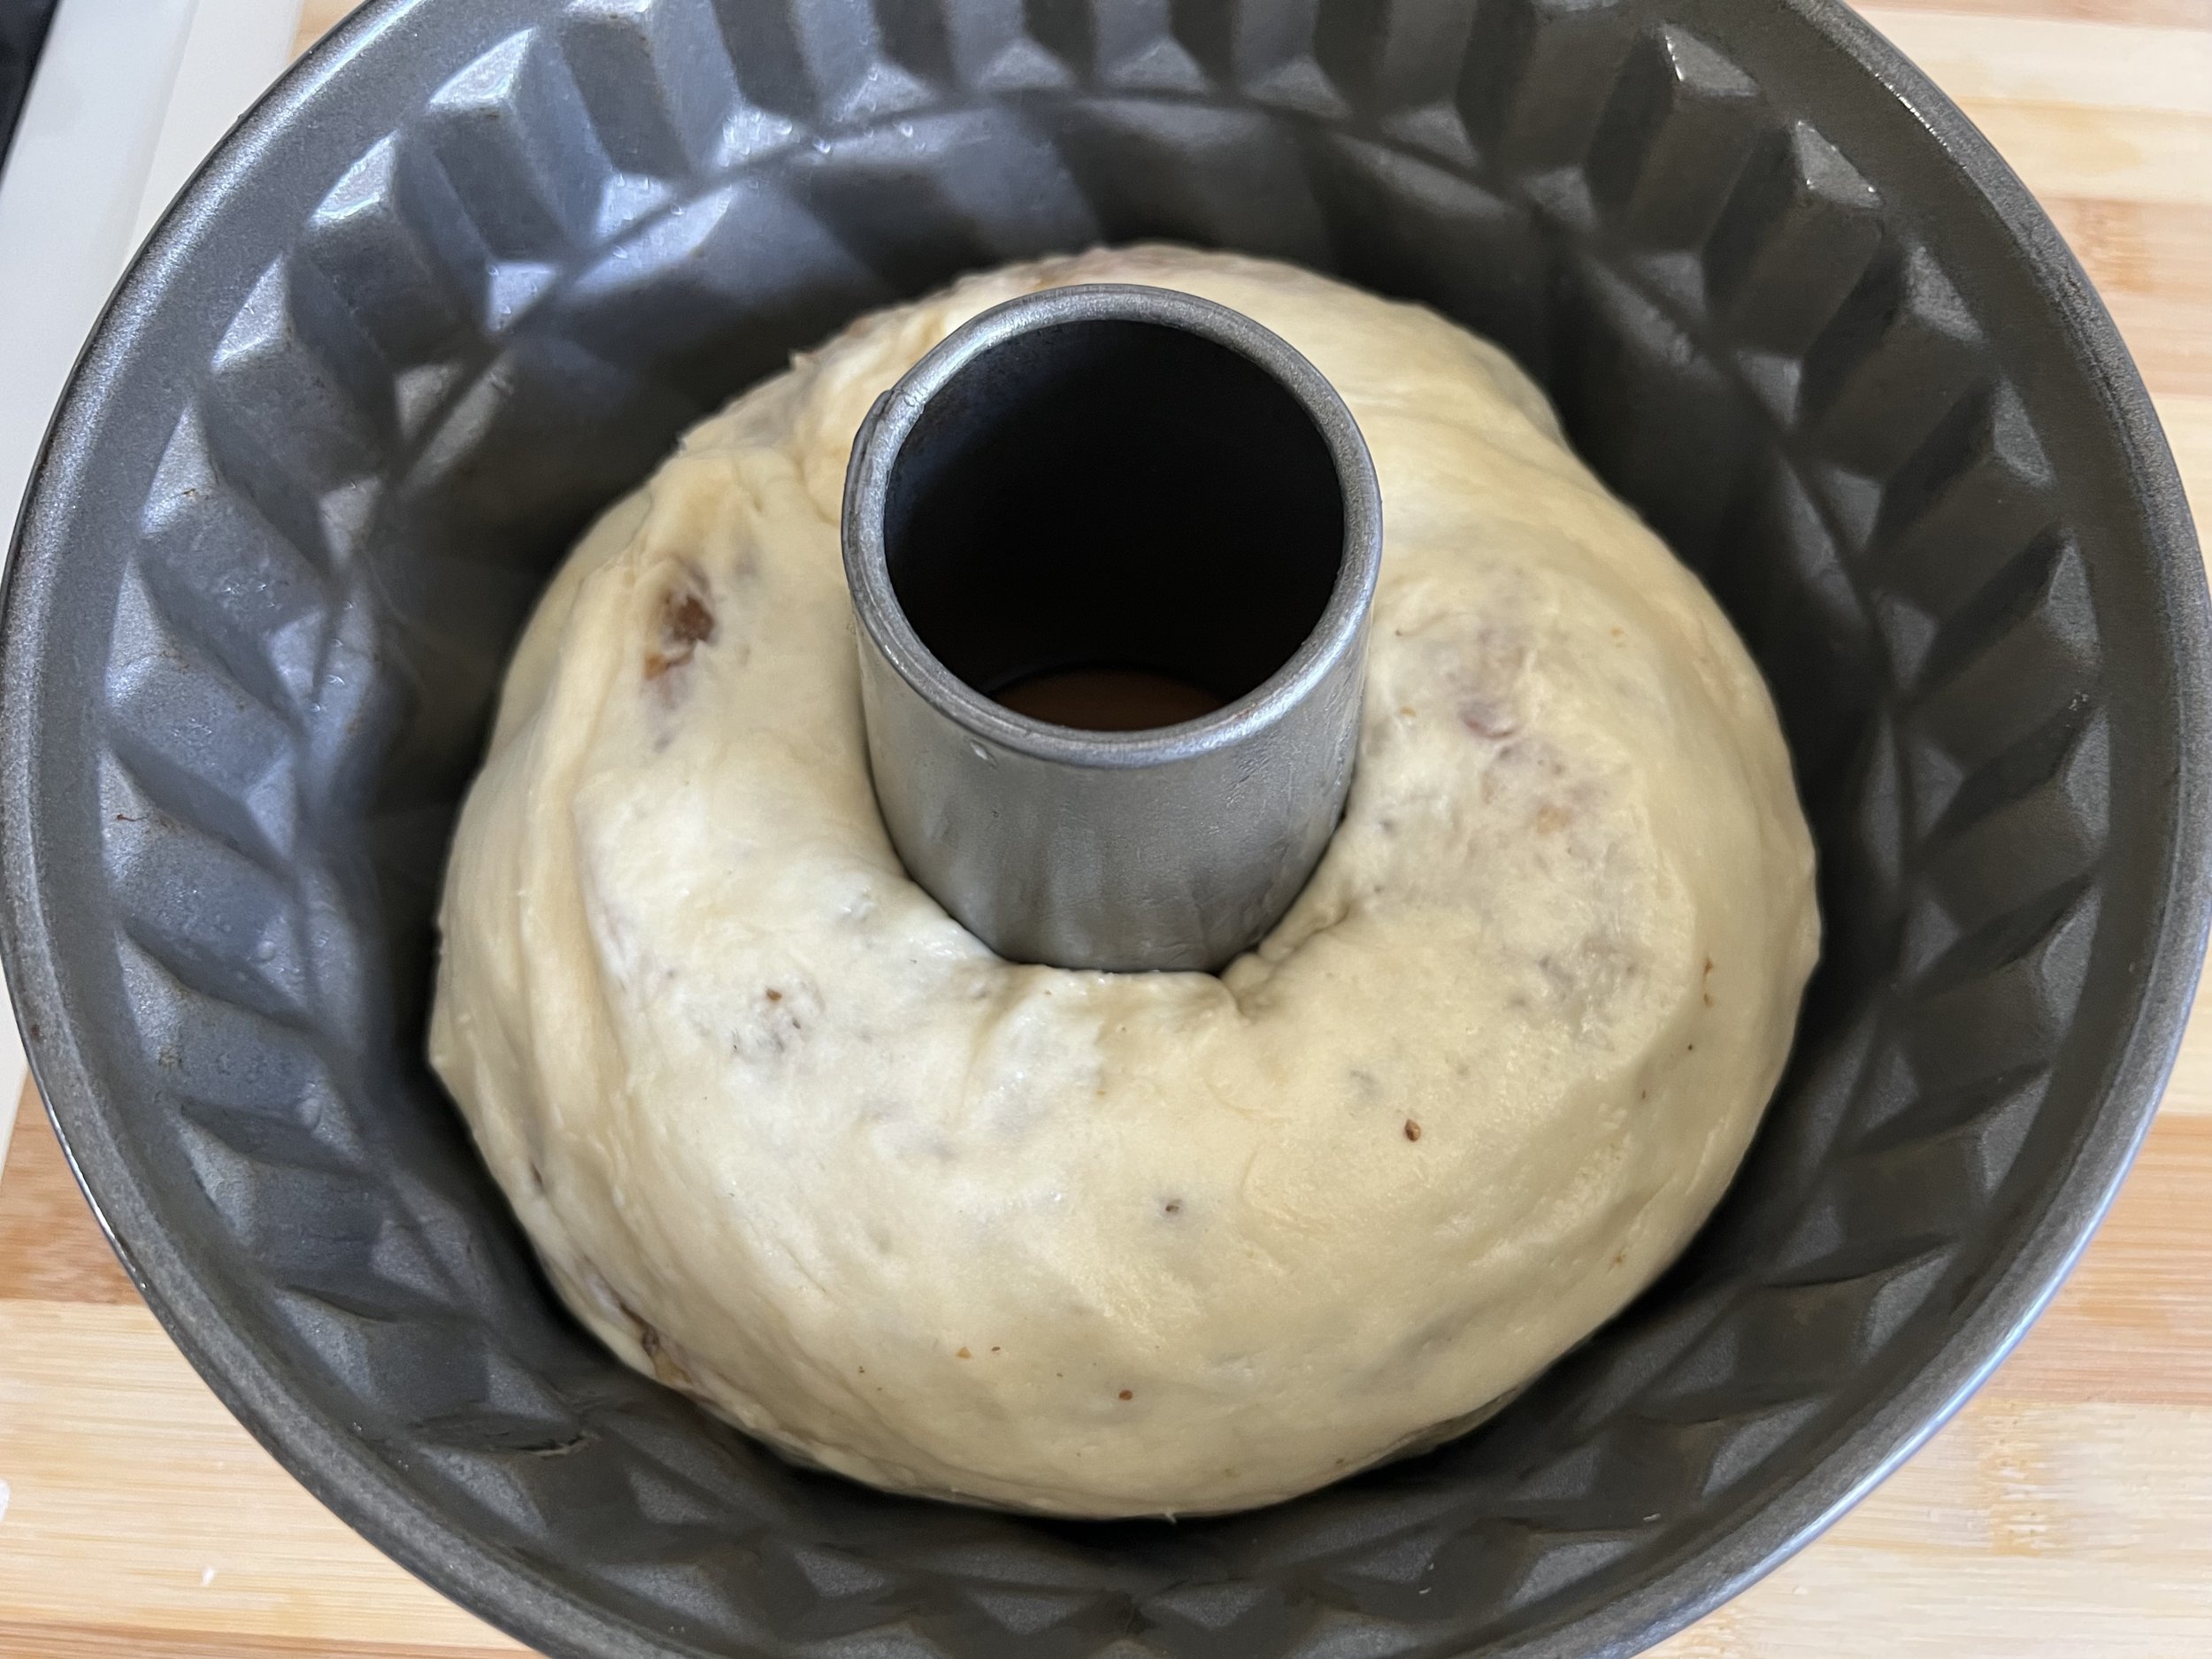
After one hour at room temperature the Nut Roll is ready to bake.
Spread walnut filling so that it covers all but ½ “ of one of the long edges of dough.
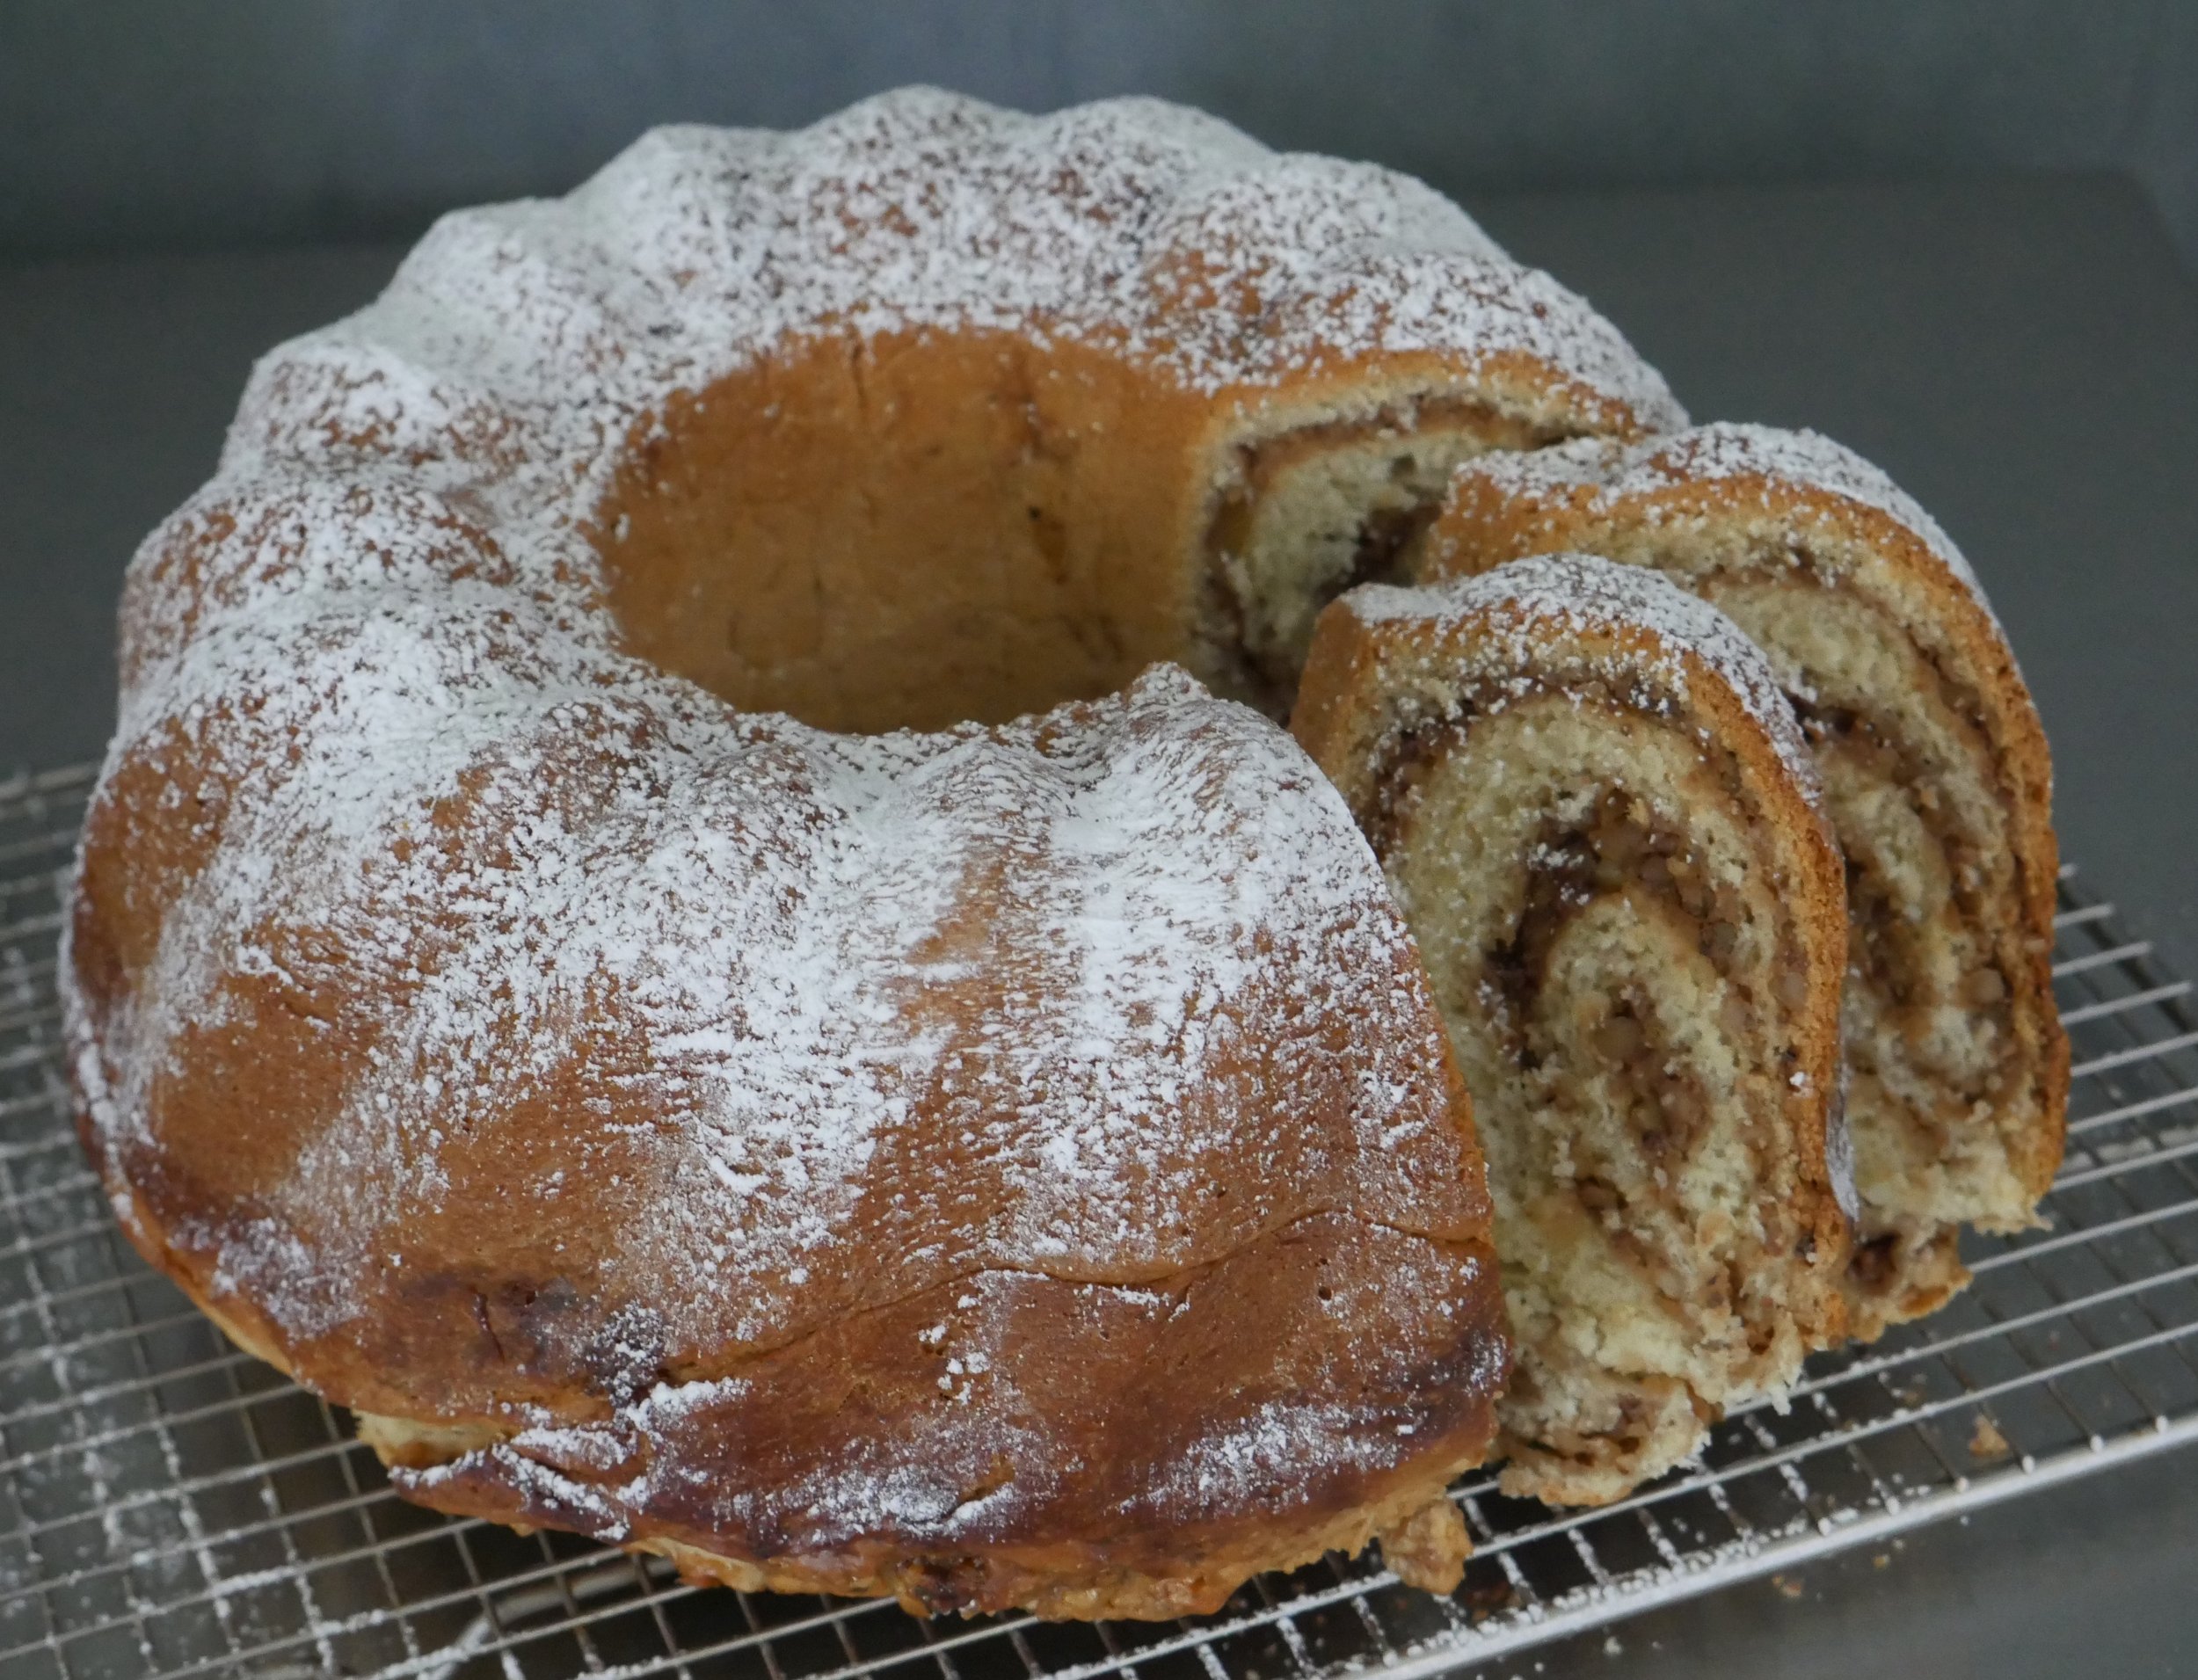
Roll up and place in a greased pan. I used a 12 cup bundt pan, a tube pan can also be used.
Let proof 60 minutes or until the the roll looks like it has lifted, the surface of the dough will look a little thinned out.
Bake at 350 degrees for about 40 minutes and then tent light with foil. Bake an additional 10 minutes.
Note: The rolls can also be baked on a sheet pan lined with parchment. Brush with beaten egg white before baking and check for doneness at 30-35 minutes.
Walnut Filling
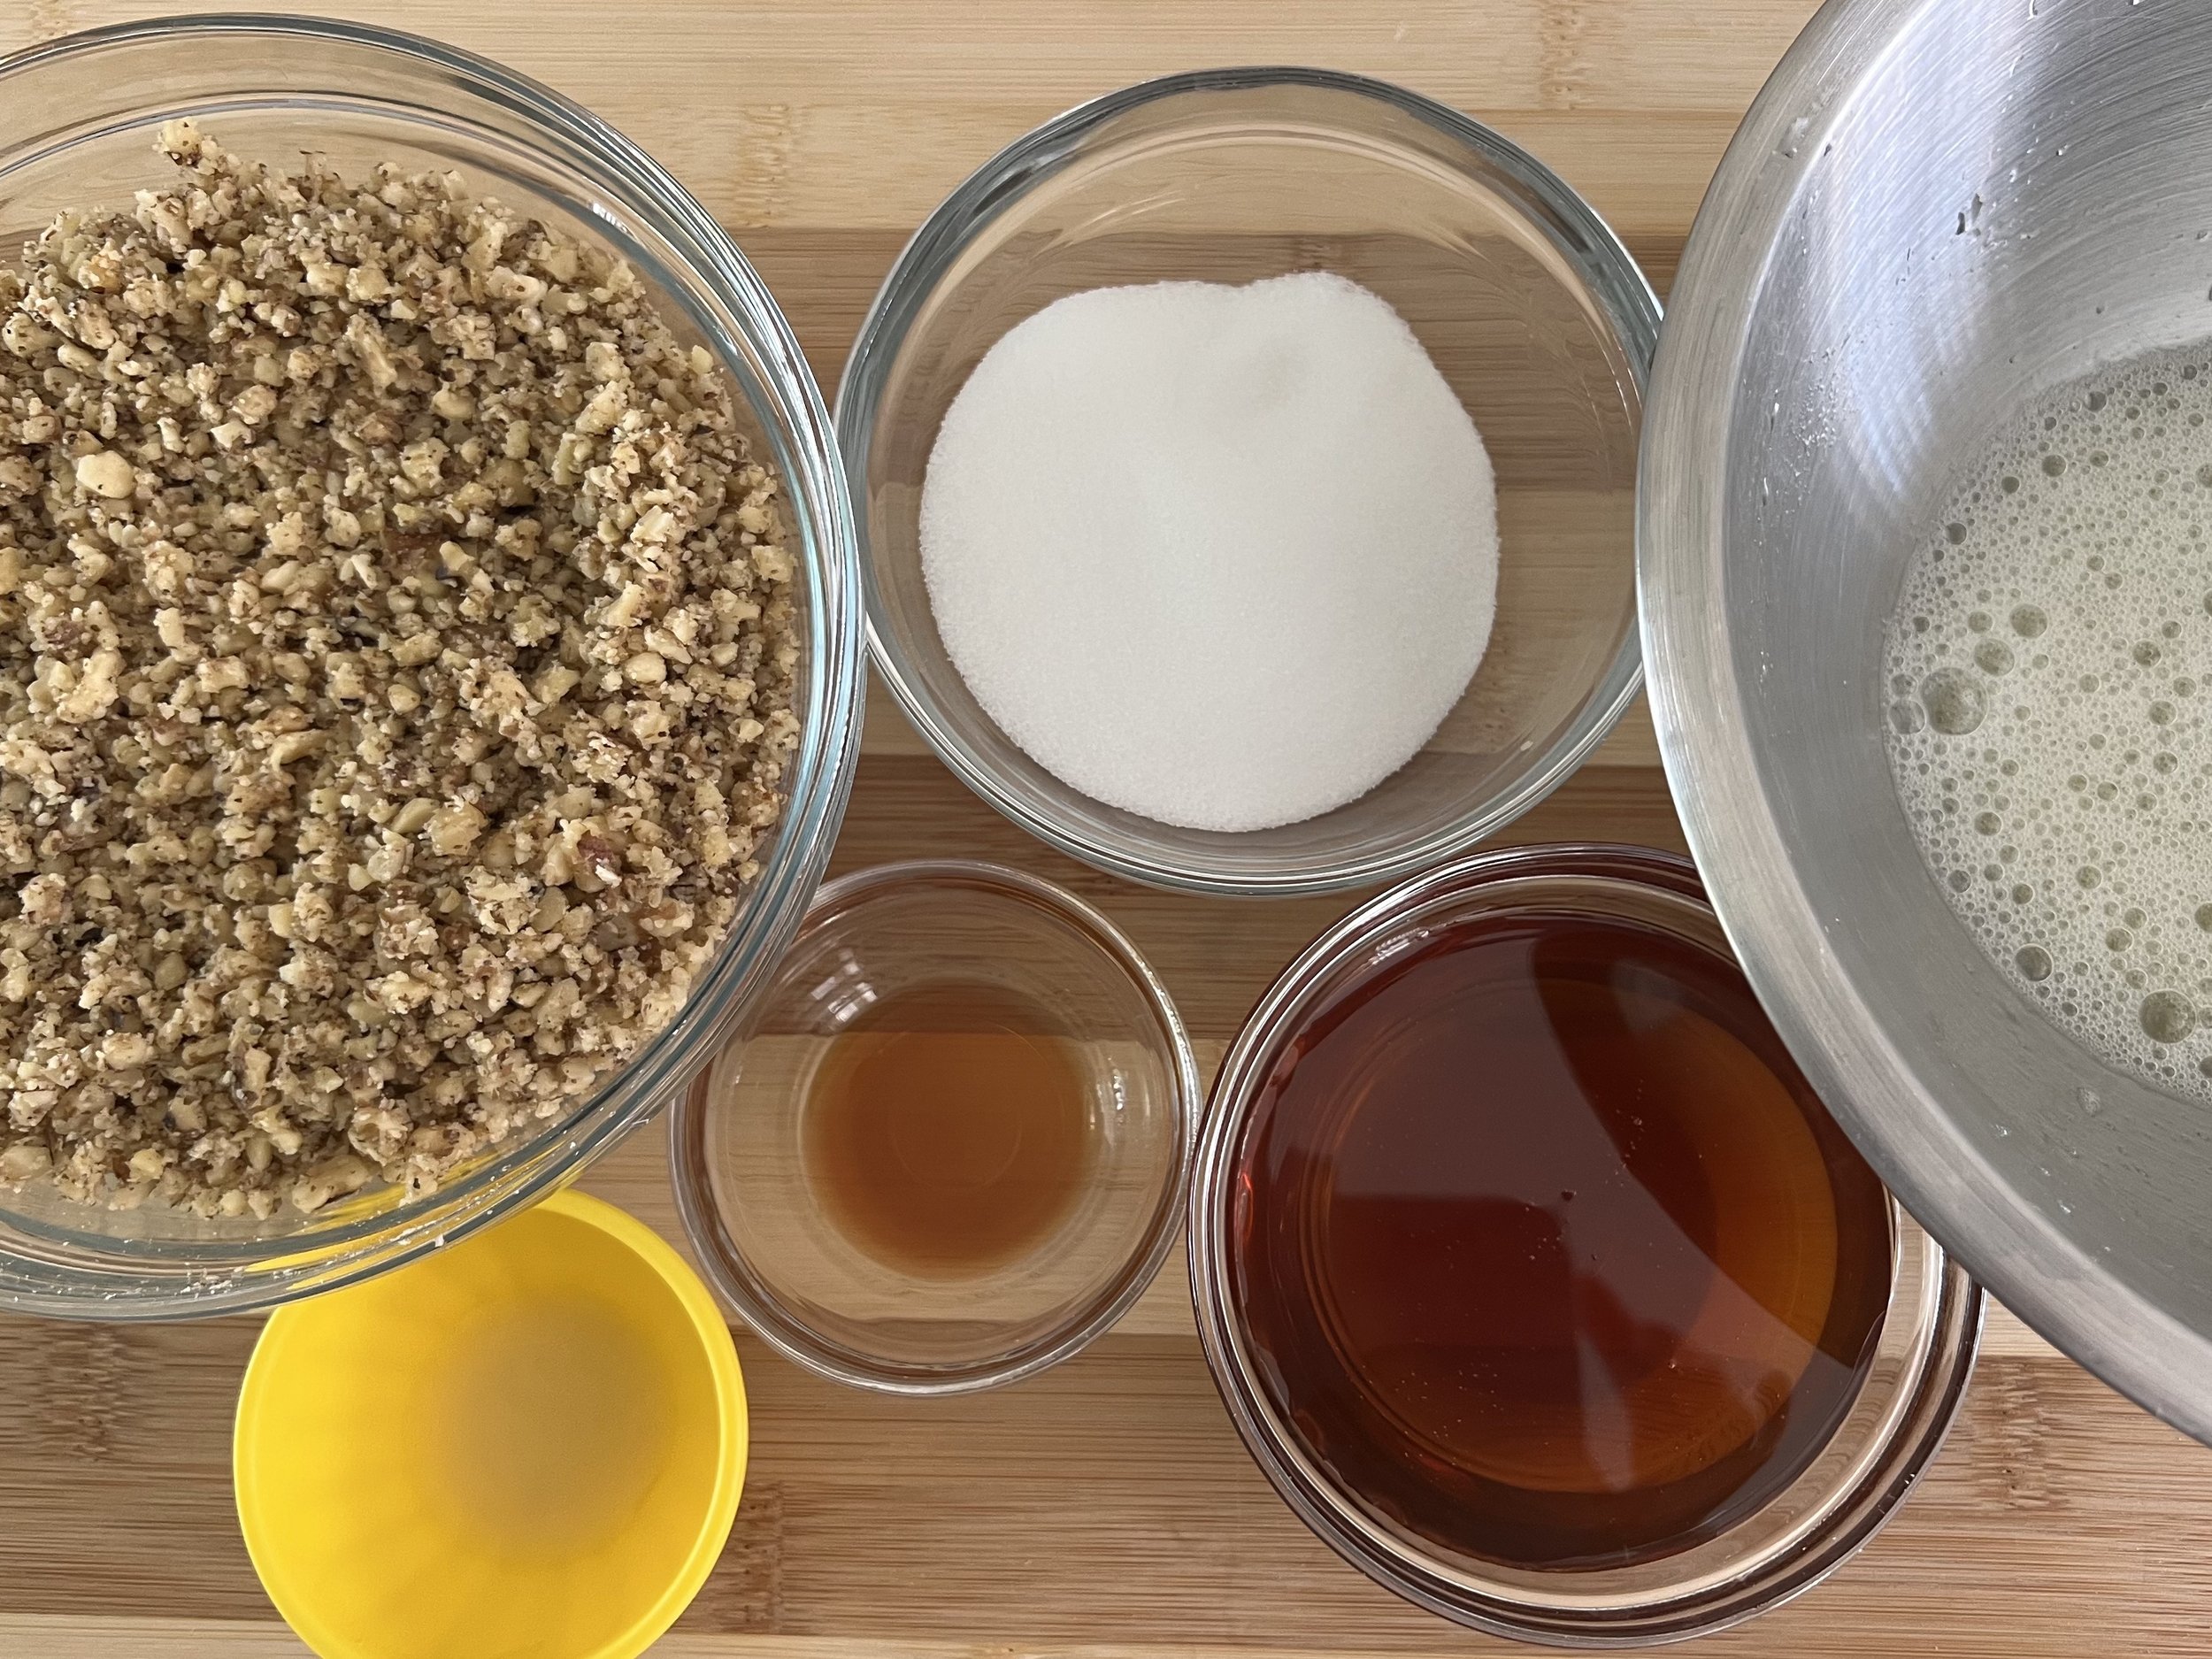
340g finely chopped walnuts - a food processor works well
74g sugar
1 teaspoon vanilla extract
1 teaspoon lemon juice
128g honey
2 egg whites - whisked until foamy
In a medium sized saucepan combine walnuts, sugar, vanilla and lemon juice over medium heat for 3 minutes until the sugar is dissolved. Remove from heat and add the honey. Let cool to room temperature.
Beat the egg whites to a soft foam and add to the cooled nut and honey mixture.
Can be made ahead and refrigerated.