Hello Bakers,
I have not posted in ages and I am so sorry. Work completely engulfed me. Who would think that one small pastry case could take up so much time. My ambition and baking vanity are also part of the issue. I work hard to keep the offerings interesting and new. It's a balance of retaining tried and true favorites and adding new and interesting items.
And then there was Thanksgiving. We sold pies and cakes out of the pastry case and that was such a success that before Christmas there was an order for 180 pies - 90 pumpkin and 90 apple...another reason I have not been posting. I am over pumpkin for a while.
I truly dislike making excuses so I am going to stop. Today's recipe is something quick and easy. We are in the final countdown for Christmas and New Year's. You are probably rushed off your feet. There is always one more party, pot luck or event to bake for and if you are reading this blog, I know you hate to bring anything store bought. Never, right - it would kill you.
Today's recipe can be put together in 15 minutes and bakes for 25. And you probably have the ingredients in your refrigerator and pantry.
Cheese sticks - that's right quick and easy cheese sticks - no turns - no chilling - nothing - just mix and bake. Not one person I have served these too has been able to eat just one.
This recipe came out of my teaching at Sur La Table here in Los Angeles. Most of the time, I teach baking classes so I like to make something savory for the snack we serve our students - to balance out all the sugar but still have it be a bake.
These have become a favorite and I have gotten several requests for the recipe. So here it is. I hope you try it. And to my Sur La Table students - I apologize that it took me so long to post this recipe. Finally here it is.
Let me know if you have questions and let me know how your Baking is going.
Happy Baking!
Colette
Quick and Easy Cheese Sticks
Yield: 18-20
Recipe can be doubled
Equipment
Mixer fitted with the paddle attachment
Or a large bowl if mixing these by hand* (mixing by hand direction follow)
Spatula
Rolling pin
Pastry cutter or pizza wheel
Ruler

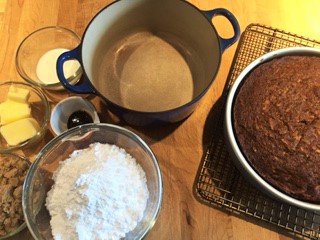
Cheese sticks mise en place
Half sheet tray lined with parchment paper
Ingredients
5 1/3 ounces (151g) Sharp cheddar cheese, shredded (I used Kerrygold)
3 ounces (85g) Parmesan, Asiago or Grana Padana, grated
4.5 ounces (128g) All Purpose flour (I used King Arthur) or KA's gluten free flour.
¾ teaspoon Salt
A pinch (2-3 grinds) of Fresh ground black pepper
1/8 – ¼ teaspoon Cayenne pepper or a few drops of Tabasco sauce
3 ounces (85g) Unsalted butter, cubed and chilled
3 ounces (85g) Pecans or walnuts, toasted, chopped fine and cooled.
2-3 ounces (57g-85g) Ice water (this ingredient is the variable – you may not need all of it)
Glaze: I Egg white and 1 teaspoon water beaten with a fork or a small whisk until it is completely smooth. Topping: A little extra Parmesan
Preheat the oven to 350 degrees
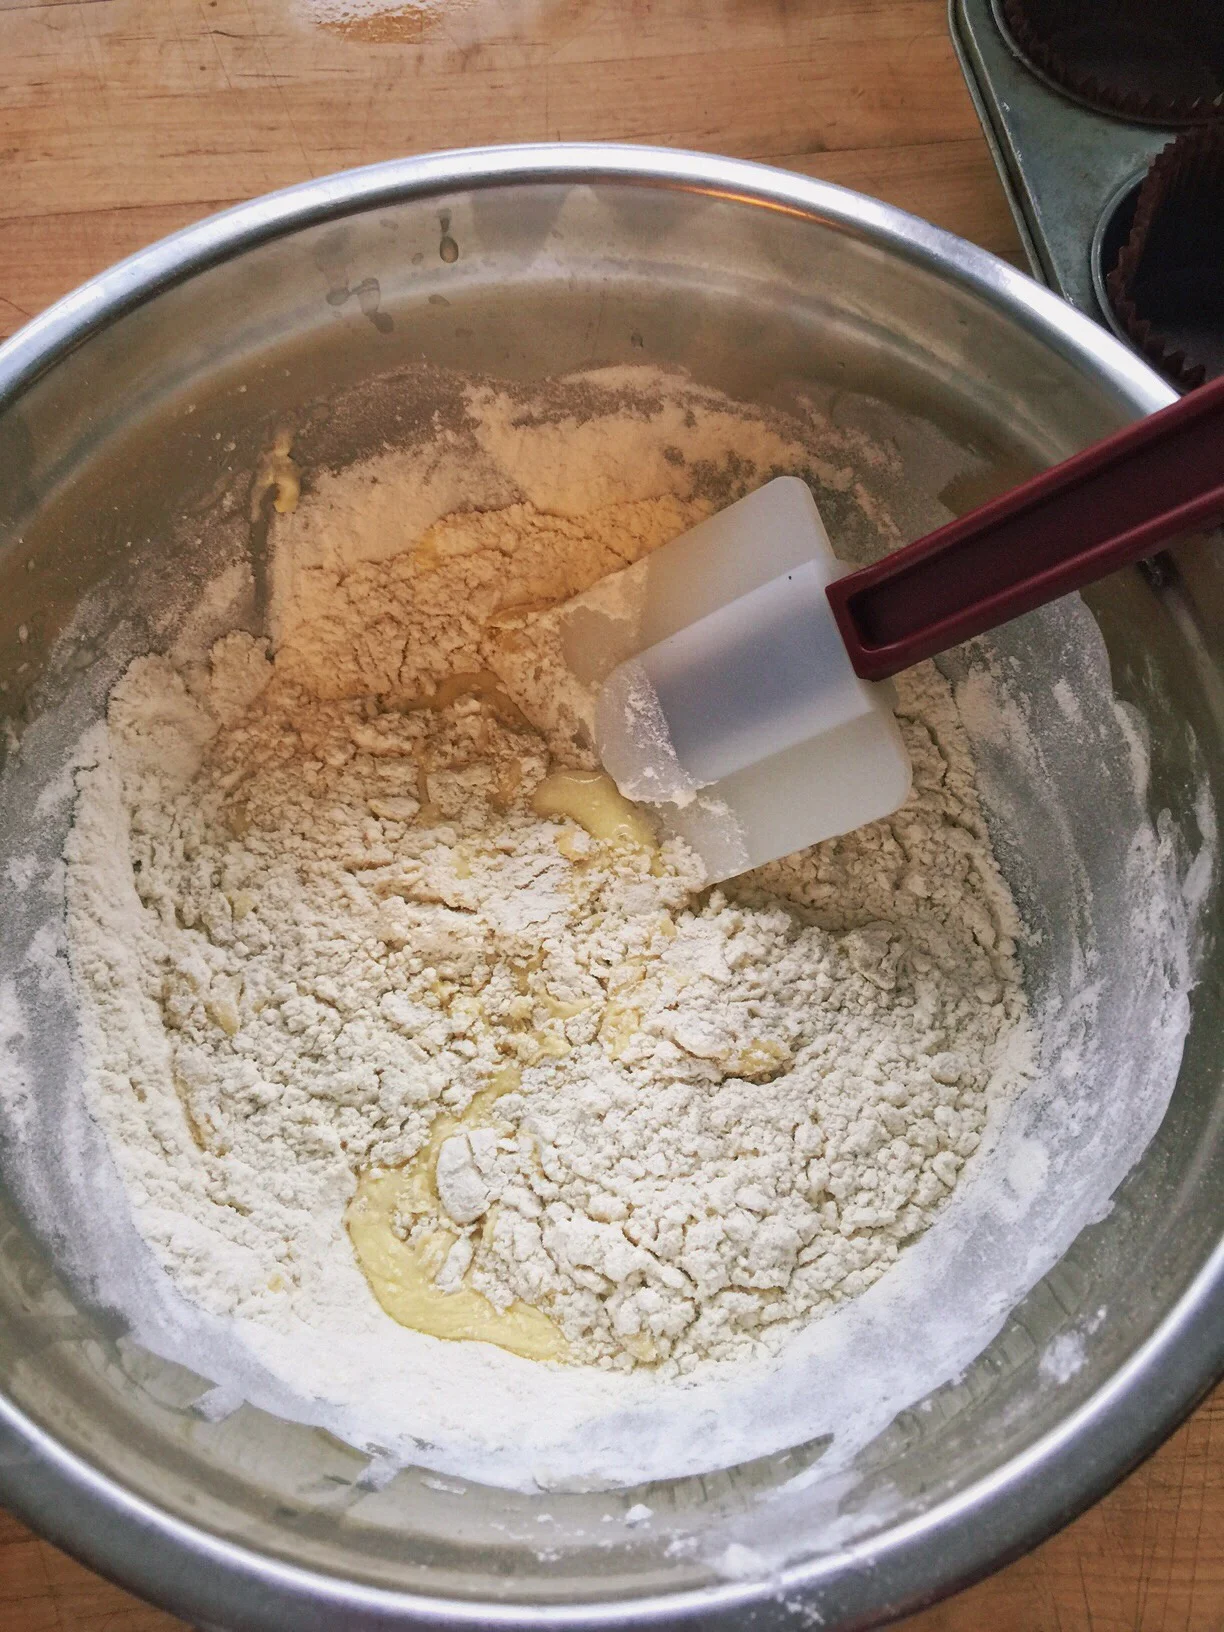
1. In the bowl of a stand mixer combine the cheeses, flour, salt, black pepper, cayenne pepper or tabasco sauce.
2. Mix on low speed for one minute to combine.
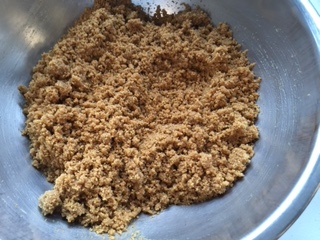
3. Add the cheese – mix on low speed (1-2) until the butter cuts into the dry ingredients and looks like oatmeal flakes.
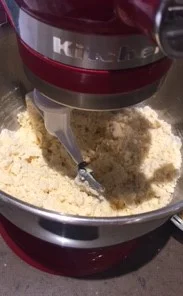
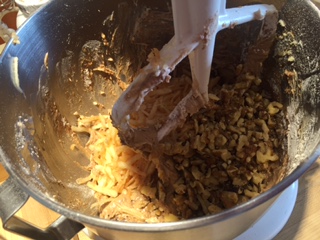
Cheese stick dough in mixer
4. Add the pecans, mix 30 seconds on low to combine.
5. Add the water – starting with the smaller amount – on low speed until the mixture comes together.
If it looks dry add more water. I used 2 ounces.
The dough should for a rough ball that you can shape with your hands.
6. Turn the dough out onto a lightly floured surface and knead briefly, 10-15 seconds, just until it comes together.
7. Roll out the dough to a 8"x 10" rectangle (between a ½ and ¼ inch thick – 3/16 of an inch to be precise.) Cut the dough in half crosswise and then cut into ½” strips. Place strips on prepared pan.

Dough rolled out and cut in half horizontally
8. Brush with beaten egg white and sprinkle with a light dusting of Parmesan cheese.

Cheese sticks on baking sheet - ready to bake
9. Bake at 350 until they are golden brown. Start checking them in 20 minutes – rotate the pan and finish baking. Mine took 26 minutes total.
10. Cheese sticks will keep 2-3 days in an airtight container and up to one month frozen.
Mixing by Hand directions:
1. In a large mixing bowl combine the cheeses, flour, salt, black pepper, cayenne pepper or Tabasco sauce.
2. Use a plastic bowl scraper or pastry blender, toss the dry ingredients together.
3. Add the butter and cut in with the bowl scraper or pastry blender until the butter looks like oatmeal flakes.
4. Add the chopped pecans or walnuts.
5. Add the water – starting with the smaller amount – and mix until the mixture comes together.
If it looks dry add more water. I used 2 ounces – but sometimes when mixing by hand it takes a little more water as the flour particles don’t hydrate as rapidly when we are mixing by hand. This is true for most dough that we mix by hand. The dough should form a rough ball that you can shape with your hands.